Best Disney Princess Party Ideas

Are you looking to create a magical Disney Princess party for your little girl? Read below for a complete list of everything you need to throw the Best Disney Princess Party Ever!

Invitations for a Disney Princess Party

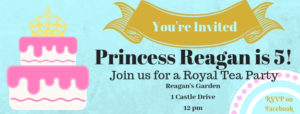
Whether you make your own, do a Facebook invite, or go all out with a Royal Scroll Delivery,  the first thing you need for a Disney Princess Tea Party is an invitation. I love creating Facebook invites using Canva. They have so many options, and you can make an invitation for free! Here is a sample I put together in 5 minutes! I love how you can change the colors of everything to match your decor!
Next Up, we need dessert! Check out these ideas!

Disney Princess Party Cake

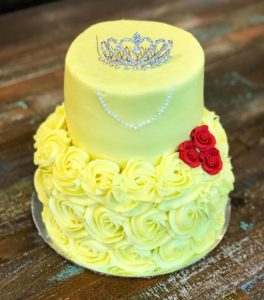
Every Princess needs a cake on her special day. Go easy with Princess cupcakes topped with royal crowns, or put together a fondant masterpiece with her favorite Character diaplayed. I love this Belle Dress Cake my talented neighbor made, and we stacked it on top of a book stand. They are so cute! For a tutorial on how to make your own book cake stand stay tuned!
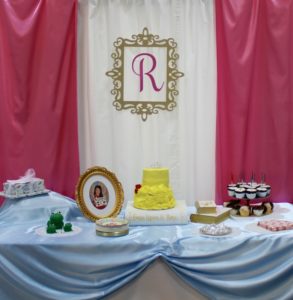


Cute Cupcake toppers and Cupcake Stand for Princess Tea Party


Set the Table for a Disney Princess Party

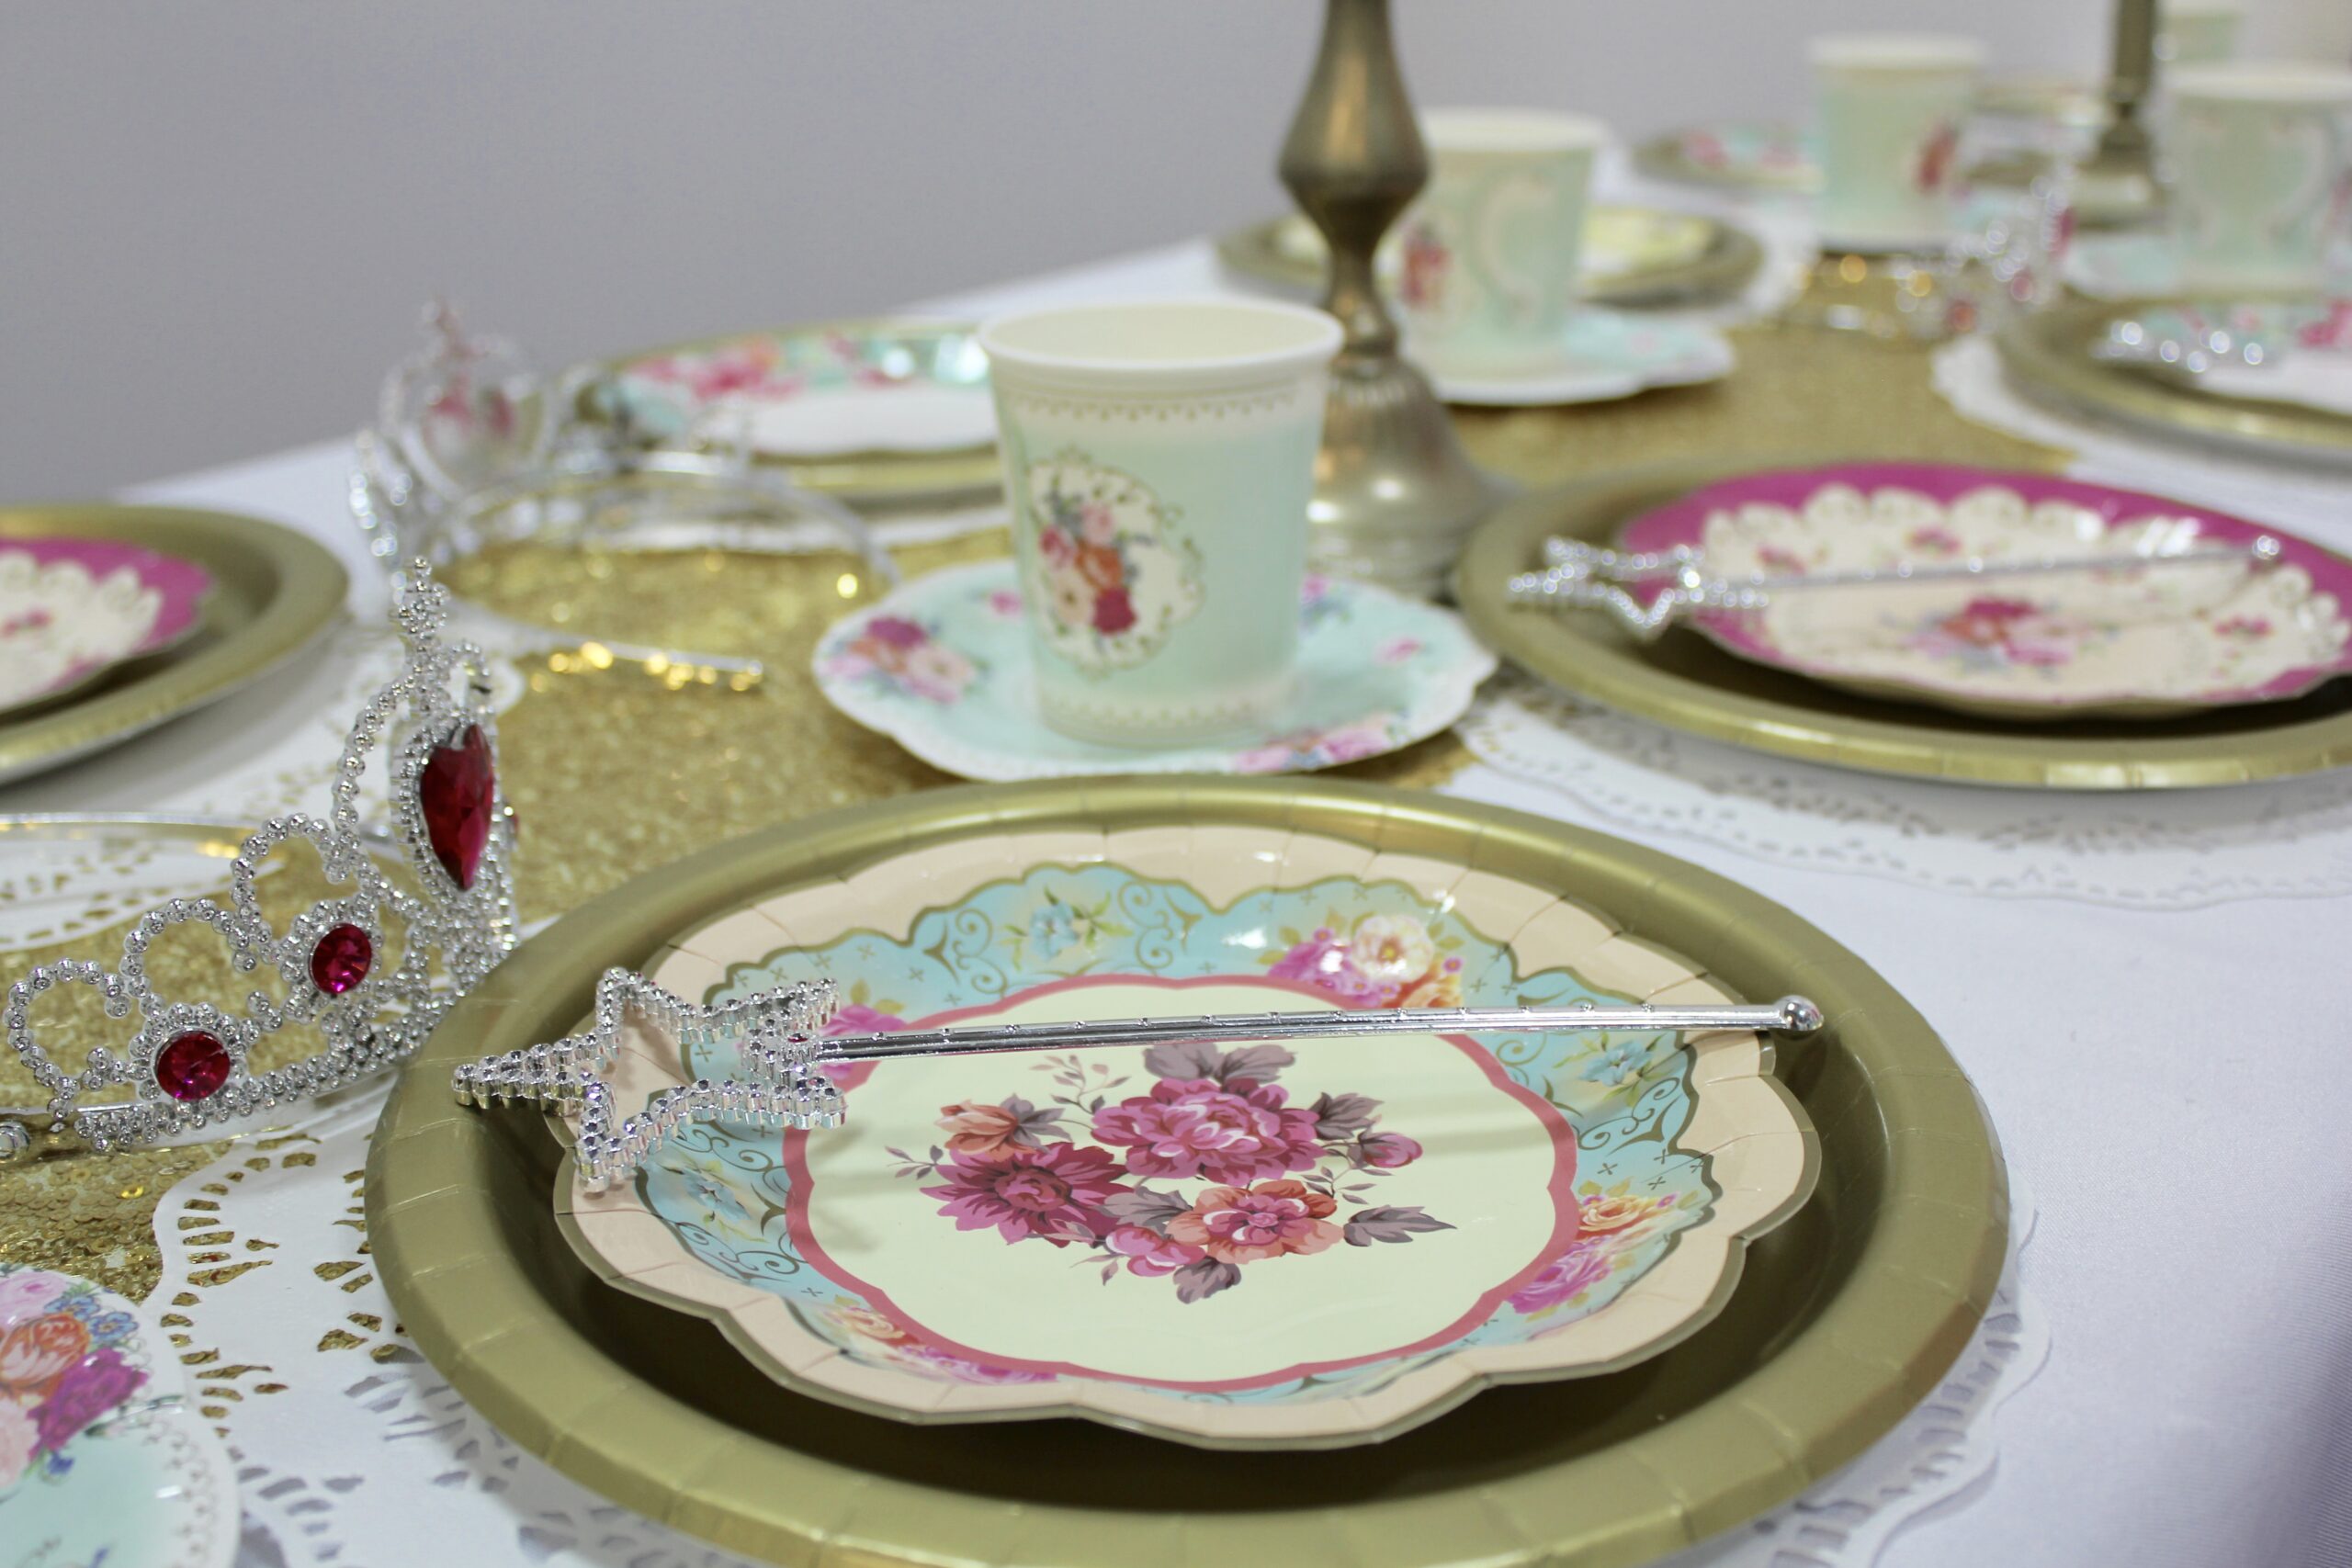
Moving on, Here is everything I used to set the table for our Disney Princess Party. It turned out so cute, and everyone asked where I got everything, so for your convenience, here is a list!

  1. Table Cloths: These 8 foot ones will drape nicely on our long table. You may only need 6 foot. I am getting the cloth ones, so I can reuse them over and over for baby showers, and holiday parties,: White Cloth Tablecloth 8 foot
  2. Table Runner this comes in multiple sizes and colors and great price! 12×108 Gold Table runner
  3. Chargers: Use 10.5″ doilies as chargers. Inexpensive, beautiful, and kid friendly!  Paper Doilies
  4. Plates Gold Plates adults used or Blush Pink 9 inch plates
  5. Tea Cups (2 sets)  Floral Paper Teacups
  6. Knight Party Mugs if you have little boys coming these are so cute! Knight Party Cups
  7. Forks(Ariels Dopligangers) Gold Forks
  8. Dessert Plates Floral Princess Tea Party Plates
  9. Napkins Floral Napkins
  10. Gold Candle Holders with white candles. I picked these up at the local thrift store and spray painted them with this. I also used it to paint the gold frame backdrop over the table! Rustoleum Gold Spray Paint


We decided to use less expensive plates for adults and they made excellent dinner plates for the princess table. These were the perfect size to place under my pretty floral plates, and they served as chargers. Our table was only 23 inches across, so I needed something smaller for each place setting, but they were the perfect size for our tea party sandwiches, deviled eggs, and fruit wands. Do you need help planning a tea party menu?

Disney Princess Party Games and Activities Ideas

After you set the table, make sure you have something to keep your royal guests entertained. Here are a few ideas to get your wheels turning.

  1. Do a relay race on setting the table properly
  2. Practice walking with books on your head
  3. Decorate your own tea cup, crown, or cupcake
  4. Have a pro come in and teach table etiquette.
  5. Special Visit from a Character Princess
  6. Castle Bounce House
  7. Princess Story Time How to Behave at a Tea Party


Disney Princess Party Favors for Girls, Boys, and Babies

Finally, check out this awesome combo with a crown, wand and ring! The Girls absolutely loved these! They served as party hats and favors and even the boys liked the wands! In addition, I used the rings as table scatter! You cannot go wrong with these. The crowns fit 3 and 5 year olds without problems, and the grown ups tried them too. I used bread bags to put everything together and tied them with a pretty bow. 100 bags for $6, and I can use them for other treats too!


Party Favor Kit for Girls


For the boys, You can easily please them with crowns, candy, and swords!

Click on the pictures and it will take you right to the products!


Princess Tea Party Favor Ideas for babies

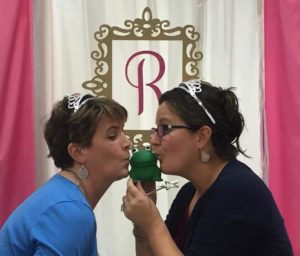
Everyone thought the little frog favors were so adorable, and were a fun addition to the Princess themed party. Kim and I tried to kiss the frog and turn it into a prince, but it didn’t work.

Frag Party Favor


A few other Disney Princess Party Things we used

Use painters tape to hang it on the wall
Trays for fruit kabobs and sandwiches
Spray Paint for Frame backer and candlestick holders


I hope you loved getting ideas for your Disney Princess Tea Party. If you have any questions let me know and I will try to answer them!


Happy Crafting,

Kathy


*Links in this post pay me a small amount so that I can continue to spend time sharing with you my pictures, ideas, and love for planning awesome parties! Thanks for your support!*
Make Words Curve in Silhouette Studio 4.1 | Learn How

Make Words Curve in Silhouette Studio 4.1

Fellow crafters, are you searching for how to make words curve in Silhouette Studio 4.1? This is a very valuable skill, and I was so excited when I learned how!

Did I mention it’s super easy?

Once you learn, you’ll be on your way to making car decals, school spirit shirts, framed word art and more!

My video tutorial for how to make words curve in Silhouette Studio

What can you make once you know how to curve text in Silhouette Studio?

  1. Car Decals with school logos. The curved text above and below adds dimension, and the cool factor!
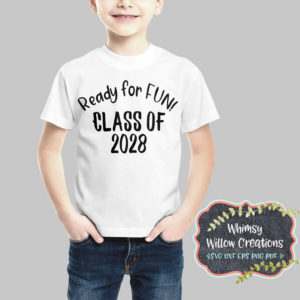
  2. Awesome shirts like this one are also a great thing to make. (this one shows how to make words curve with Silhouette Studio using the elipse tool pulled out like a football). Class of 2028 SVG
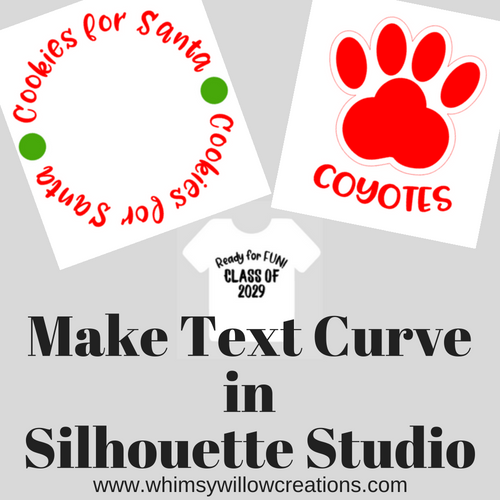
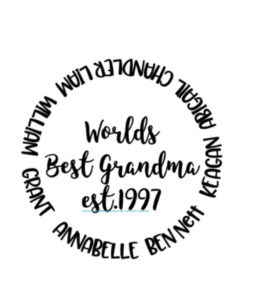
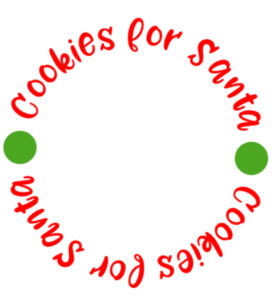
  3. In addition, the images below are examples of how to make words curve with Silhouette Studio using the elipse tool. If you hold down the shift key in Silhouette Studio after selecting the elipse tool it makes a circle. Just make sure you don’t let go of the shift key first, or it will switch back to an elipse. This feature is also useful for making Cookies for Santa plates. Who doesn’t love cookies?                                                                                                                                                                        Curved text made with silhouette studiocookies for santa sample of how you can make words curve in Silhouette Studio
  4. Using the same technique, you could easily transfer custom designs to glass windows, wooden signs, and more! The possibilities are endless!

Let’s recap! To make words curve in Silhouette Studio

  1. Draw a Shape with the shape tool menu
  2. Use the text tool to type your words
  3. Double click the text until the green box pops up.
  4. Grab the small circle with the crosshairs and drag it to the part of the shape you want the text to contour to.
  5. Adjust the text until it’s just right. After that, with only the text selected, Right Click and select Convert to Path.

Don’t forget to delete the shape you were following, so that it doesn’t accidentally cut.

That’s it. You now know everything you need to make text curve in Silhouette Studio. Therefore, go forth and craft amazing things. If you need more help check out the blog or find us on Facebook!

One last thing, if you are still running on Silhouette Basic, and are interested in learning other features besides how to make text curve in Silhouette Studio, check out Design Edition Upgrade Features, where I walk you through some of my favorite features you get when you upgrade.


Happy Crafting,

Kathy Whimsy Willow Creations

If you need free or cheap fonts for commercial use, here’s where I buy mine!

You might also like:

https://whimsywillowcreations.com/replacing-dots-shapes-letter-silhouette-studio-4-1/


*Some of the links in this blog post are affiliate links from companies that I do business with. This allows me to keep making more blog posts like this one to help crafters everywhere! Thanks for your support


Adventure Awaits Baby Shower Diaper Cake

Adventure Awaits Baby Shower Diaper Cake

If you are looking for what to make for an adventure themed baby shower, you have come to the right place! There is nothing more fun and exciting then helping plan a shower for a close friend or family member! When my friend Adrienne announced she would be having her baby boy, we were all excited for her next adventure!

Since, this was her second baby she didn’t want a big fuss, but I never miss out on an opportunity to use my SIlhouette Cameo 3 to make cute things, so I devised a plan to decorate based on the baby room theme, Adventure Awaits! As a result, she was able to reuse some of the decor in baby J’s Adventure themed nursery!

The Plan: Simple Second Baby Shower

The first thing I knew I wanted to make was an Adventure themed diaper cake, They are super easy to put together and it was my gift to her, as it included diapers, and the baby swaddle blankets she registered for, and some other small cute things. If you have never made a diaper cake, it’s super easy. Grab a box of diapers, rubber bands and start rolling. I will make a tutorial soon. I did a single layer around the base and I highly recommend using a bottle of wine or champagne as the centerpiece so you can surprise her when she gets to taking it apart! Maybe she can celebrate her new adventure with a diaper change and a mimosa!

Adventure Themed Diaper Cake

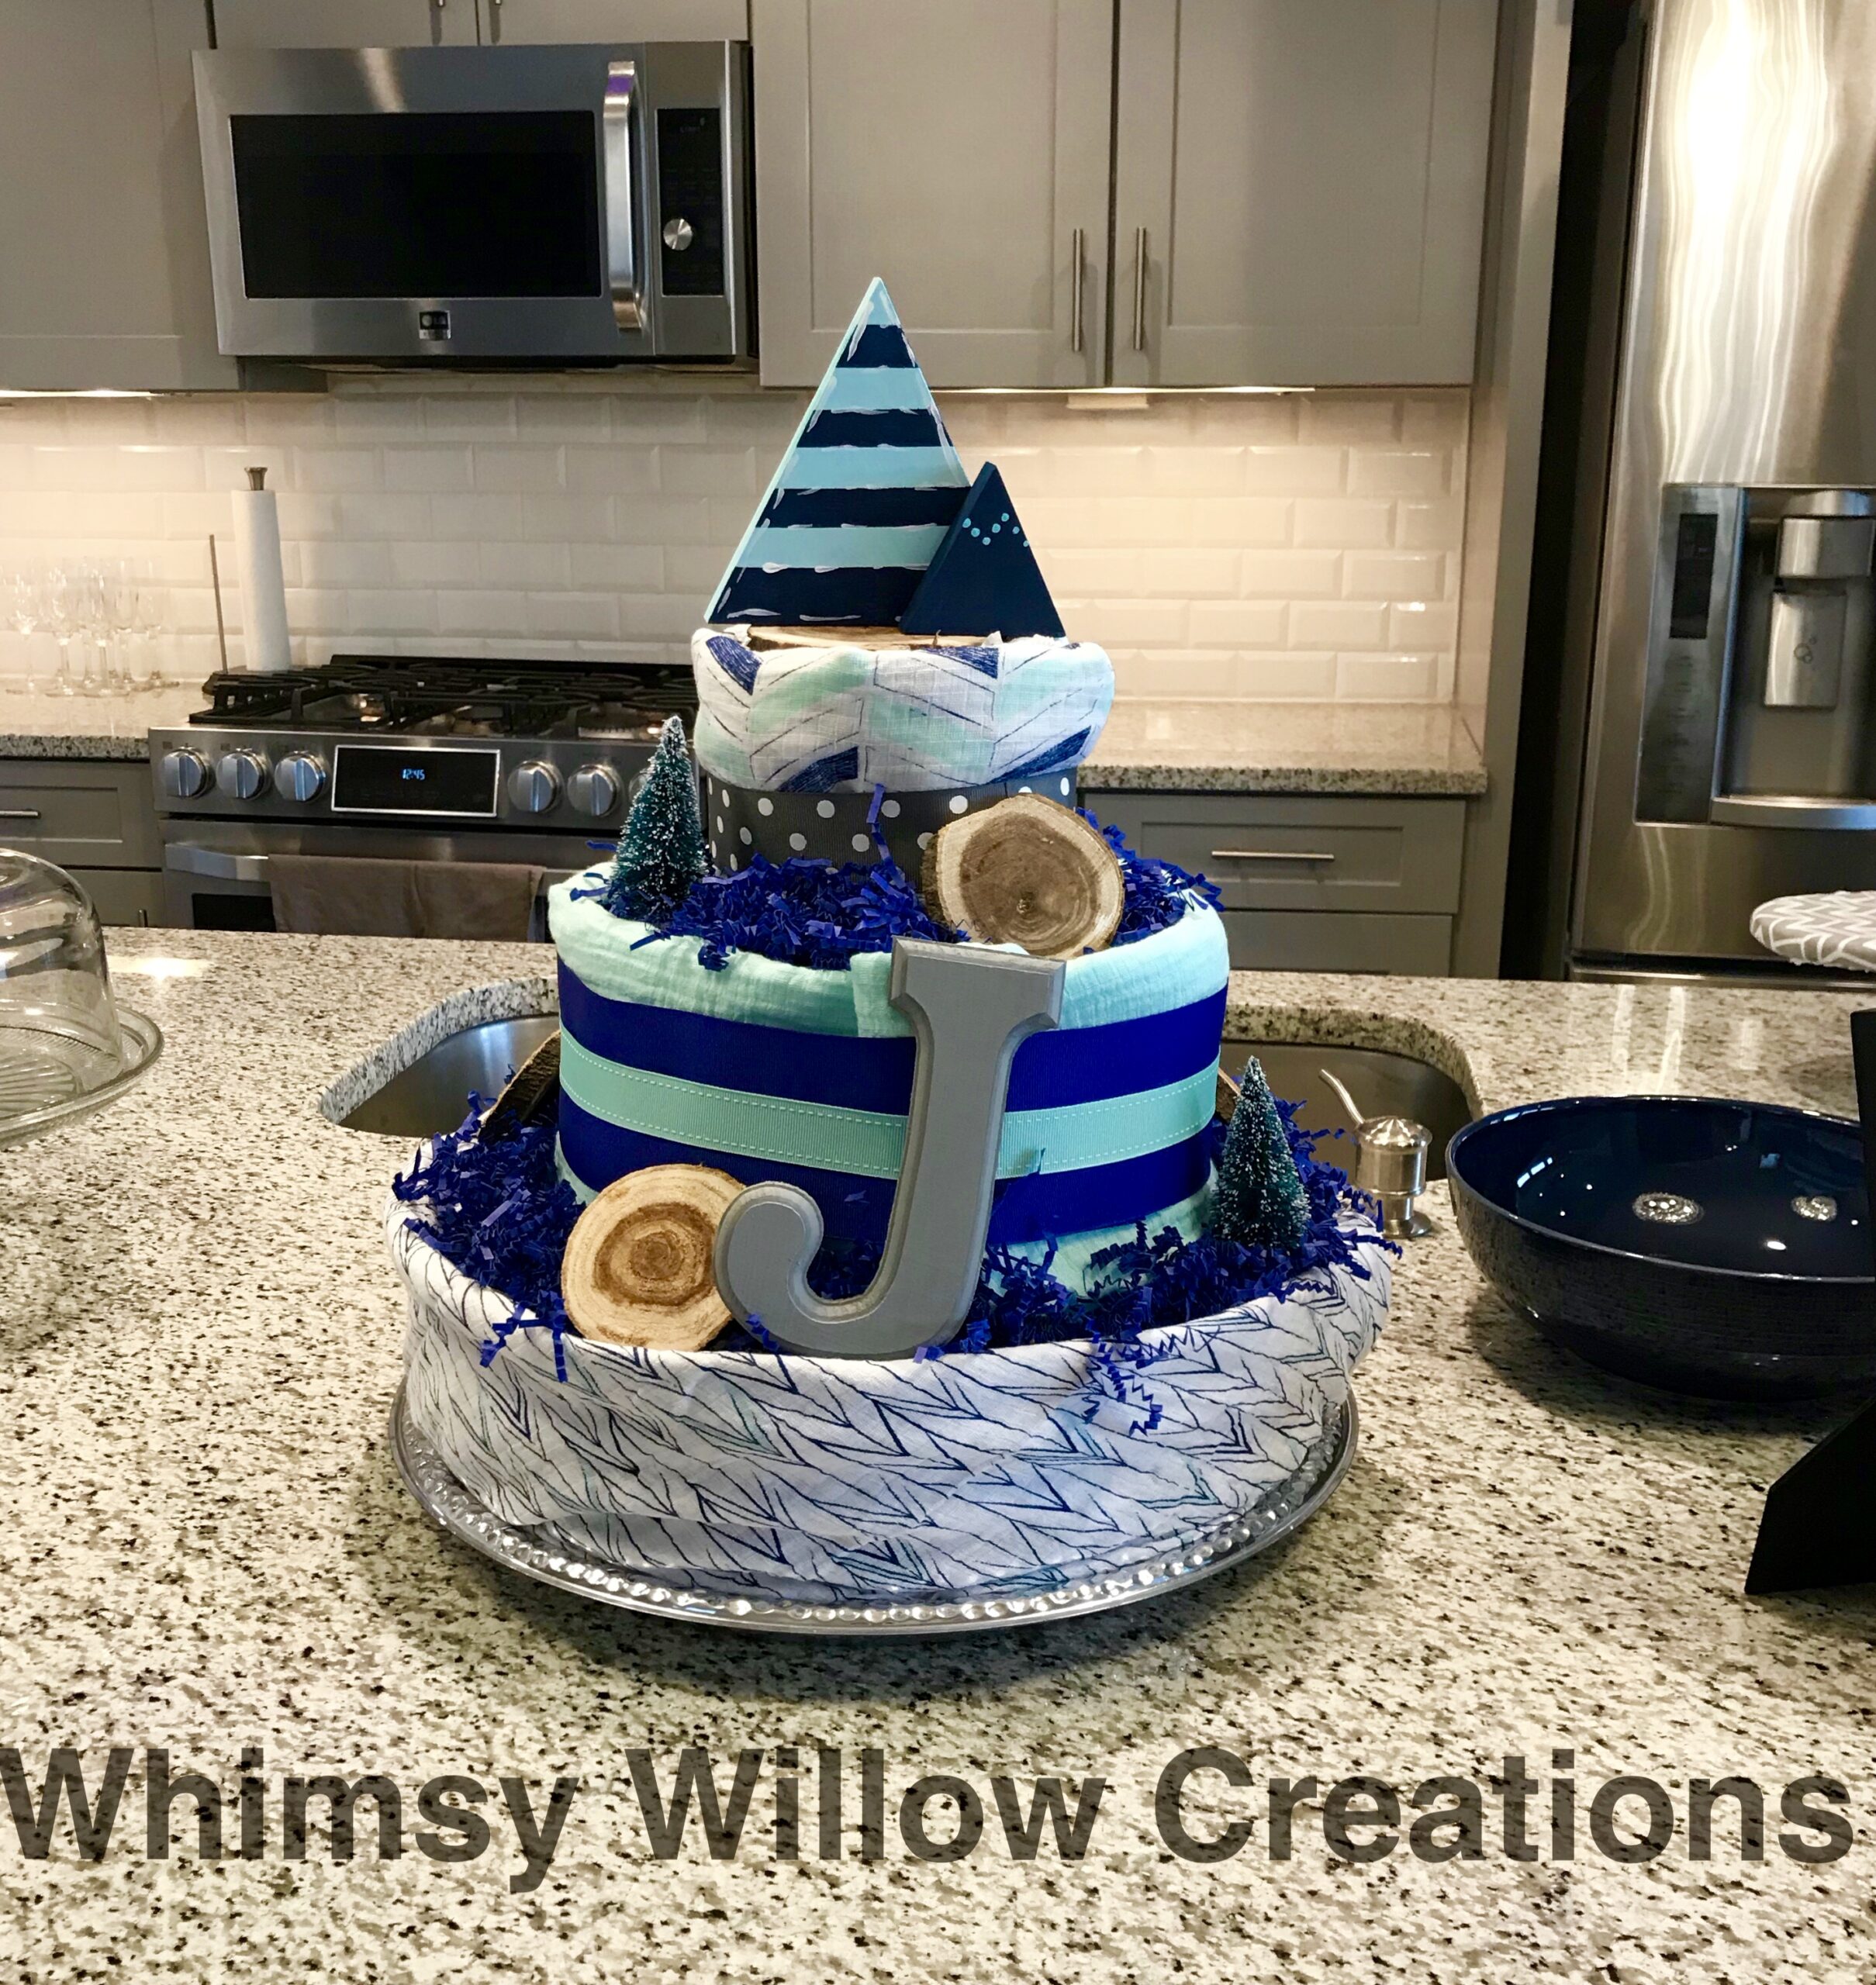
Adventure Awaits Diaper Cake   To create the diaper cake, I used a bottle of champagne for the center, 1/2 a box of Pampers Swaddlers size 1 diapers, rubber bands, , a pack of Aden and Anais swaddle blankets, wood slices, little doll house trees, and the topper was 2 hand cut triangles that I painted to look like mountains to match her baby bedding(Woodland Trail 4 Piece Forest Animal Theme Patchwork Baby Boy Crib Bedding Set) I picked up a letter J for Jenson at Michaels and painted it with Americana paint to match. Next, the adventure cake needed to be covered, so I wrapped the blankets around the layers of diapers and tucked them in.  After that, I  wrapped the ribbon around to hold the adventure blankets in place. The ribbon I secured with sewing pins, and I strategically placed trees to cover them! Fill in the layers with a little blue crinkle paper, and you are ready to go! I put this on a silver plastic platter from Costco for easy transport, but you could easily use a cake board or tray. I originally was going to use a giant wood slice, but I couldn’t find one I liked last minute! We are so excited to be on this adventure with Adrienne and baby J!

Supplies | Adventure Themed Diaper Cake


That’s it! Super easy and super cute Adventure Awaits diaper cake took me less than an hour to make…(paint your letter first!, it takes 2 coats!)

If you are looking for more ideas on what to make for an Adventure Awaits themed baby shower, stay tuned, more projects from this shower are coming soon, including the Don’t wake the bear door sign, trail mix favors, DIY onesie bar, and how I used my Silhouette Cameo 3 to tie it all together


Happy crafting,

You might also like


https://whimsywillowcreations.com/product/little-explorer-mountain-cut-file/

https://whimsywillowcreations.com/product/dont-wake-bear-cut-file/

https://whimsywillowcreations.com/product/brave-arrow-cut-file/

What do I need with a Heat Press

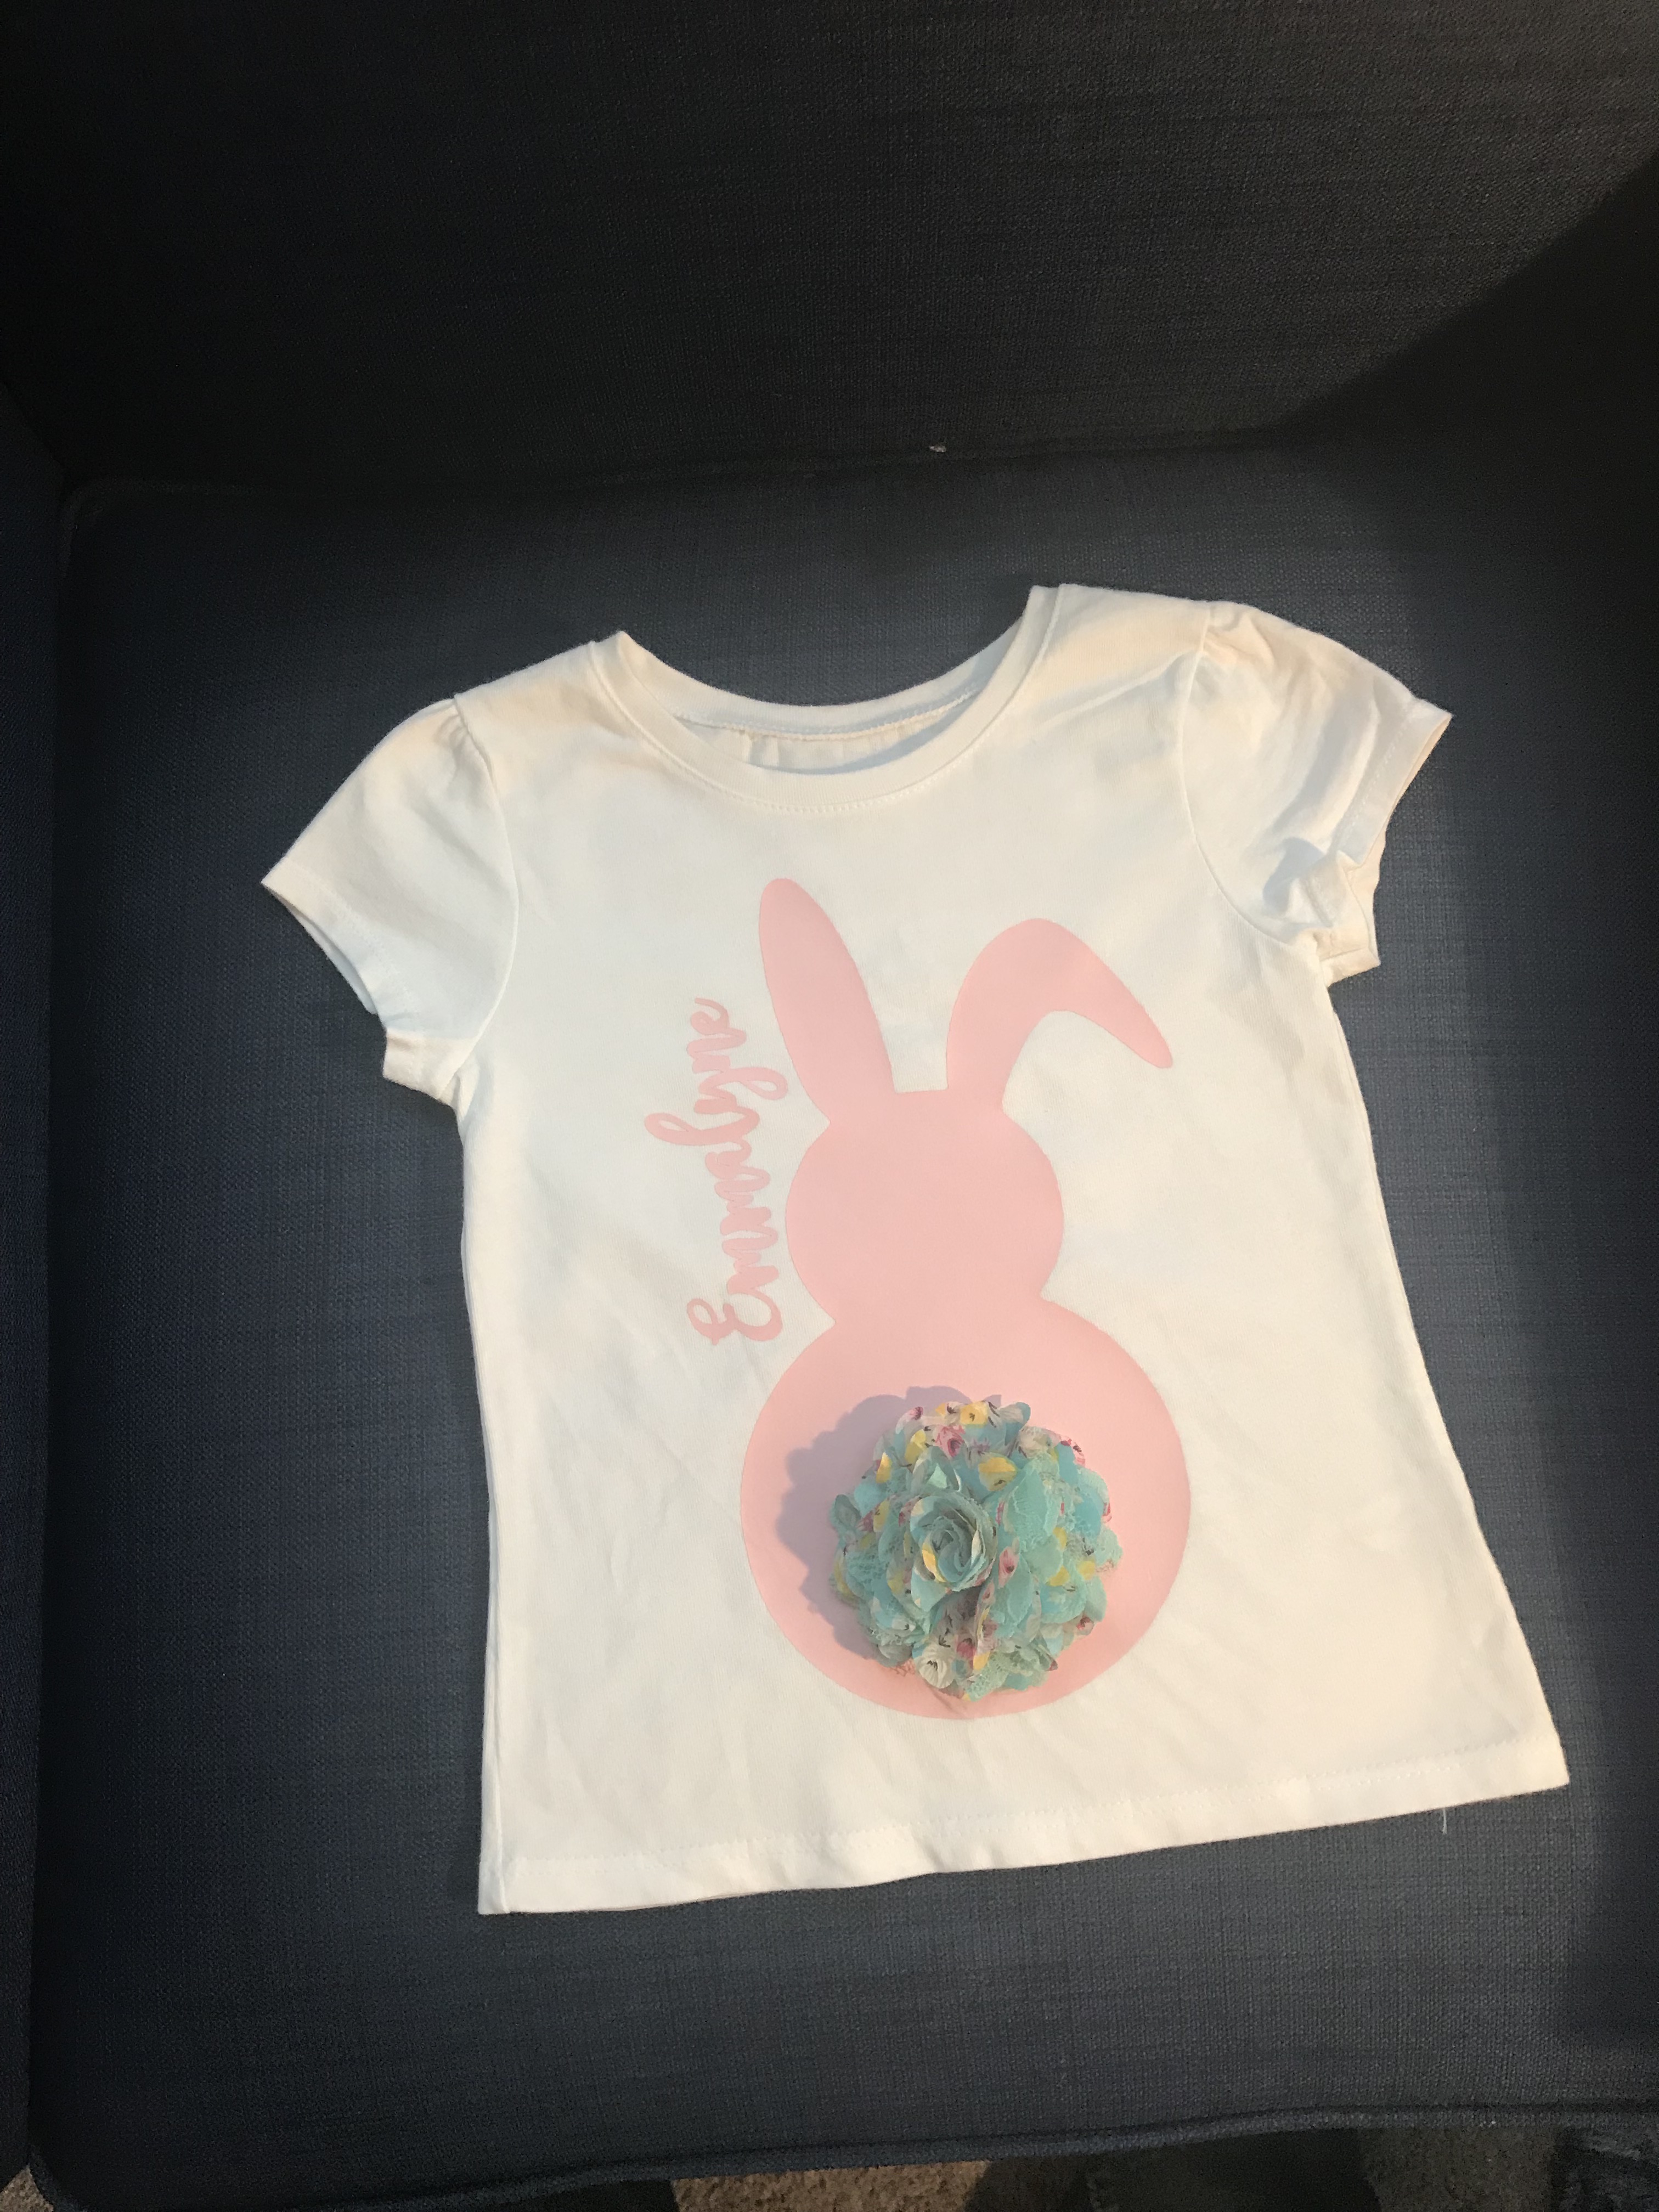
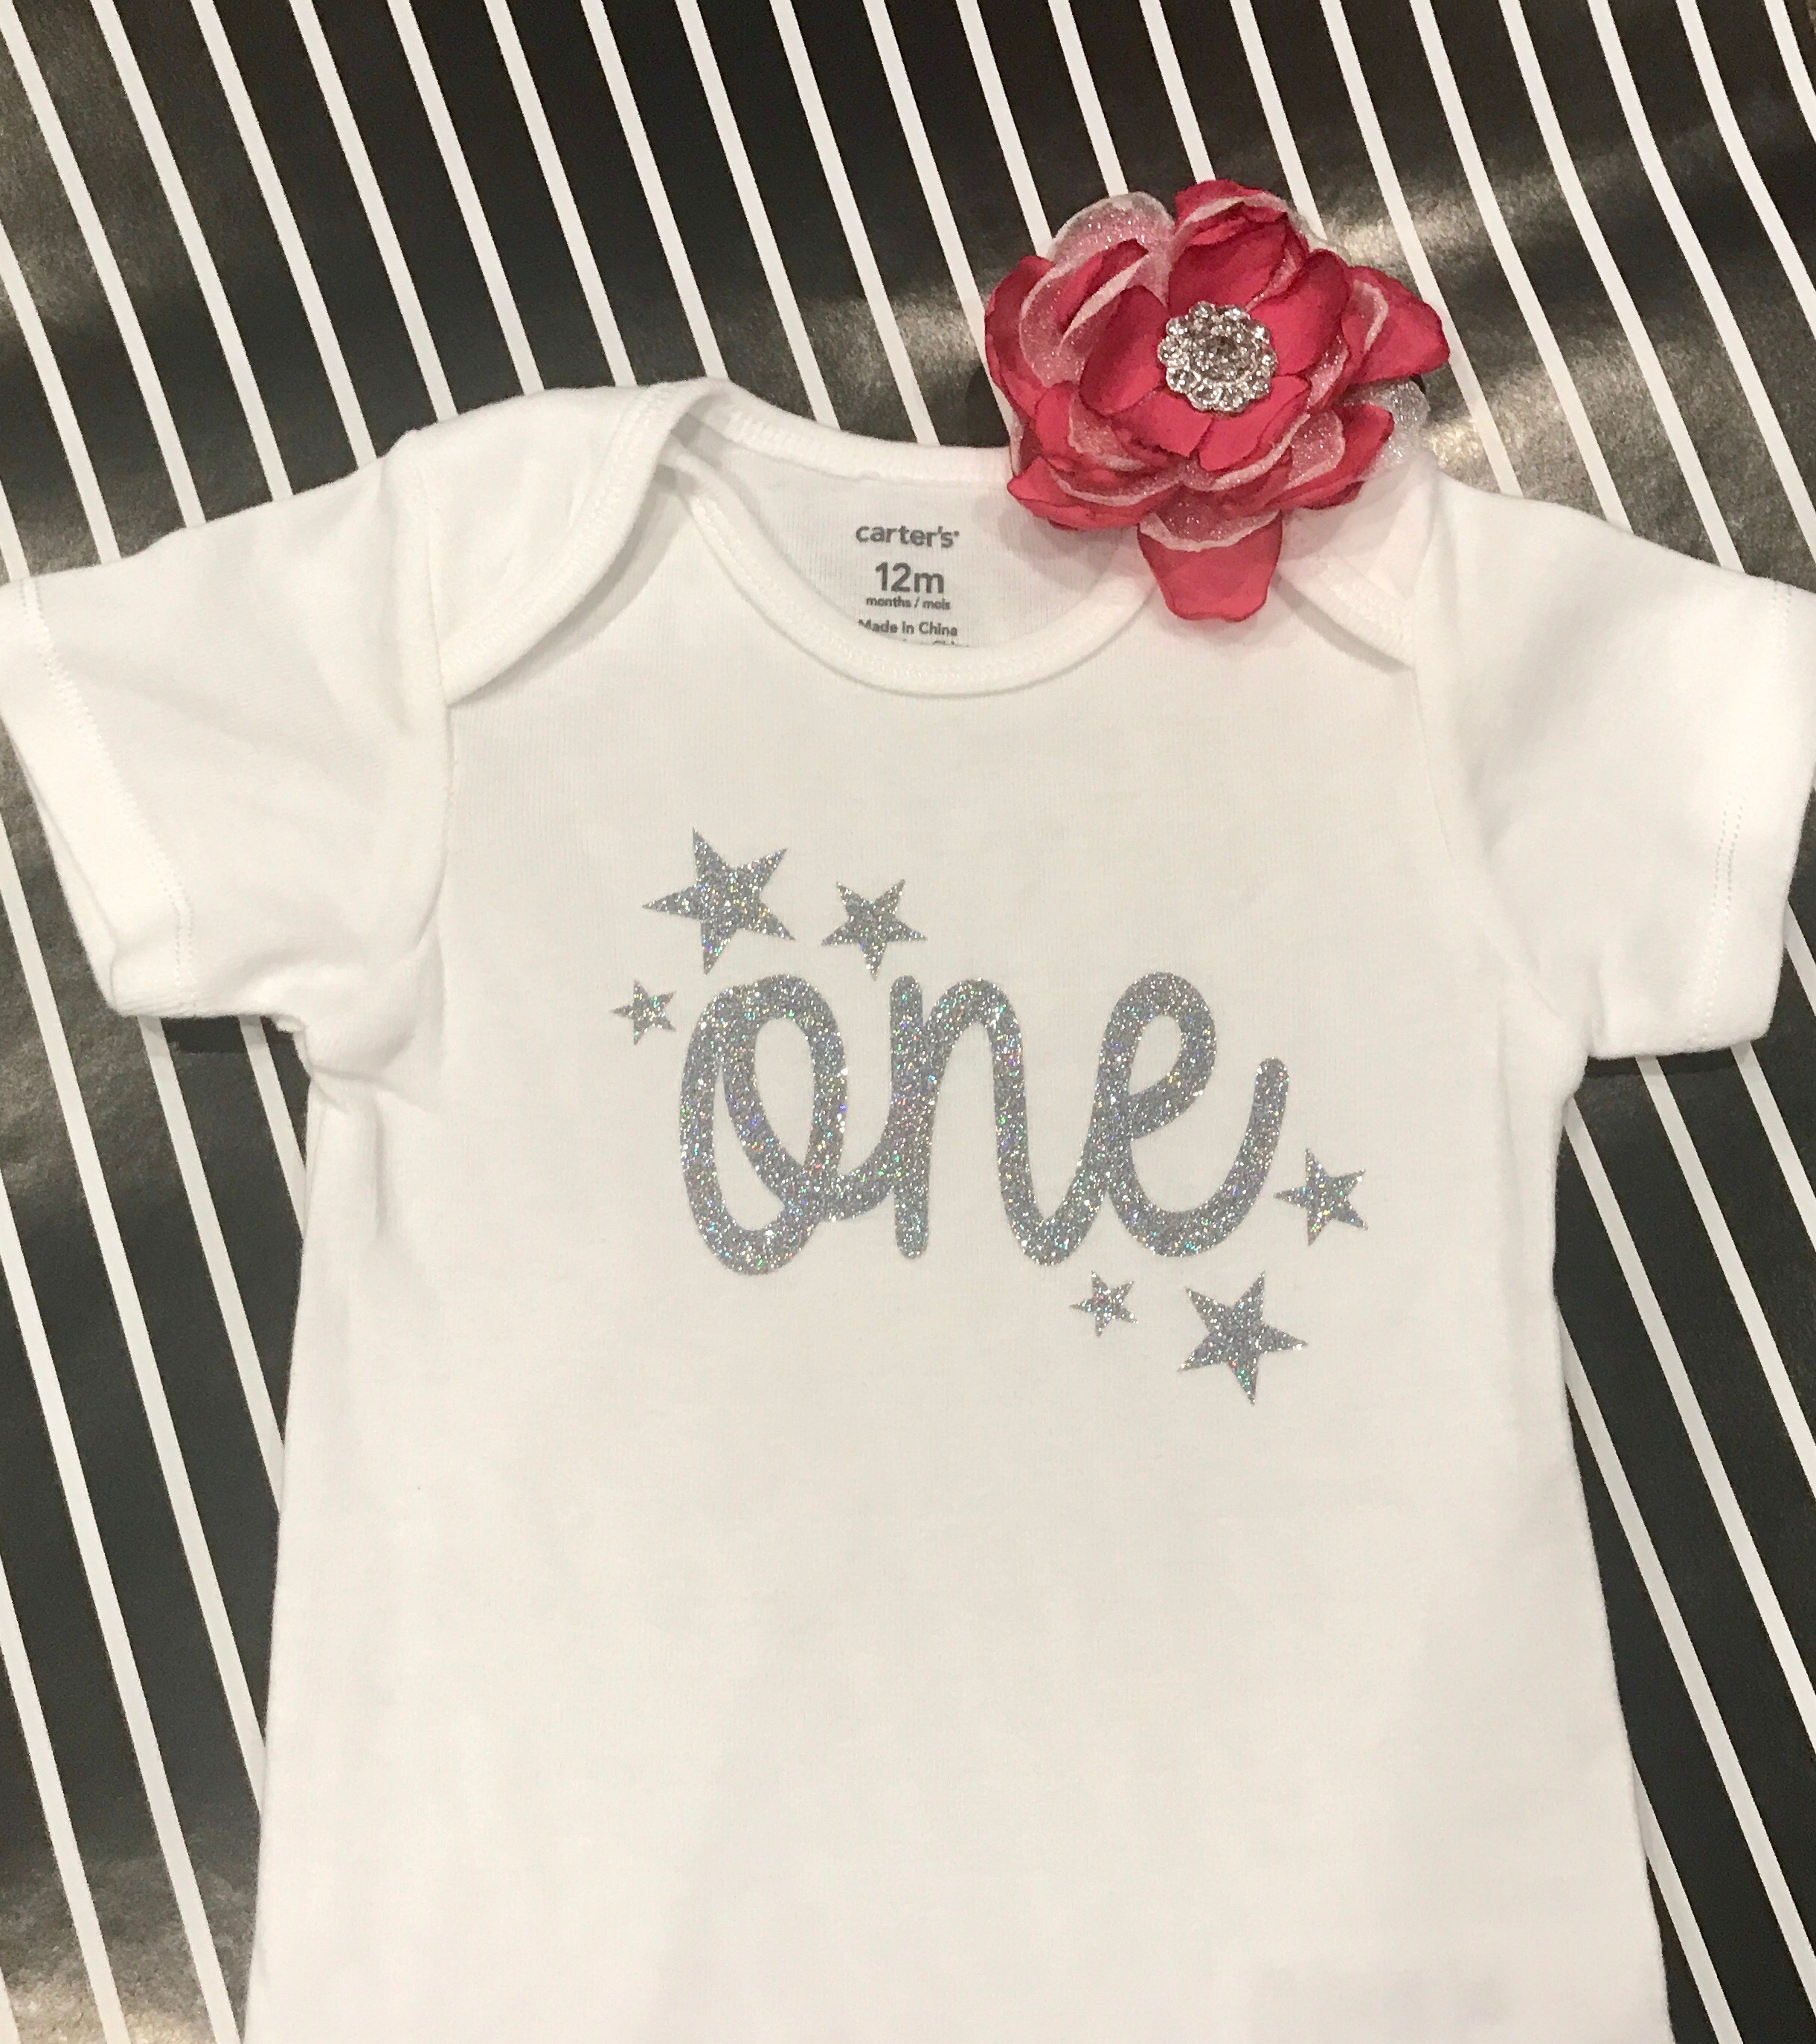
Are you searching and waiting and wondering what you need to order with a heat press? I spent months looking for the best deal, researching what I wanted to make, and ultimately landed on a 15×15 clamshell style press, but I had no idea what I needed to go with it. If this is you, you’re in luck. I’ve prepared a list of what I bought, and am sharing some of my favorite projects below!

Must Have Heat Press Accessories

Teflon Sheet to protect your press and items to be pressed.

.


Heat Transfer Vinyl (HTV)

My favorite brand is Siser and there are 3 types I use most of the time.

  1. Sister Heat Transfer
  2. Sister Stretch (good for baby clothes and ladies shirts that stretch with the bust)
  3. Siser Glitter

You should also know there are some beautiful printed HTV patterns, and I buy mine from here! Check out all of these floral and holiday patterns! I love them all! Printed Heat Transfer Vinyl

Each type comes in multiple colors and sheet sizes, so you can order just what you need for your project!

Blank Items to press

Some of my favorite creations have been made using my heat press. I like to look for inexpensive blanks so that I can change things up frequently. Here’s a few ideas!

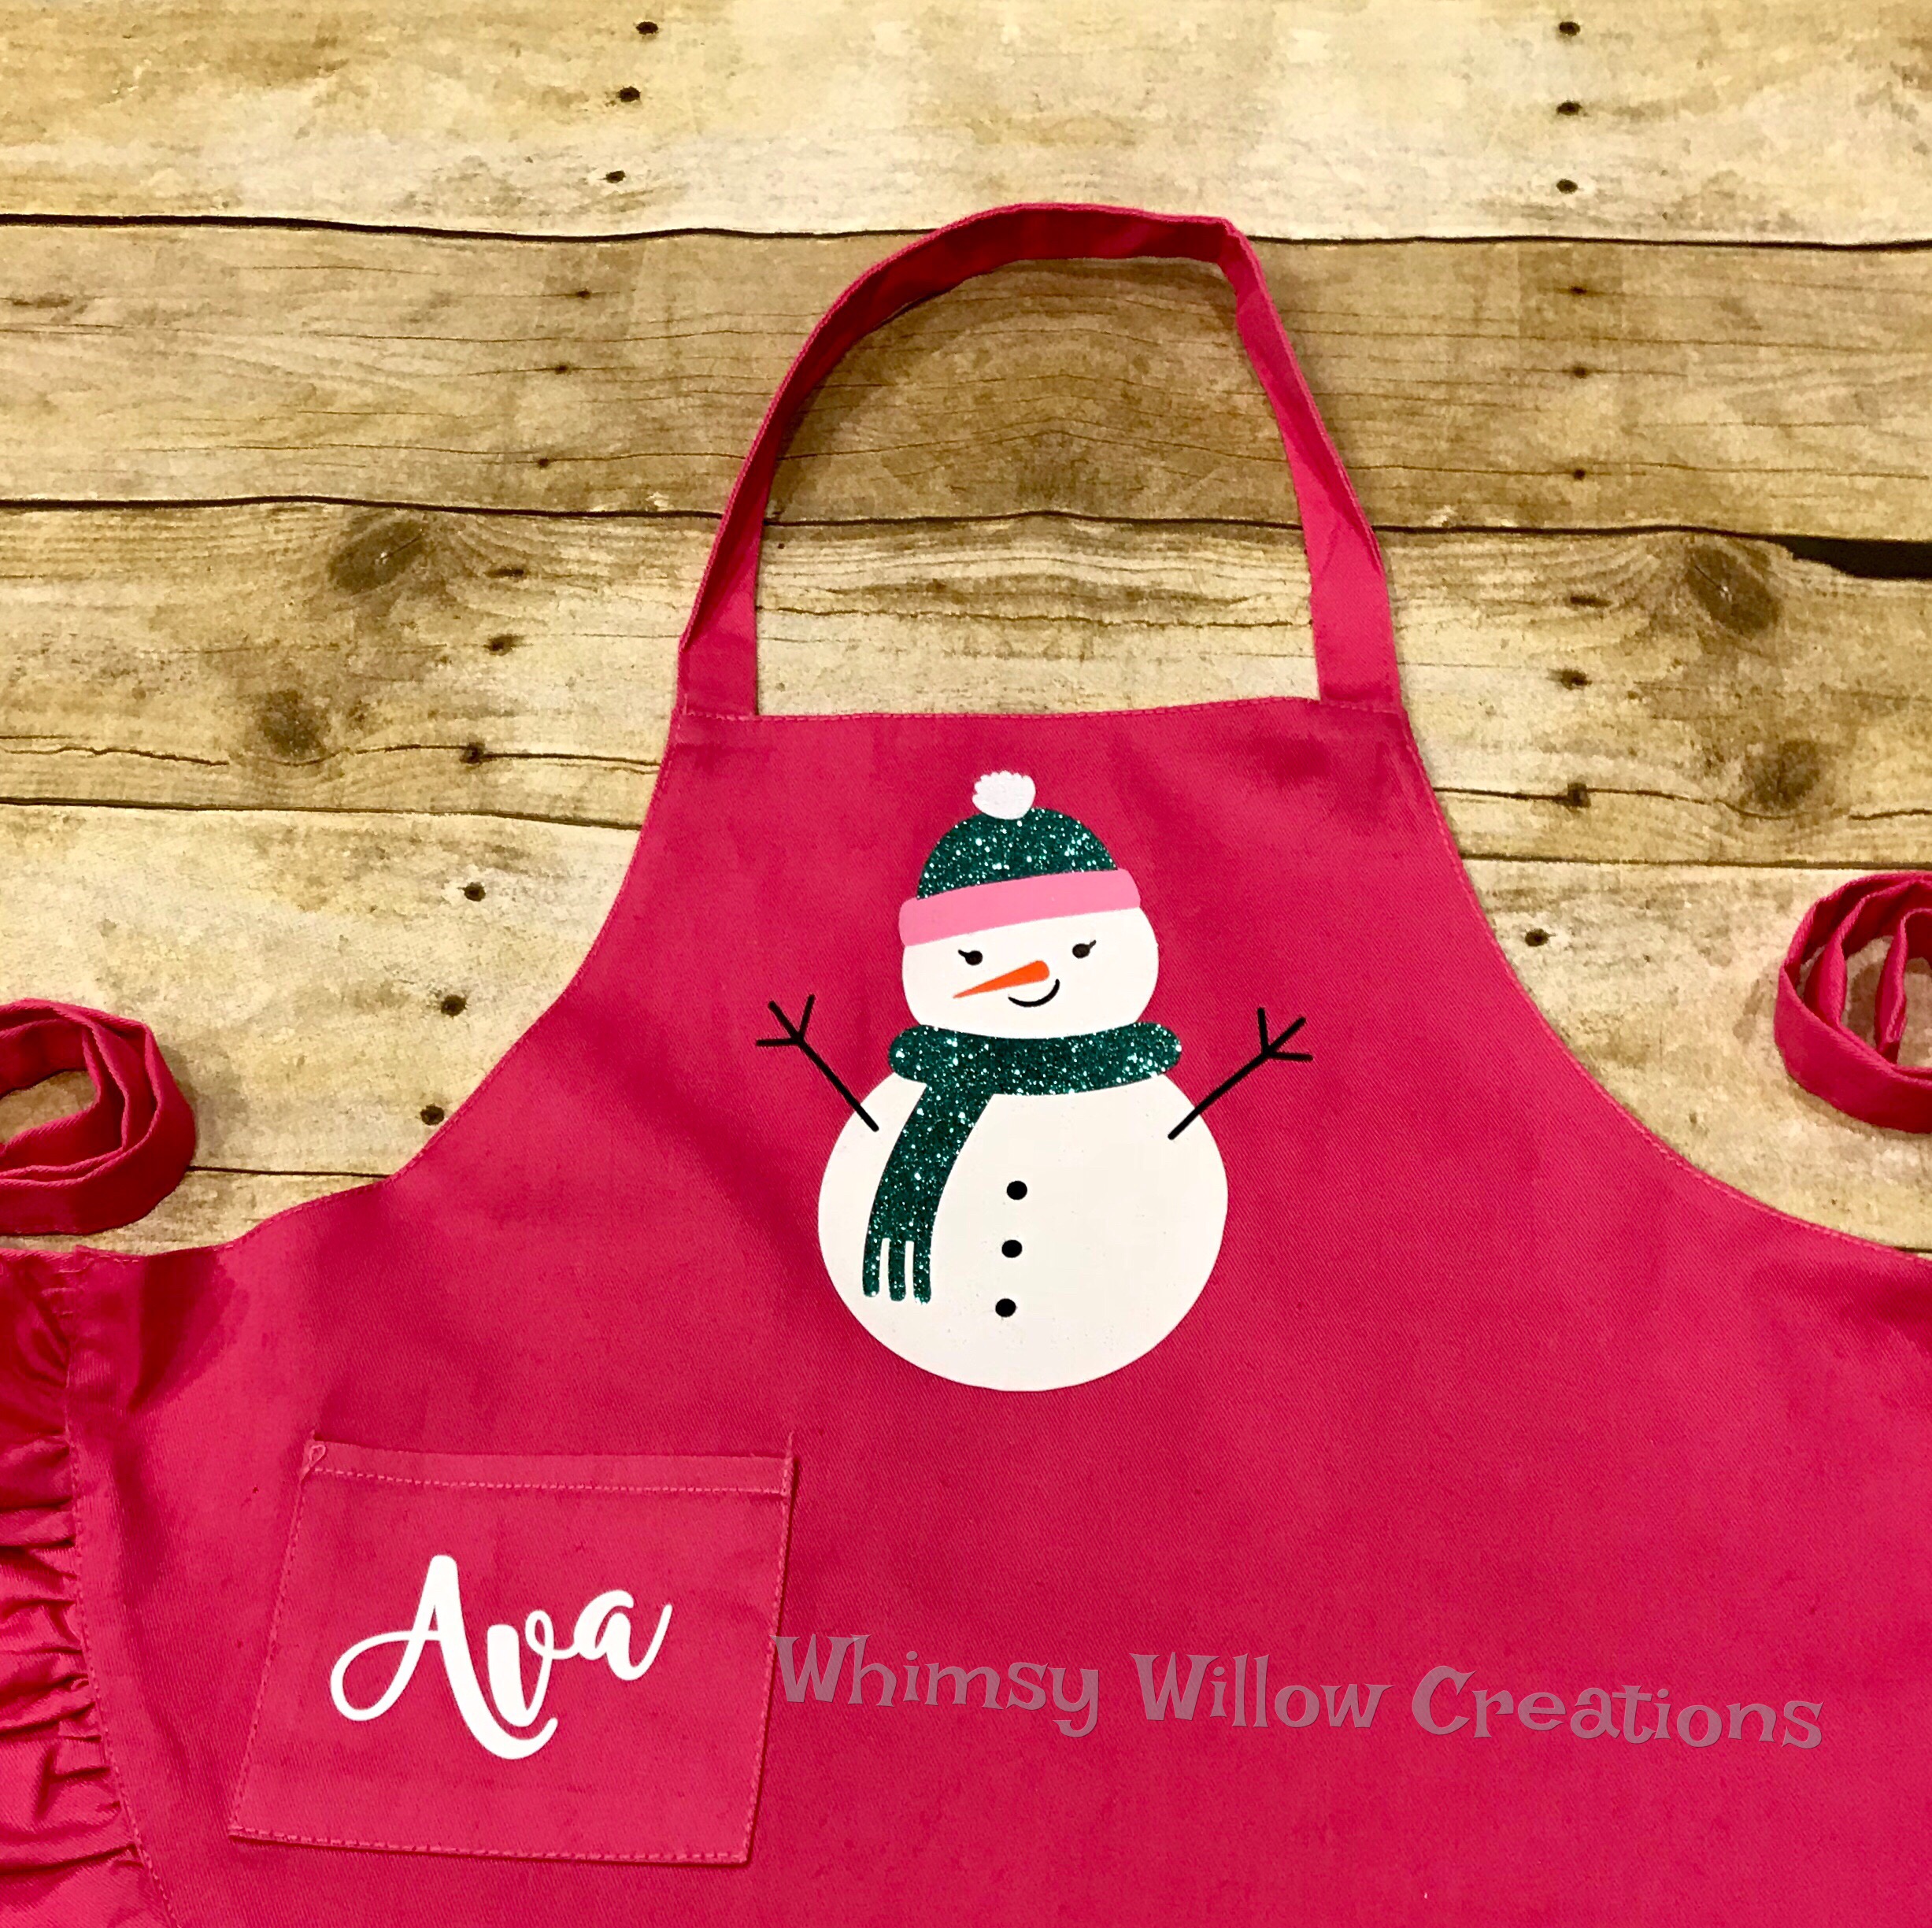
  1. Apronsorder some here
  2. Dish Towels 6 pack of white
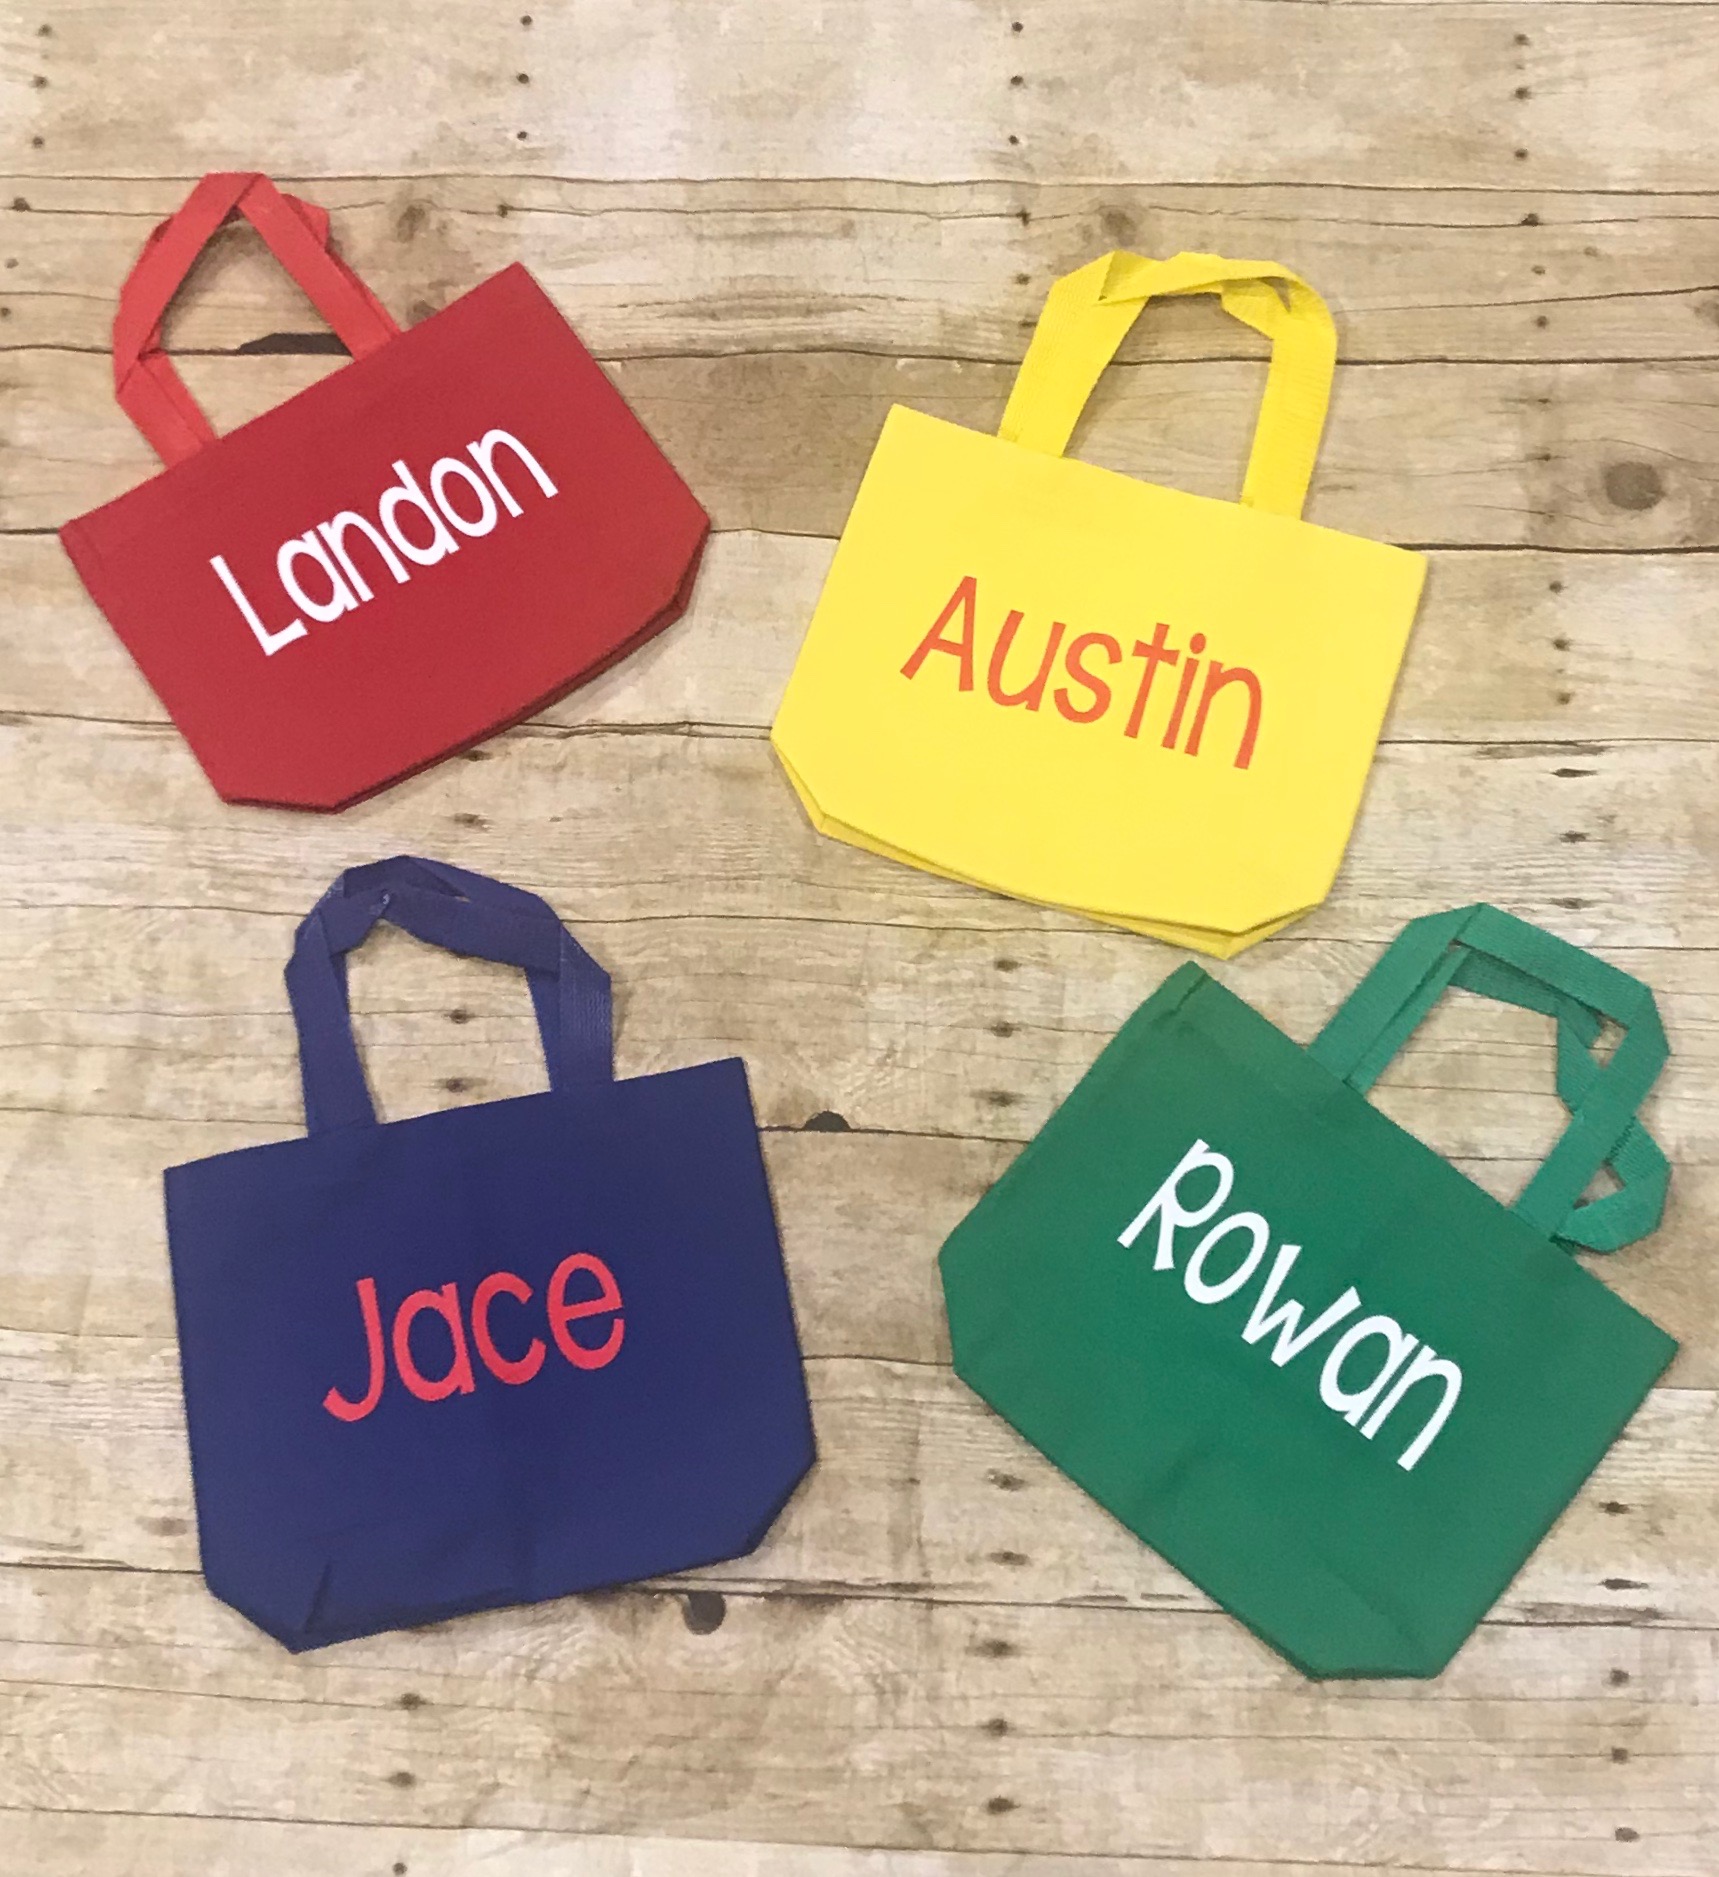
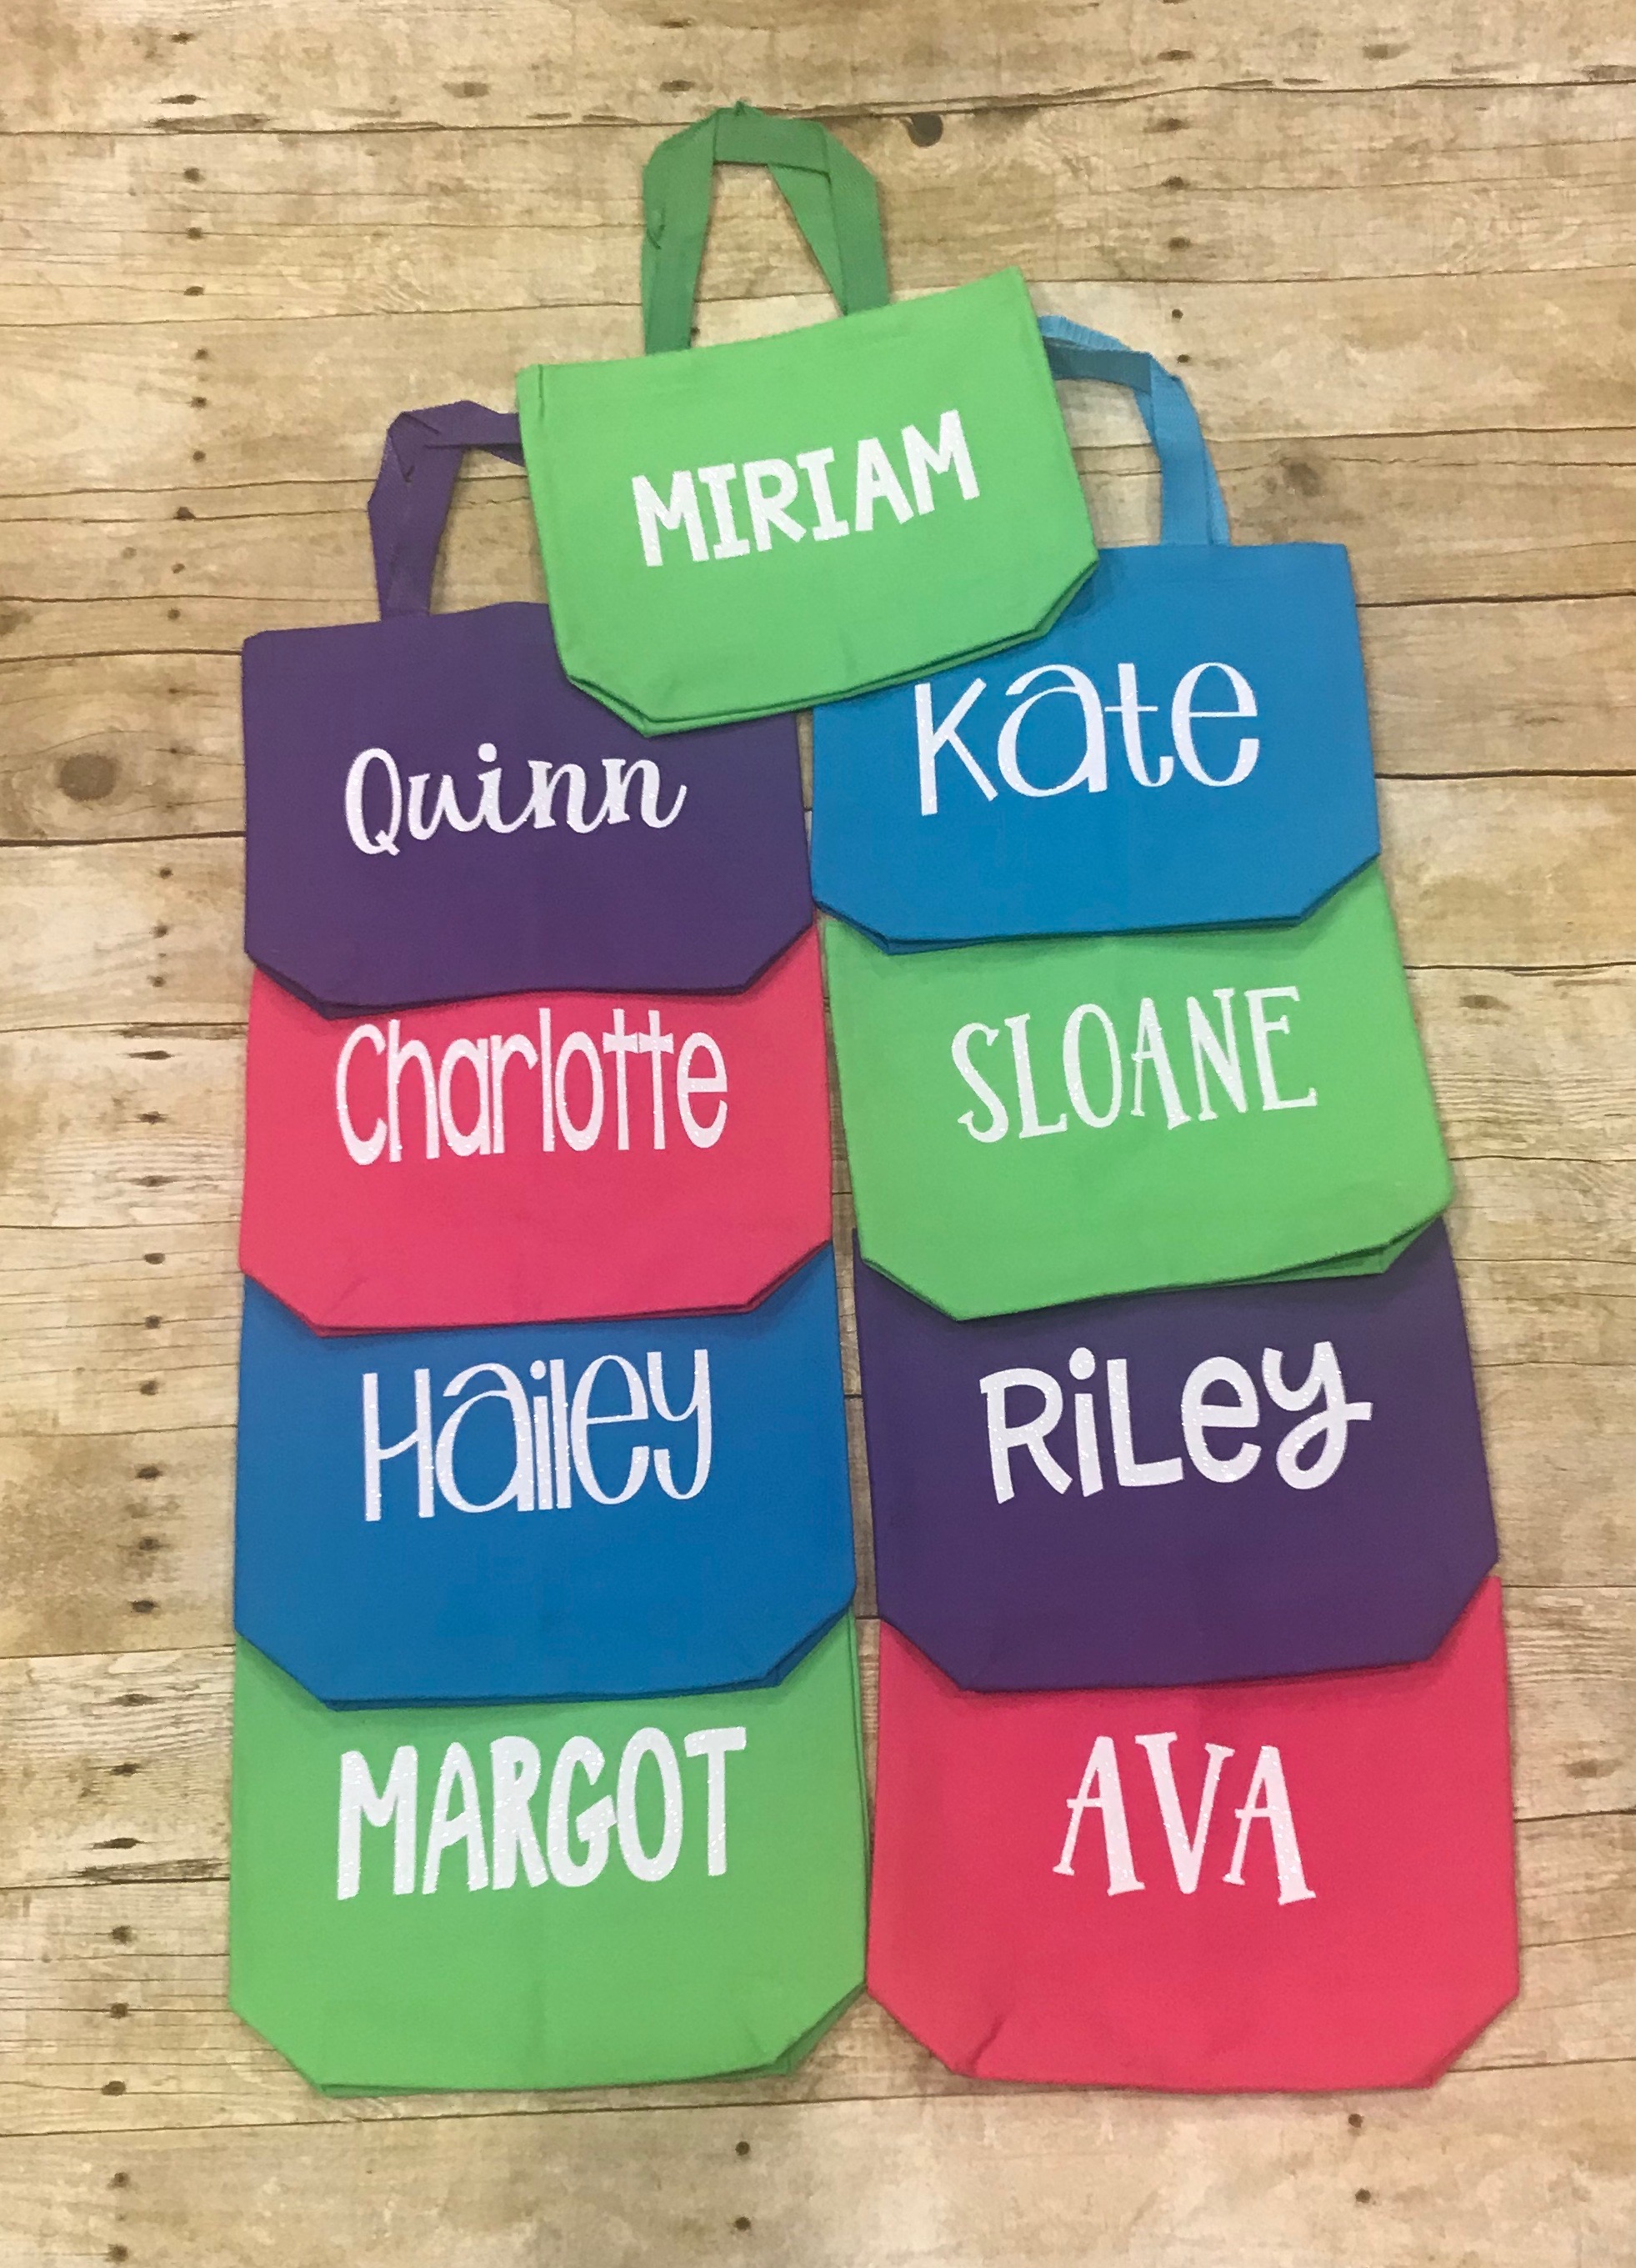
  3. Tote Bags Canvas, multiple sizes
  4. Make up Bags Glitter bottom
  5. Blankets
  6. Cheer Bows
  7. Koozies
  8. Popsicle holders
  9. Felt board accents
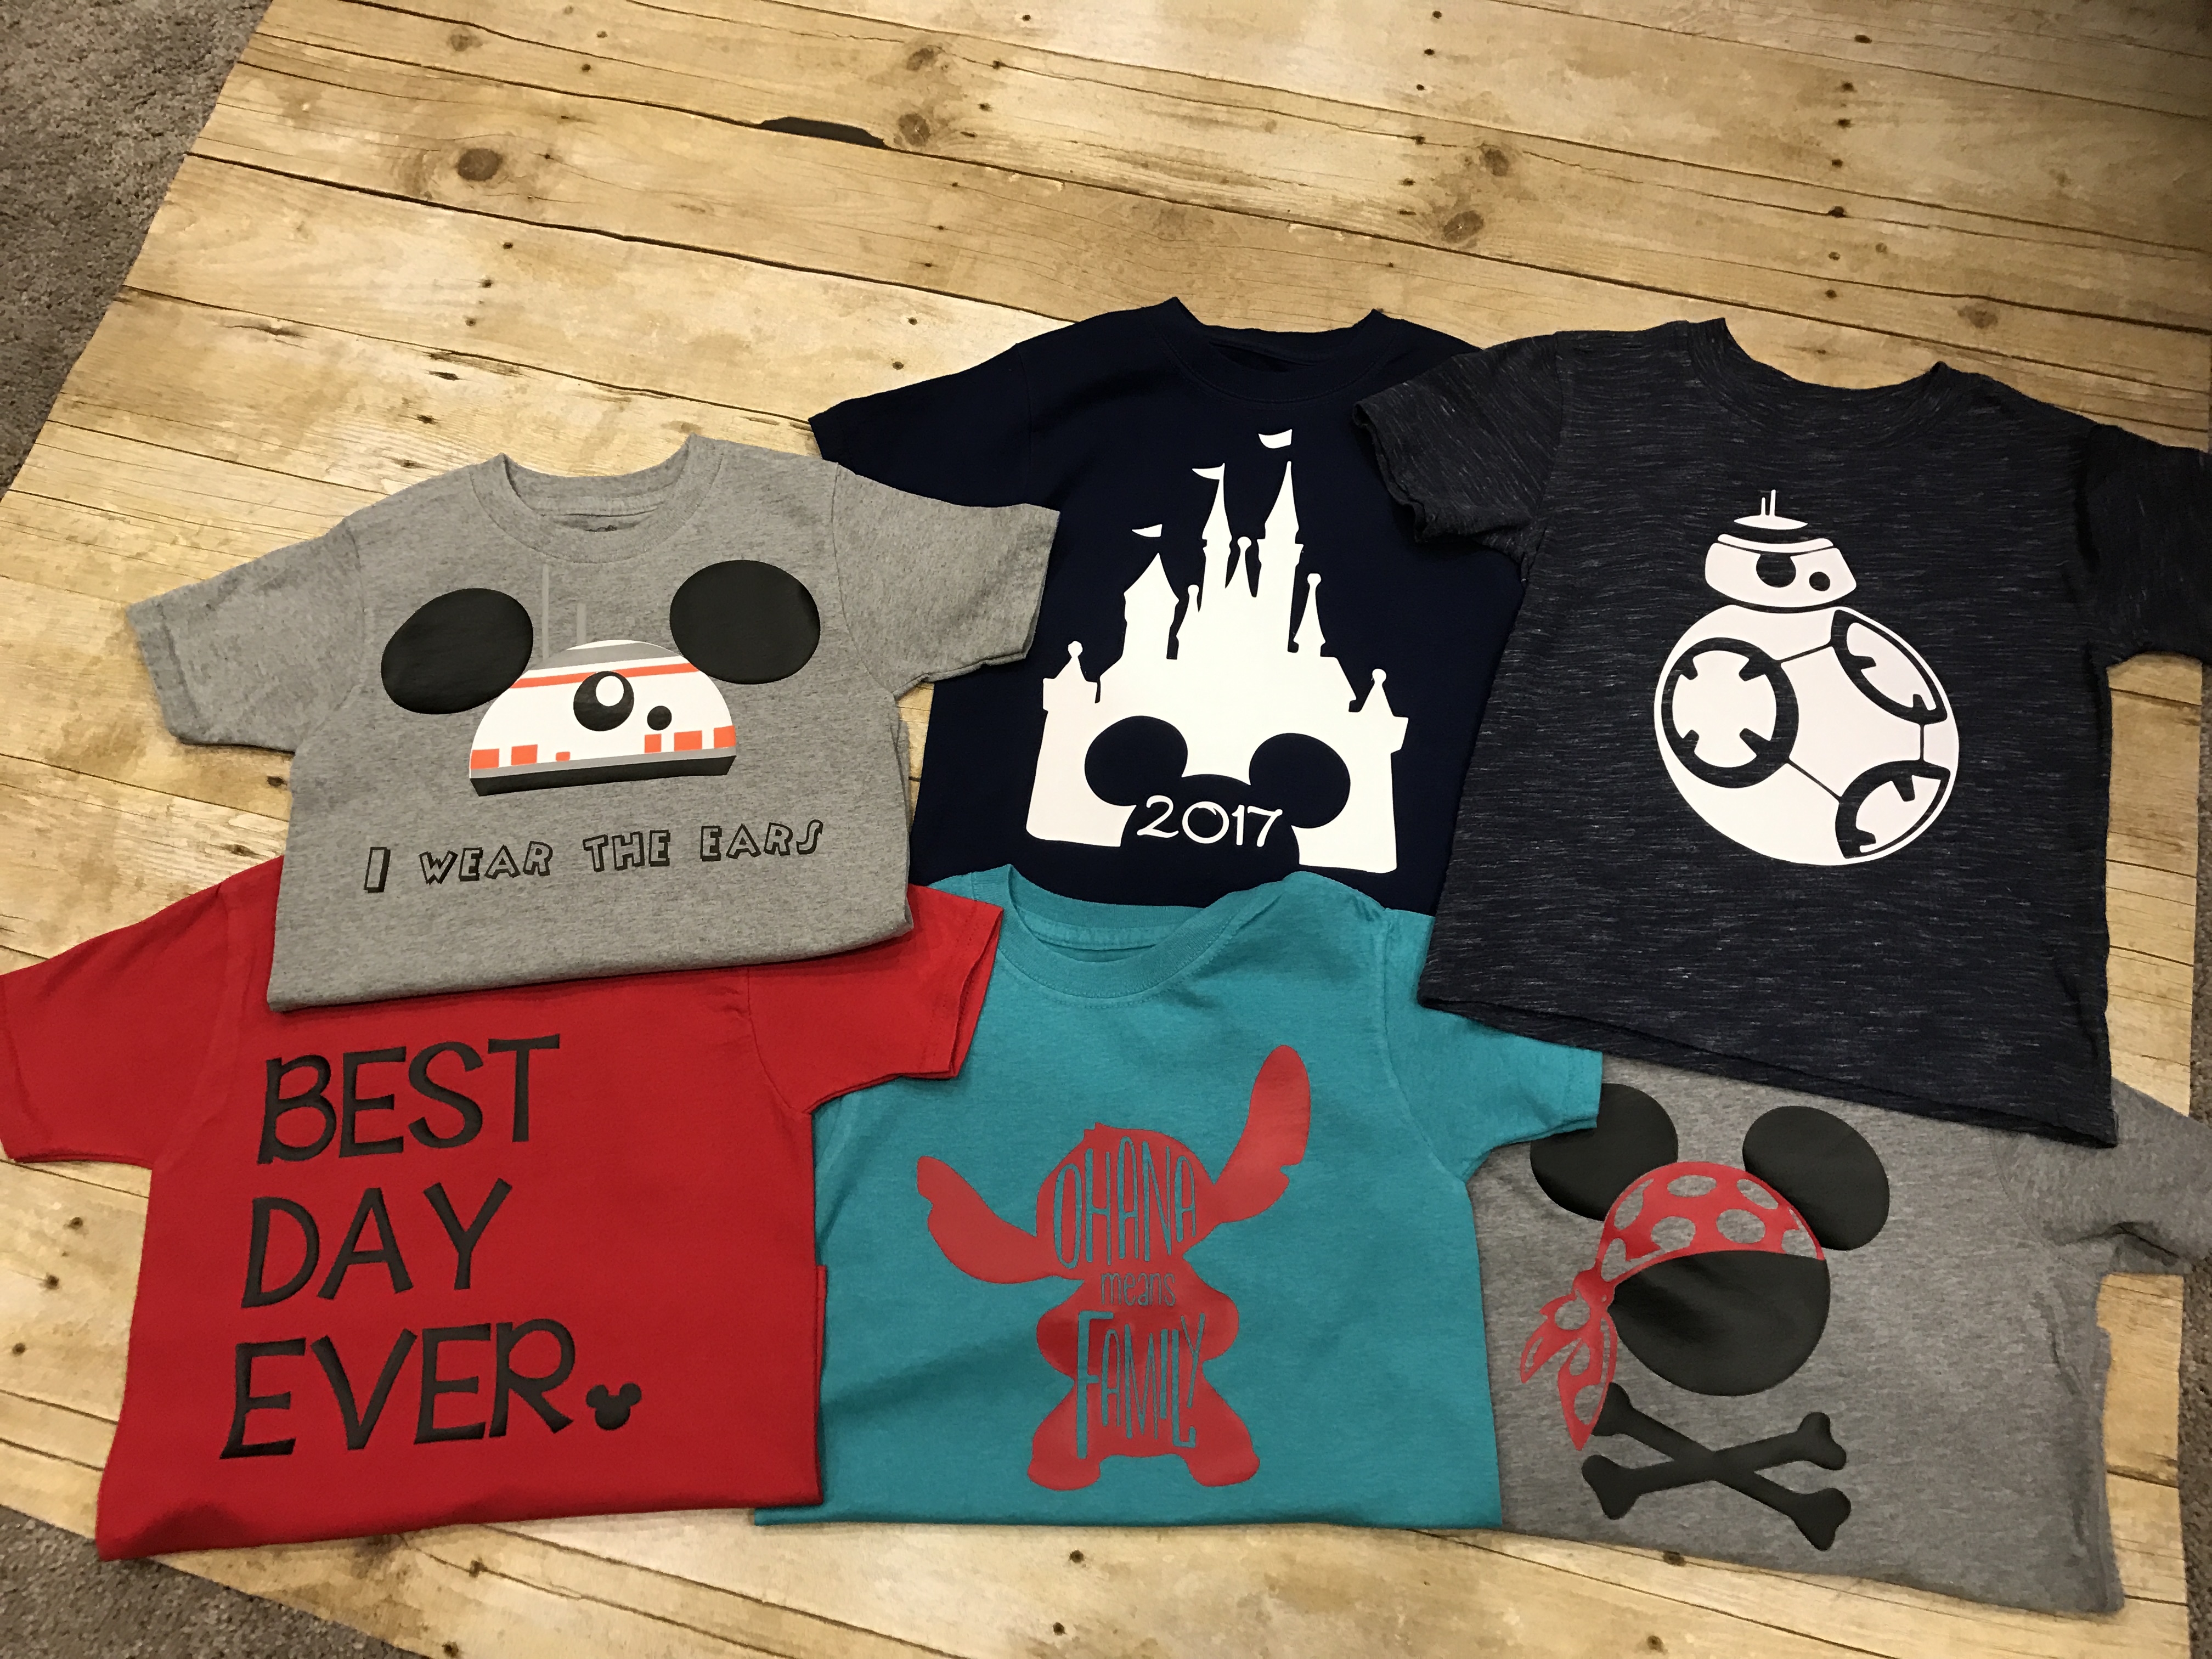
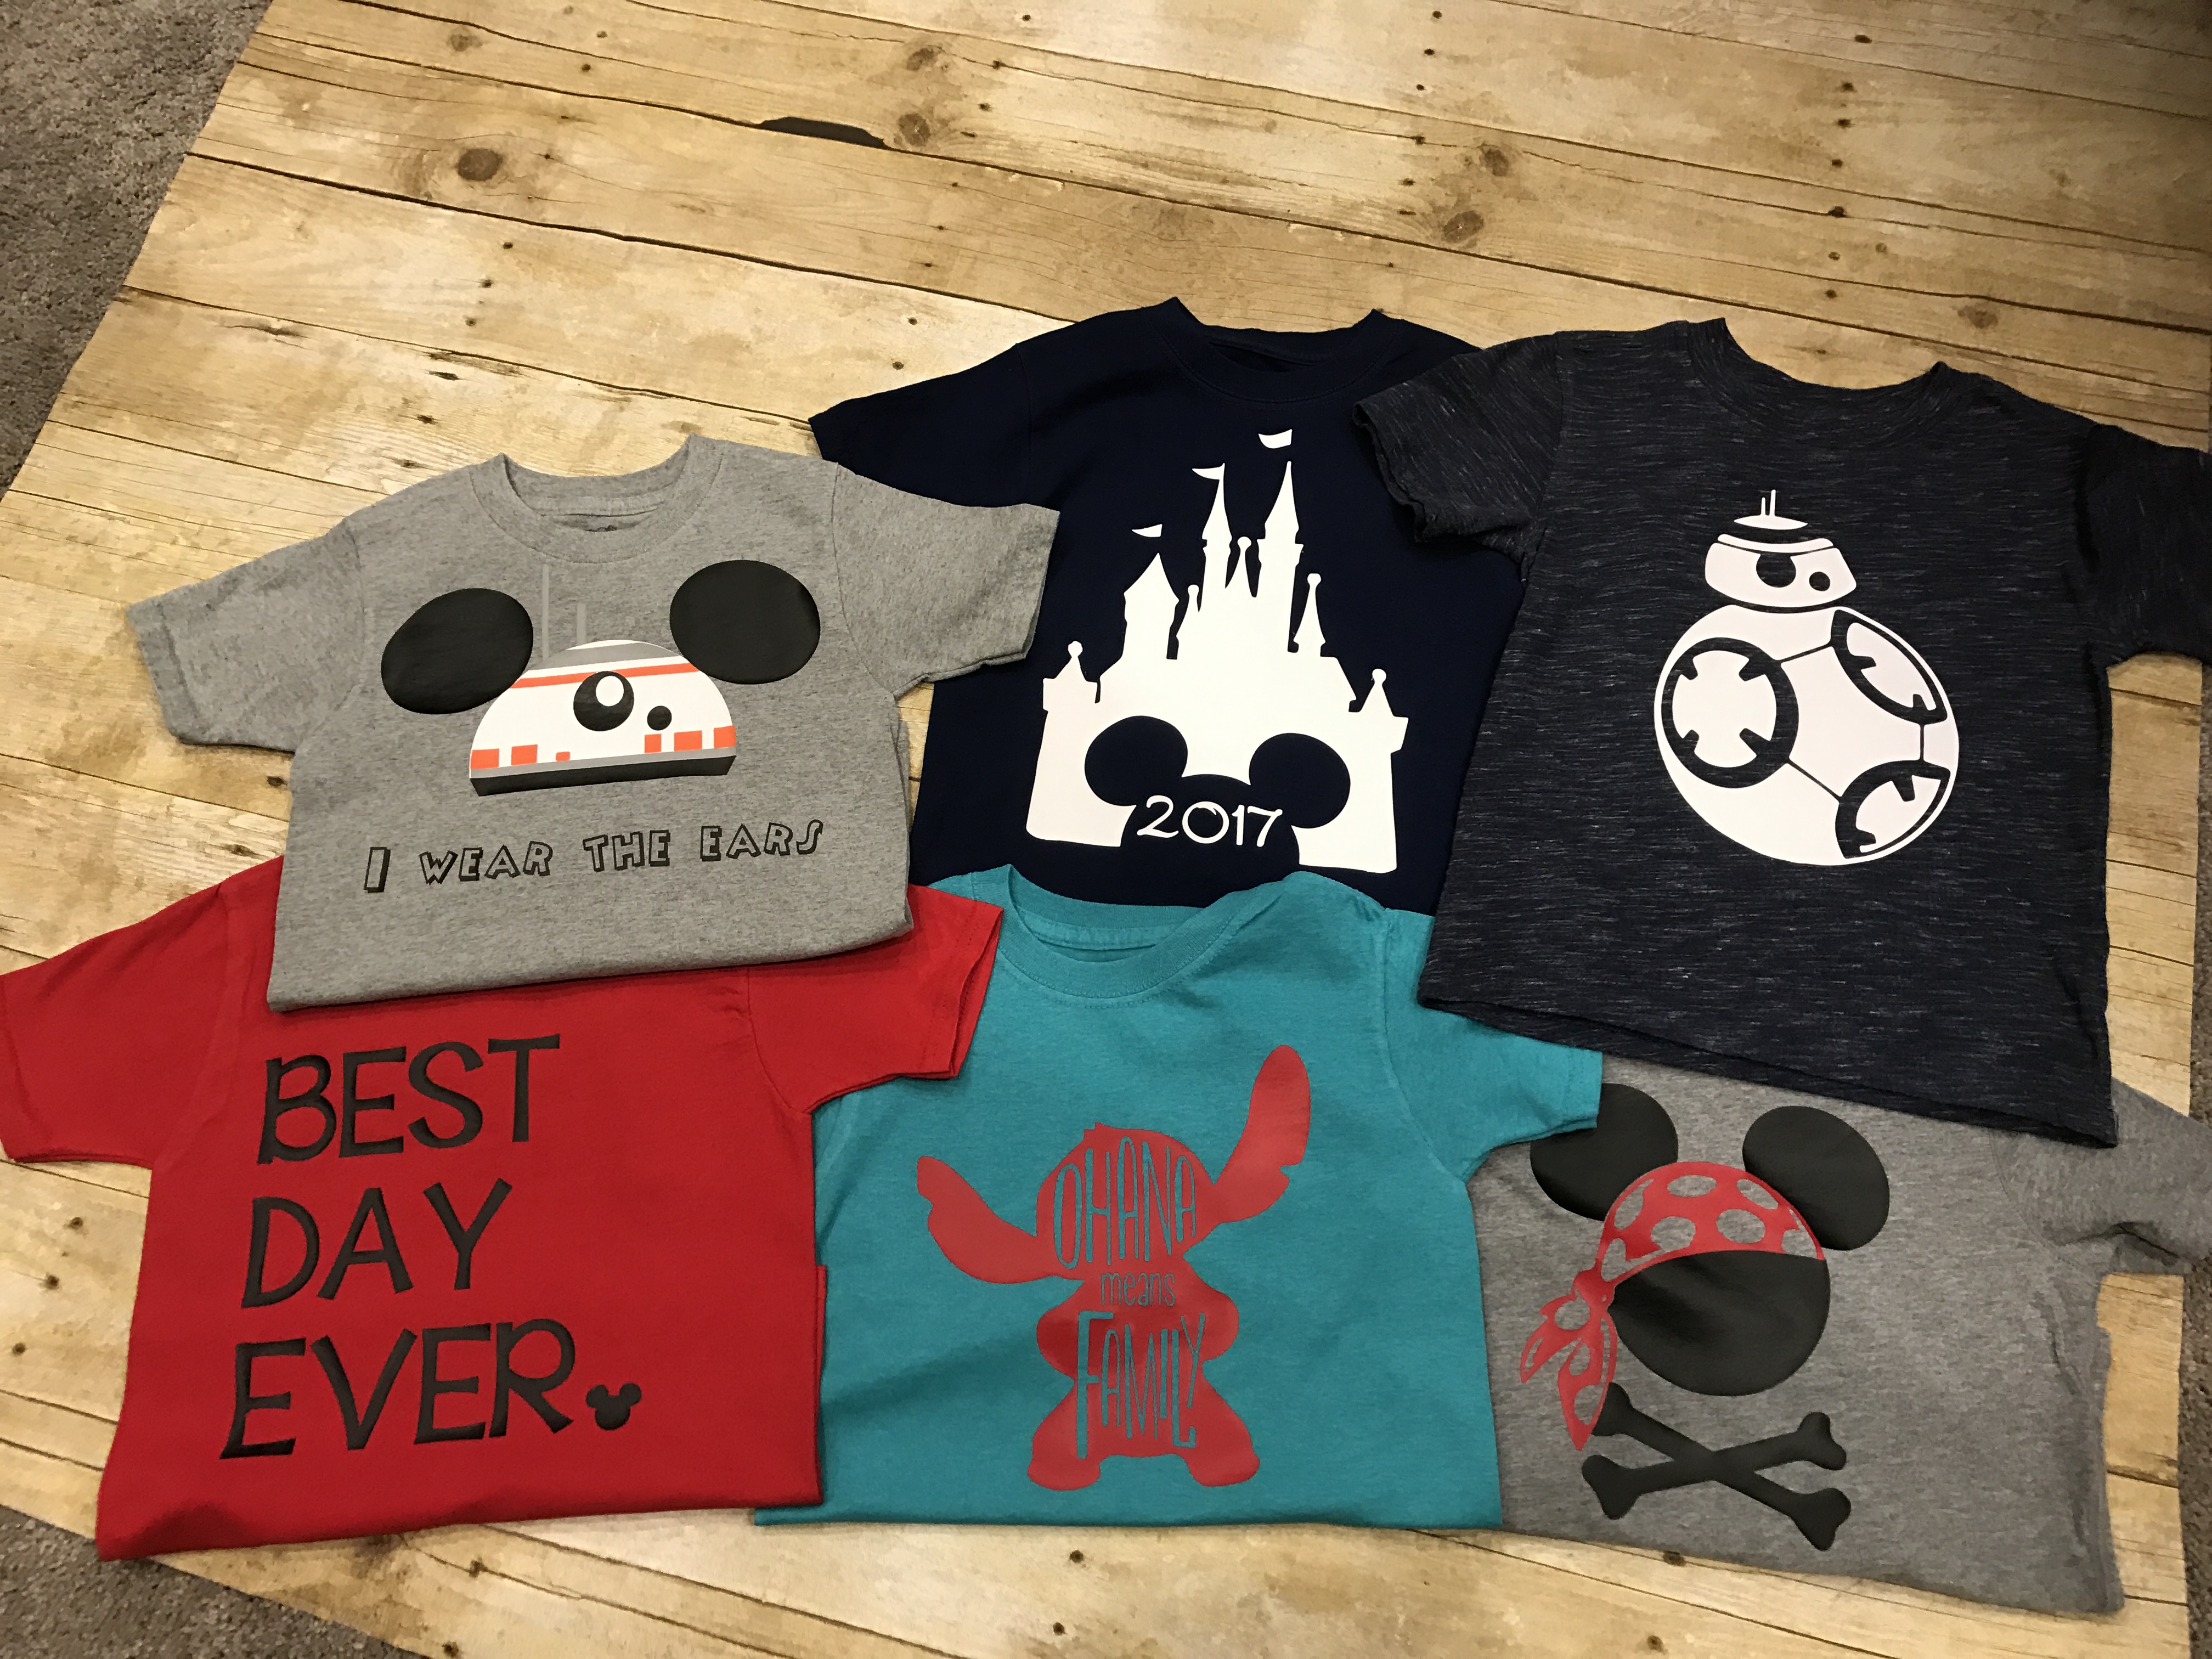
  10. Family VACATION SHIRTS!!!!!!

CUTTING MACHINE

I love my Silhouette Cameo 3, and highly recommend it. You can also use a Cricut machine to cut Heat Transfer Vinyl. If you need help picking which one is right for you, join us on Facebook at Cameo Craft Class and we can talk to you about some of the differences.


Check out some of these Heat Transfer Vinyl Projects!


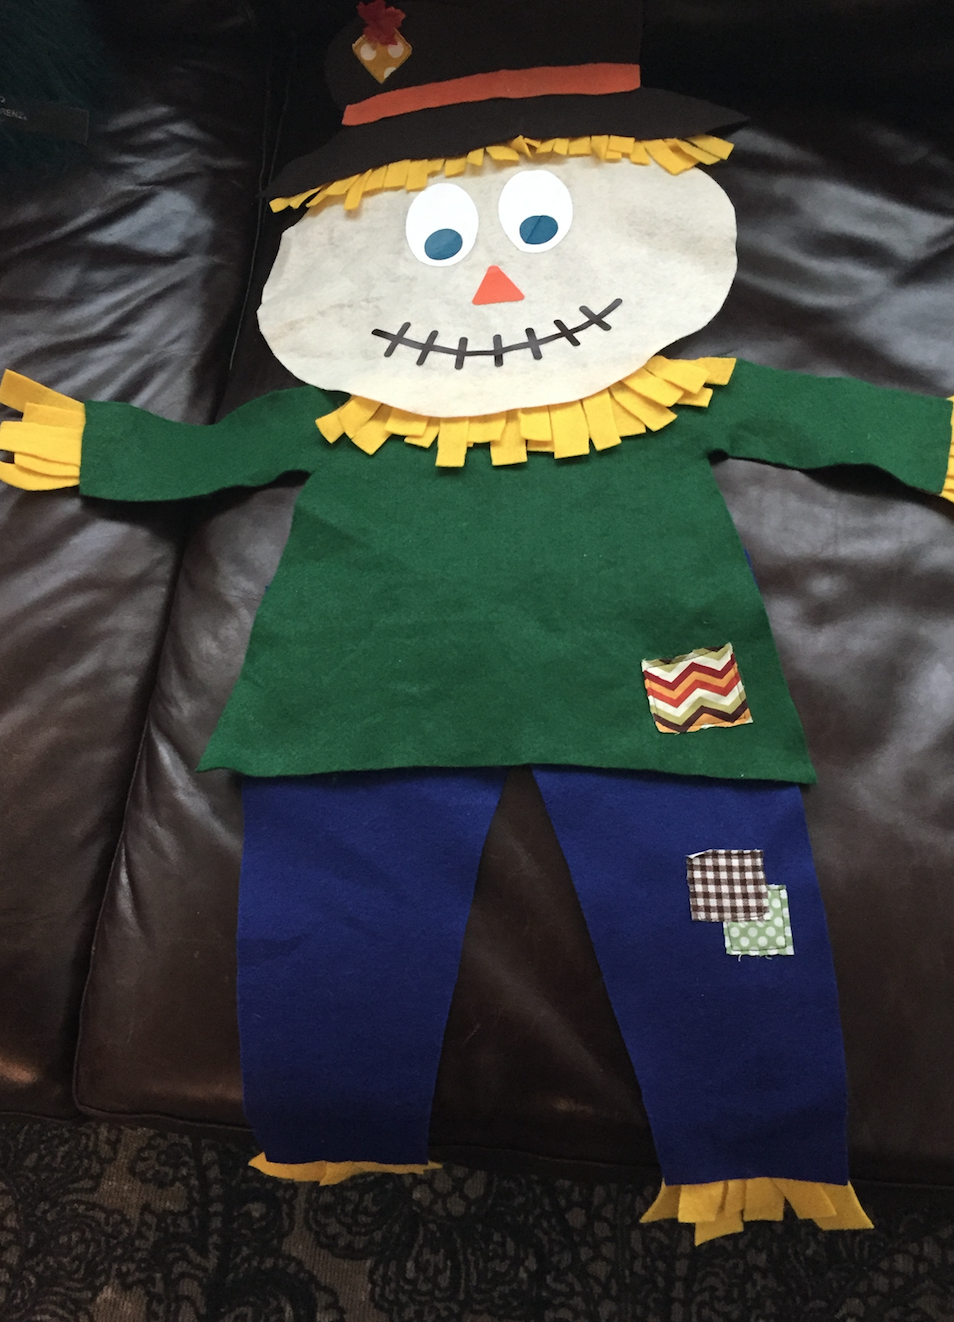
Felt Board Scare Crow Face! So cute, and super easy. I love that he can be reused!


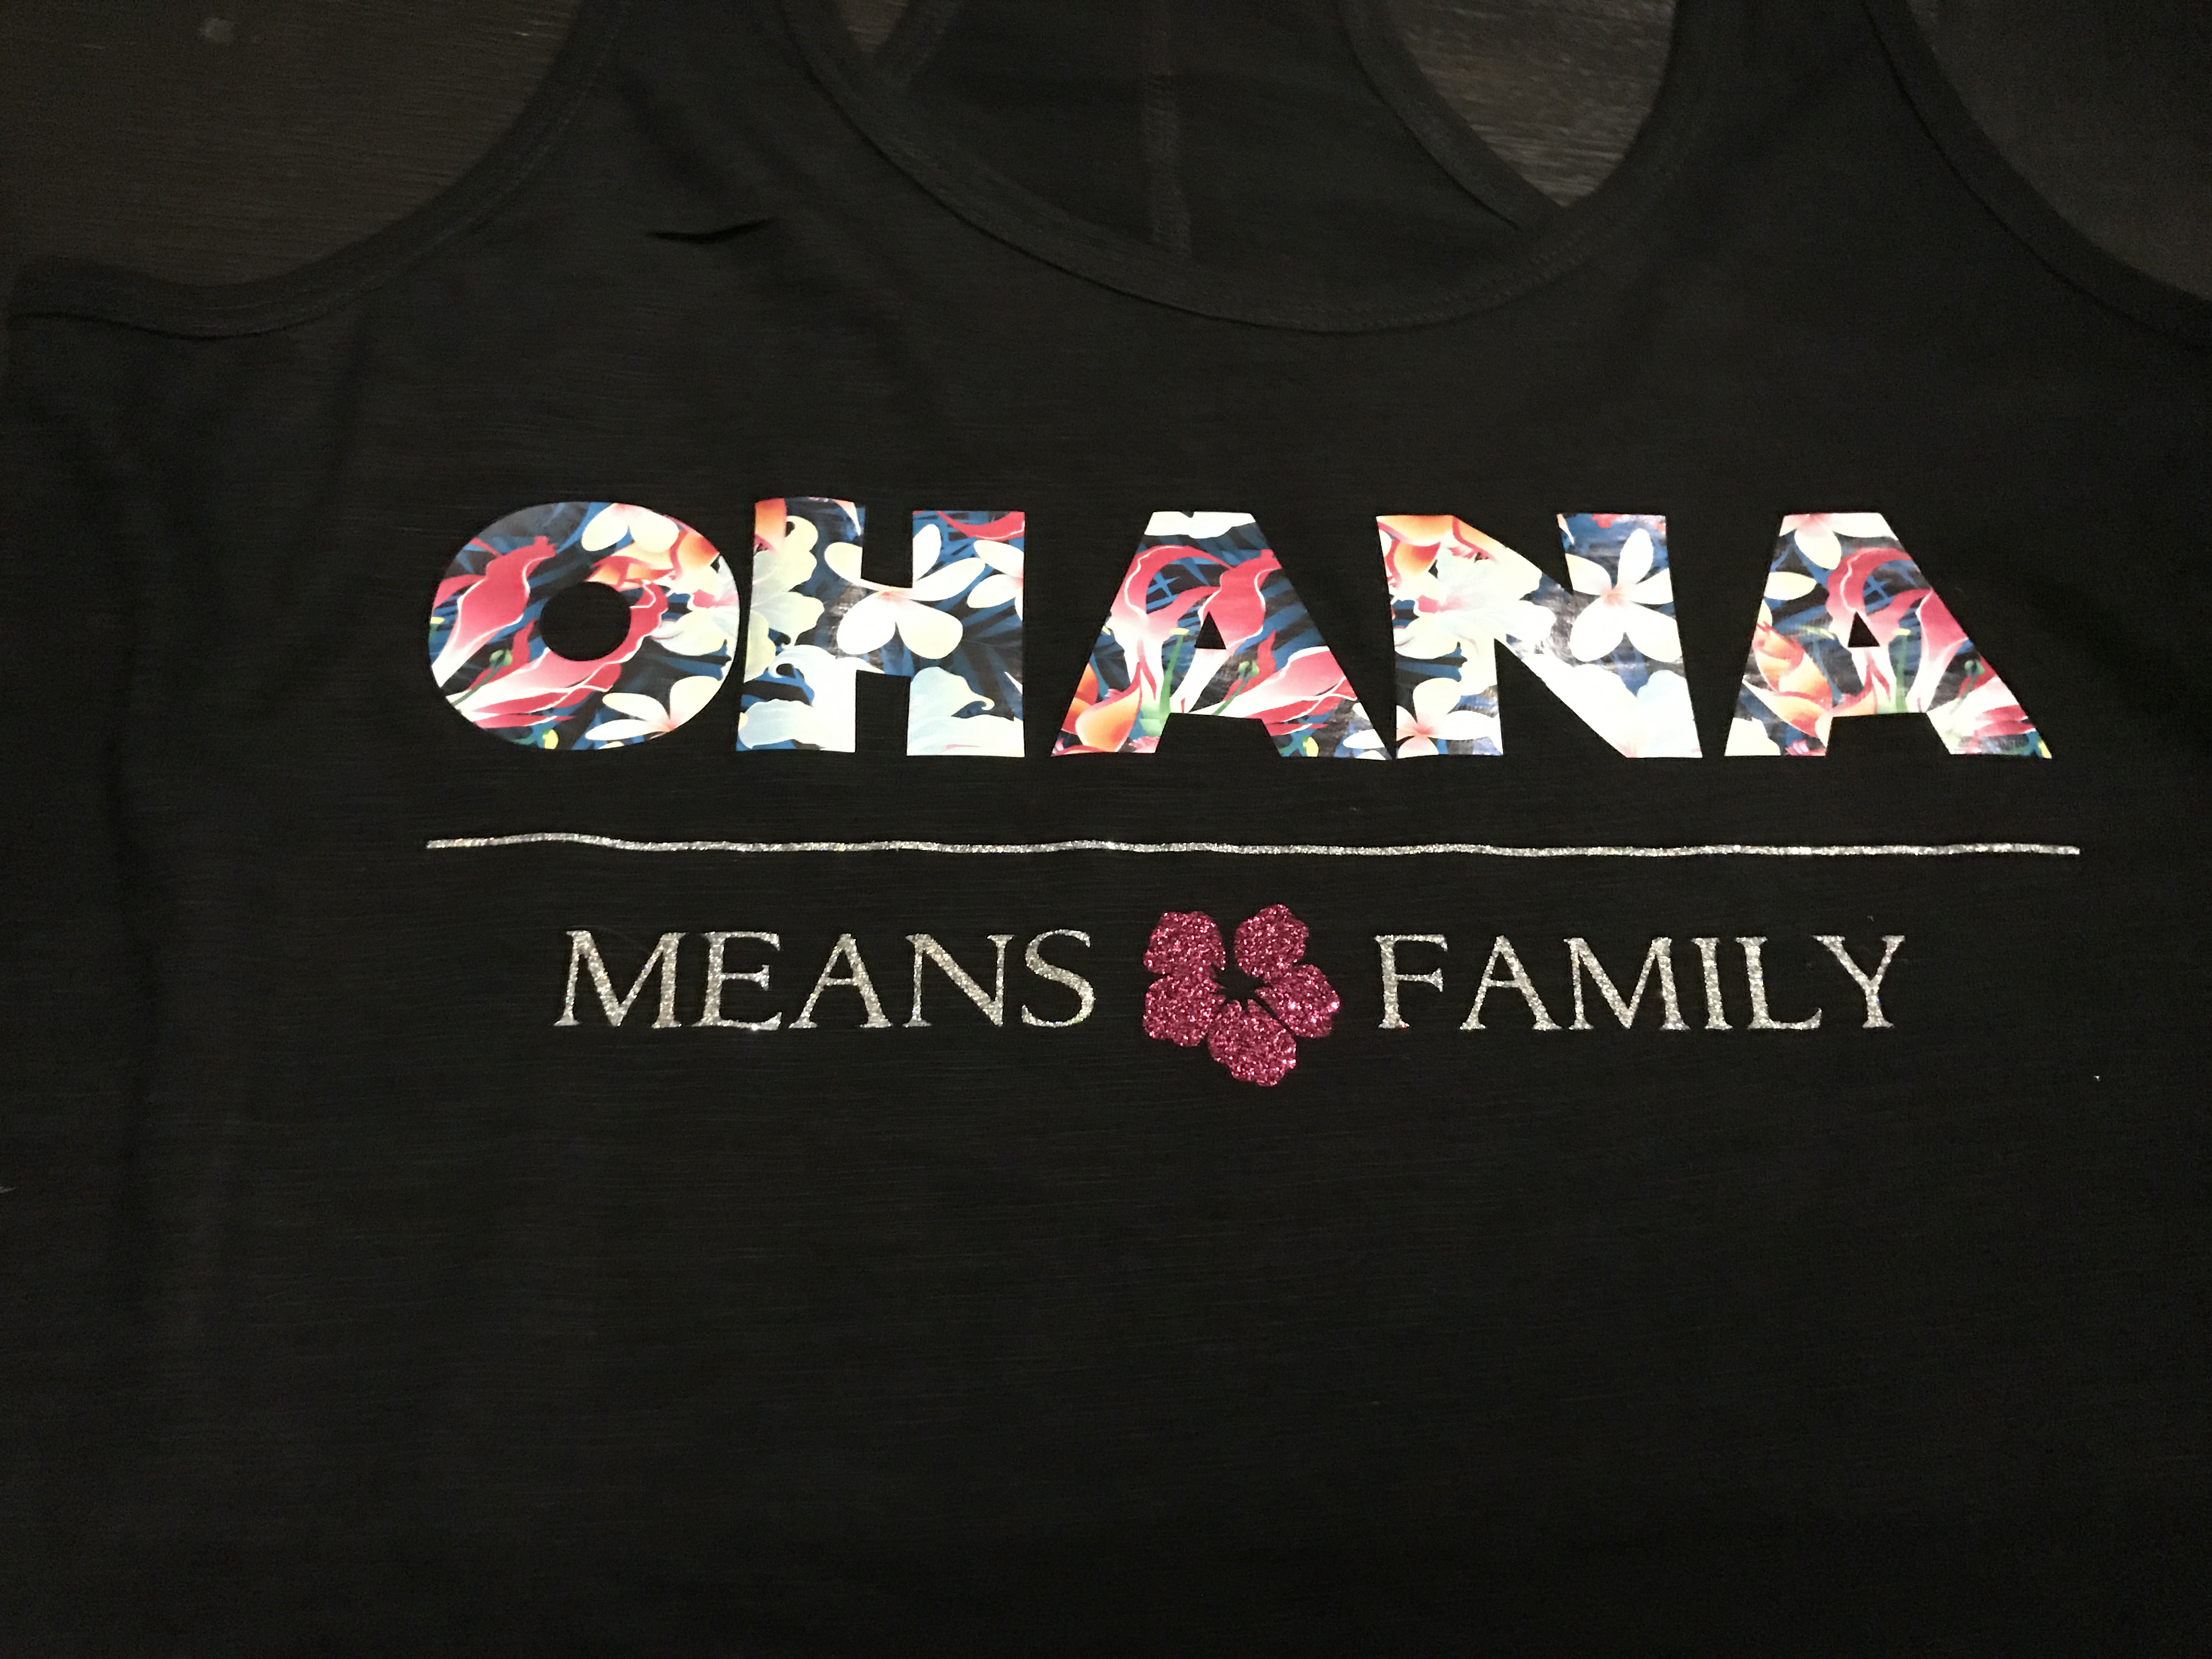
Printed Heat Transfer Vinyl Shirt paired with Siser glitter for our Disney trip!

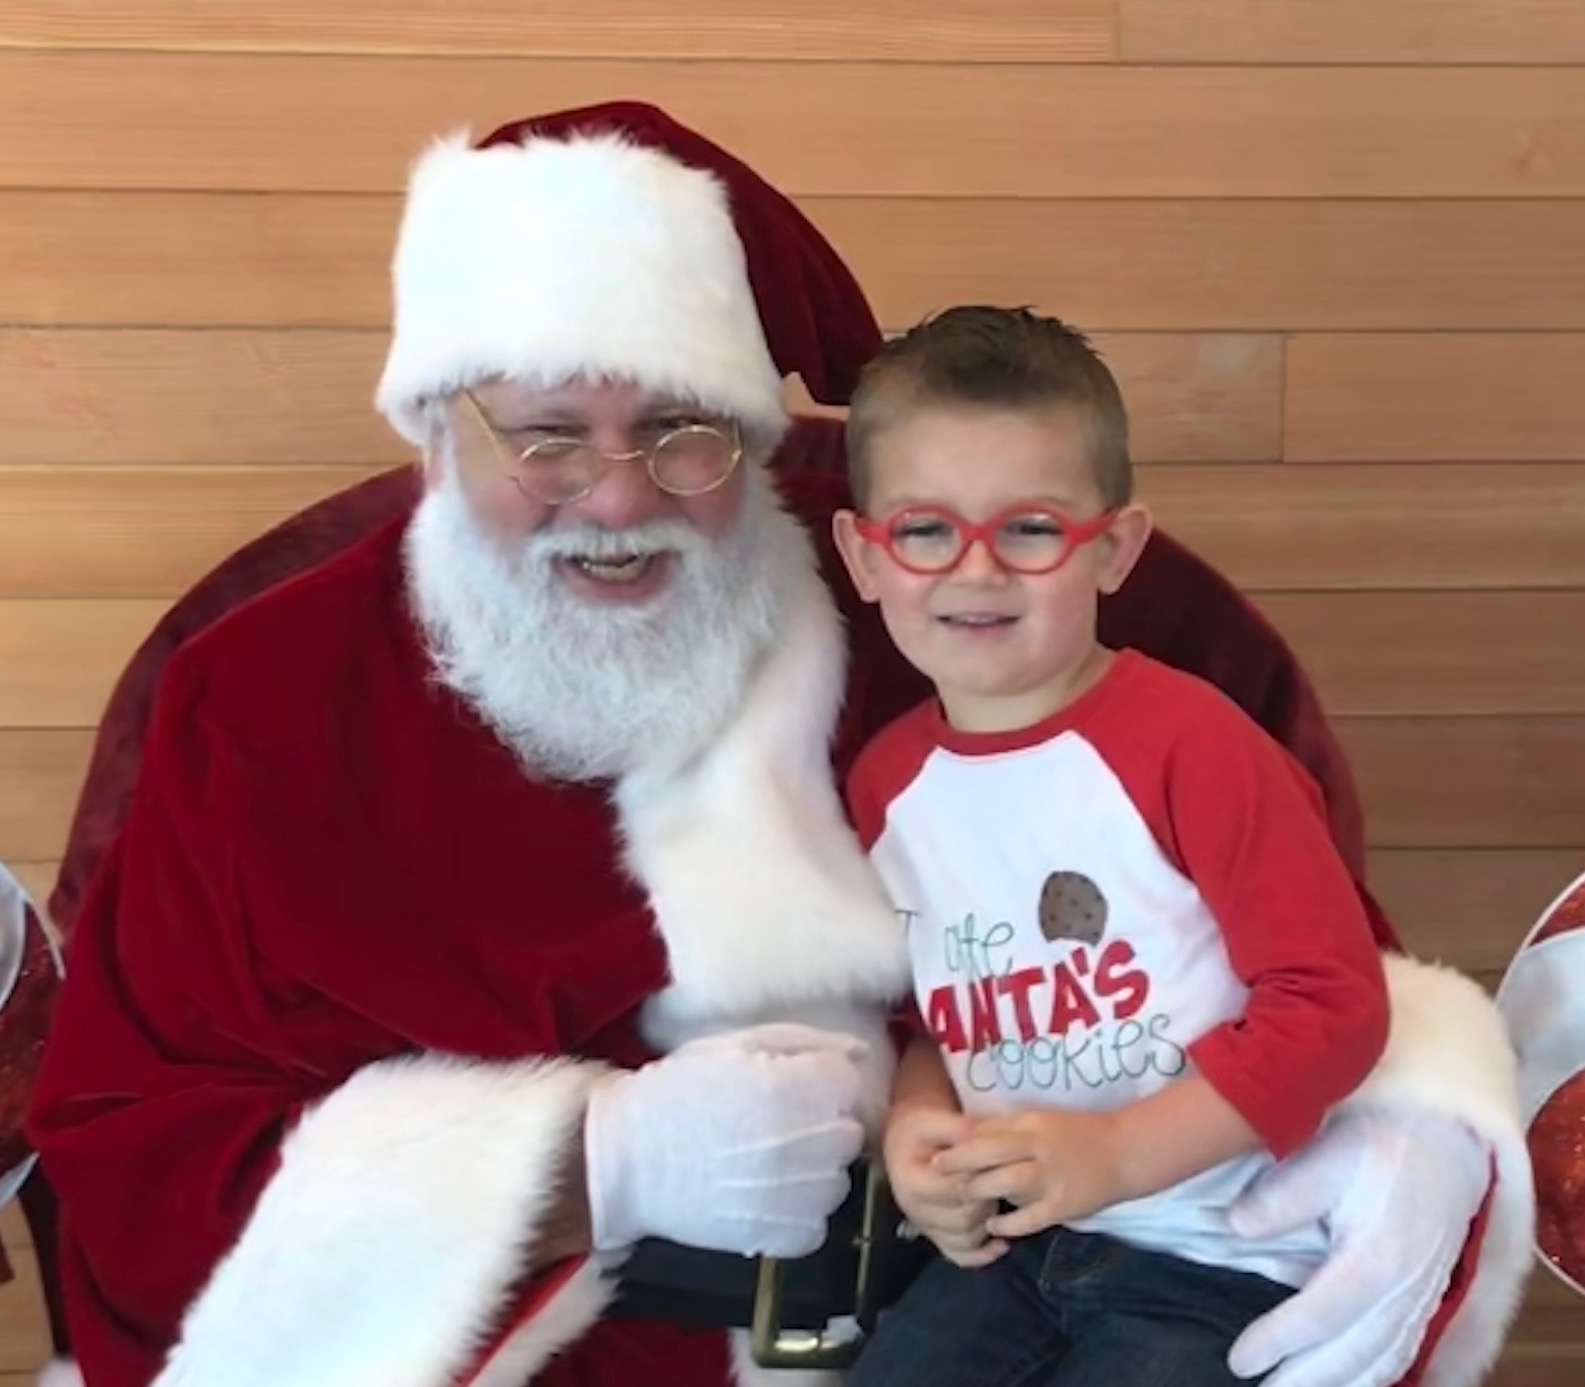
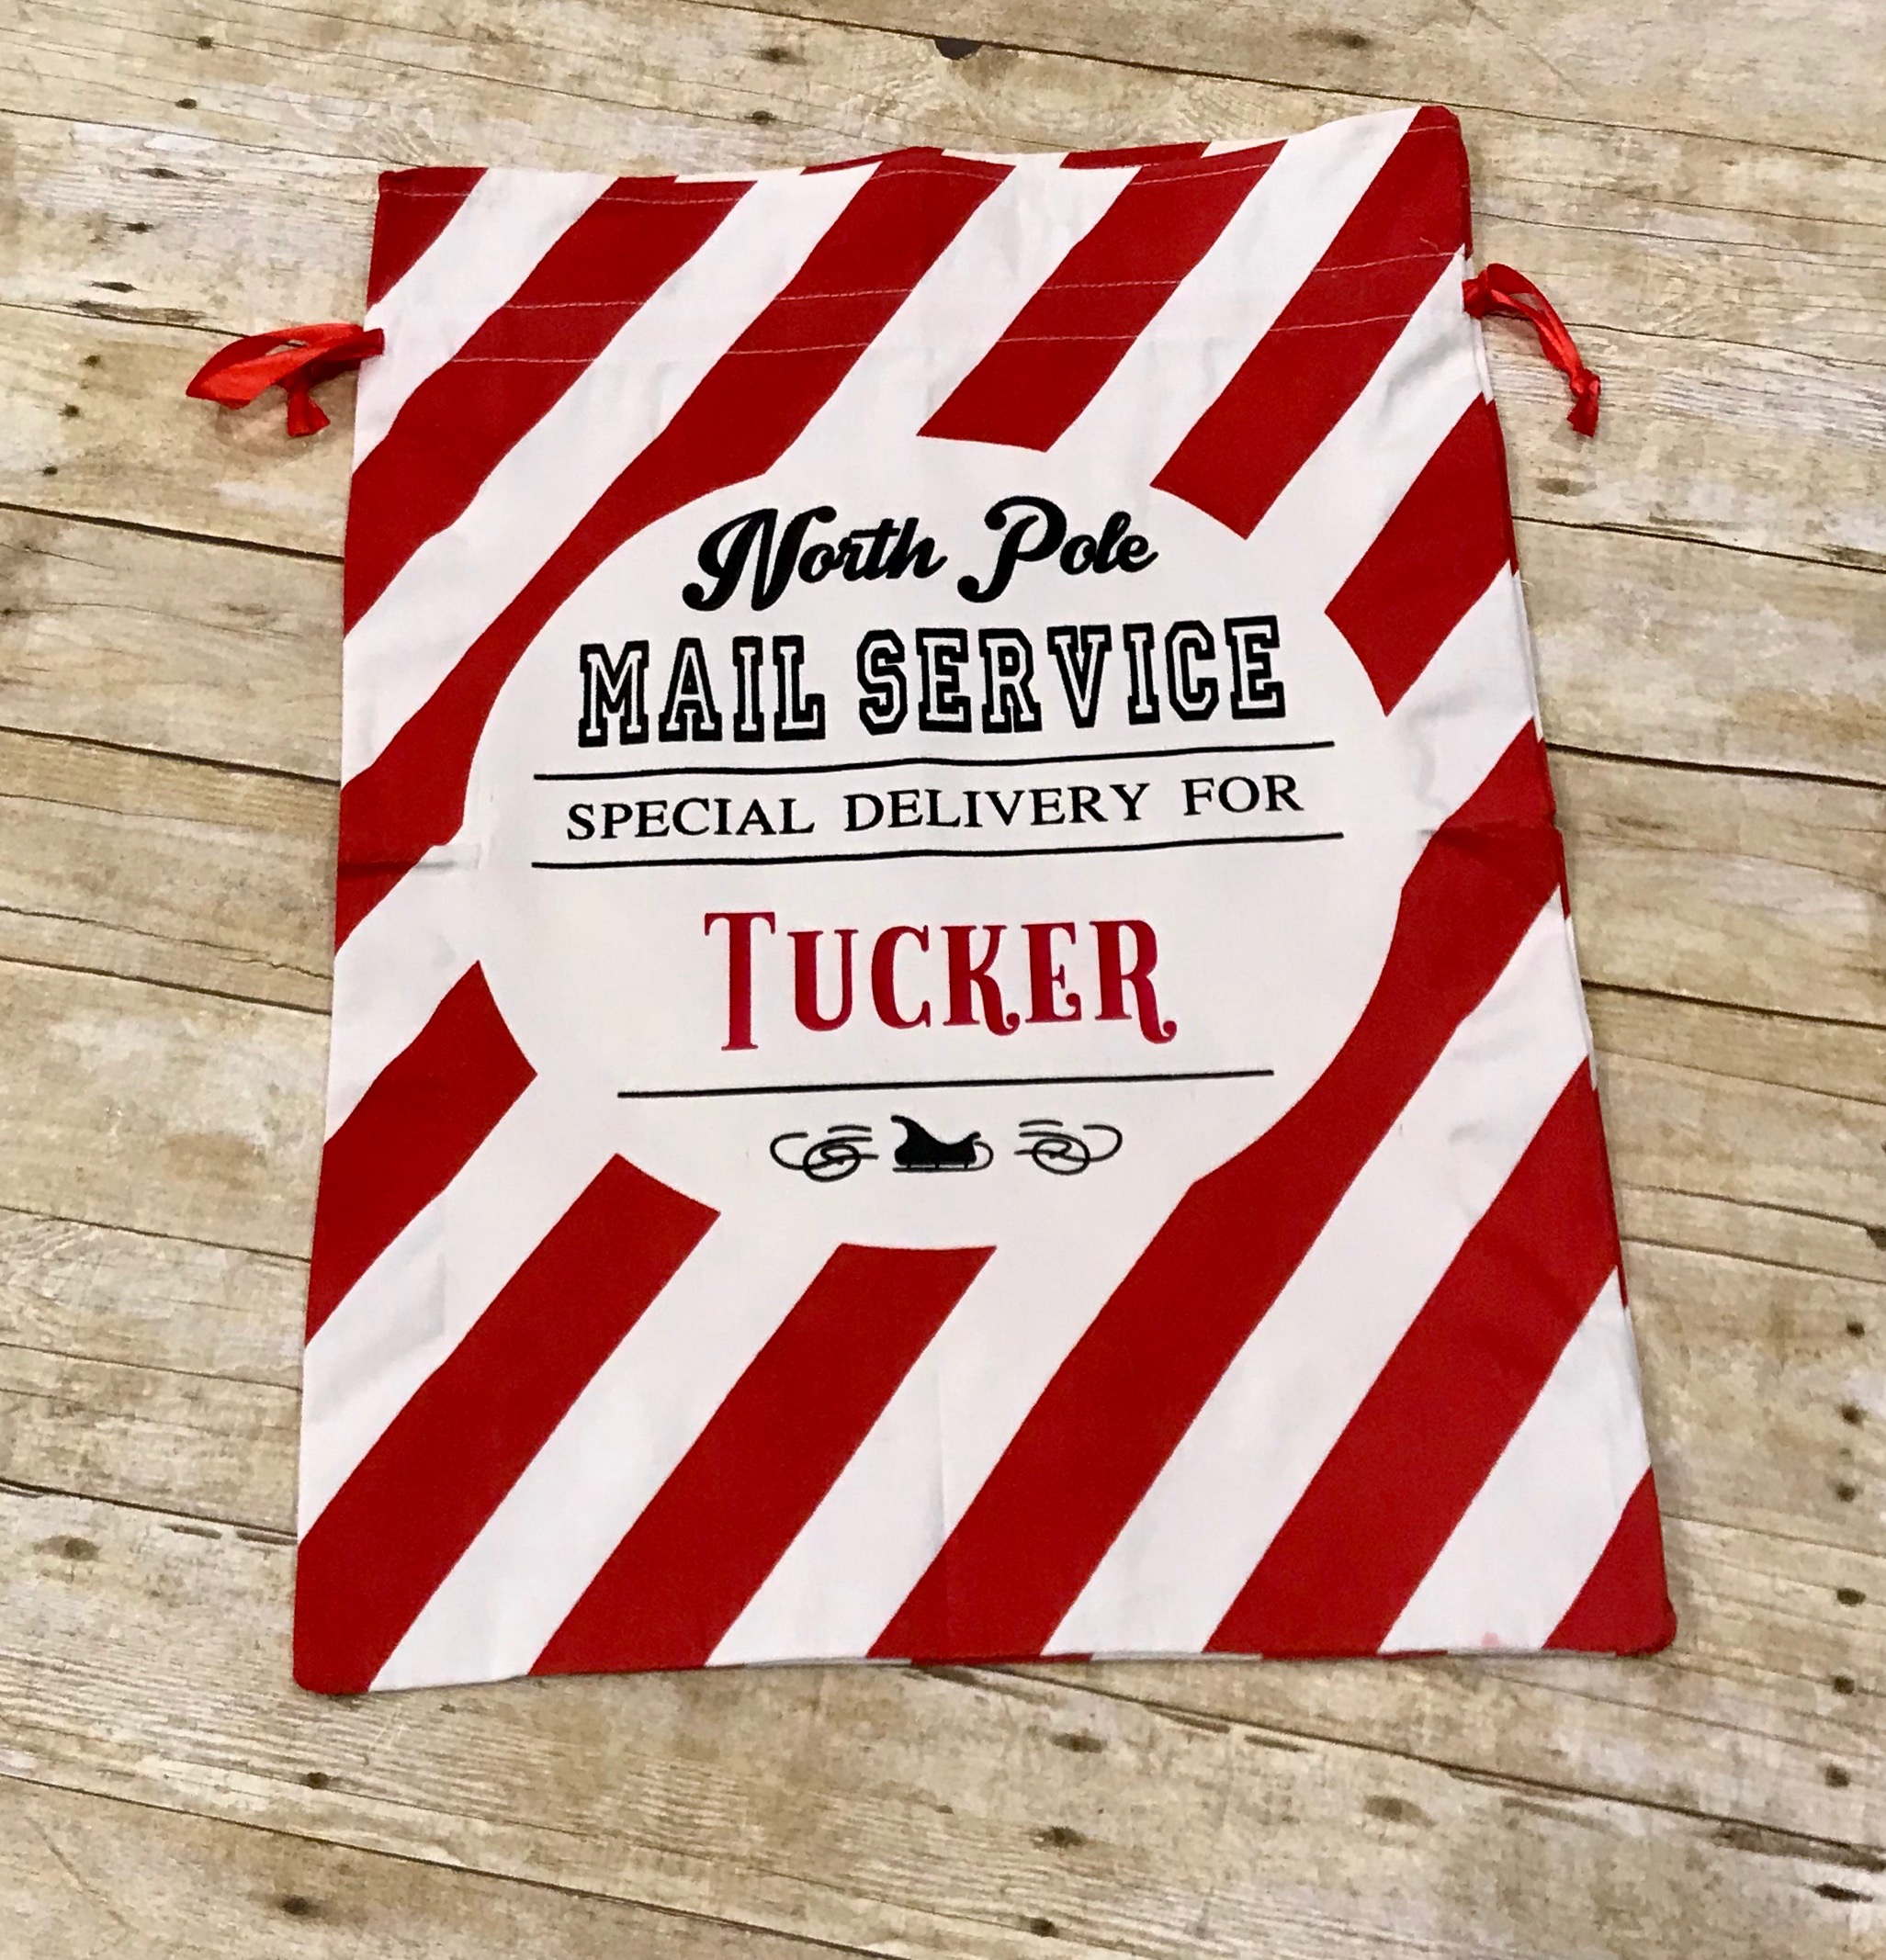
Santa Shirt

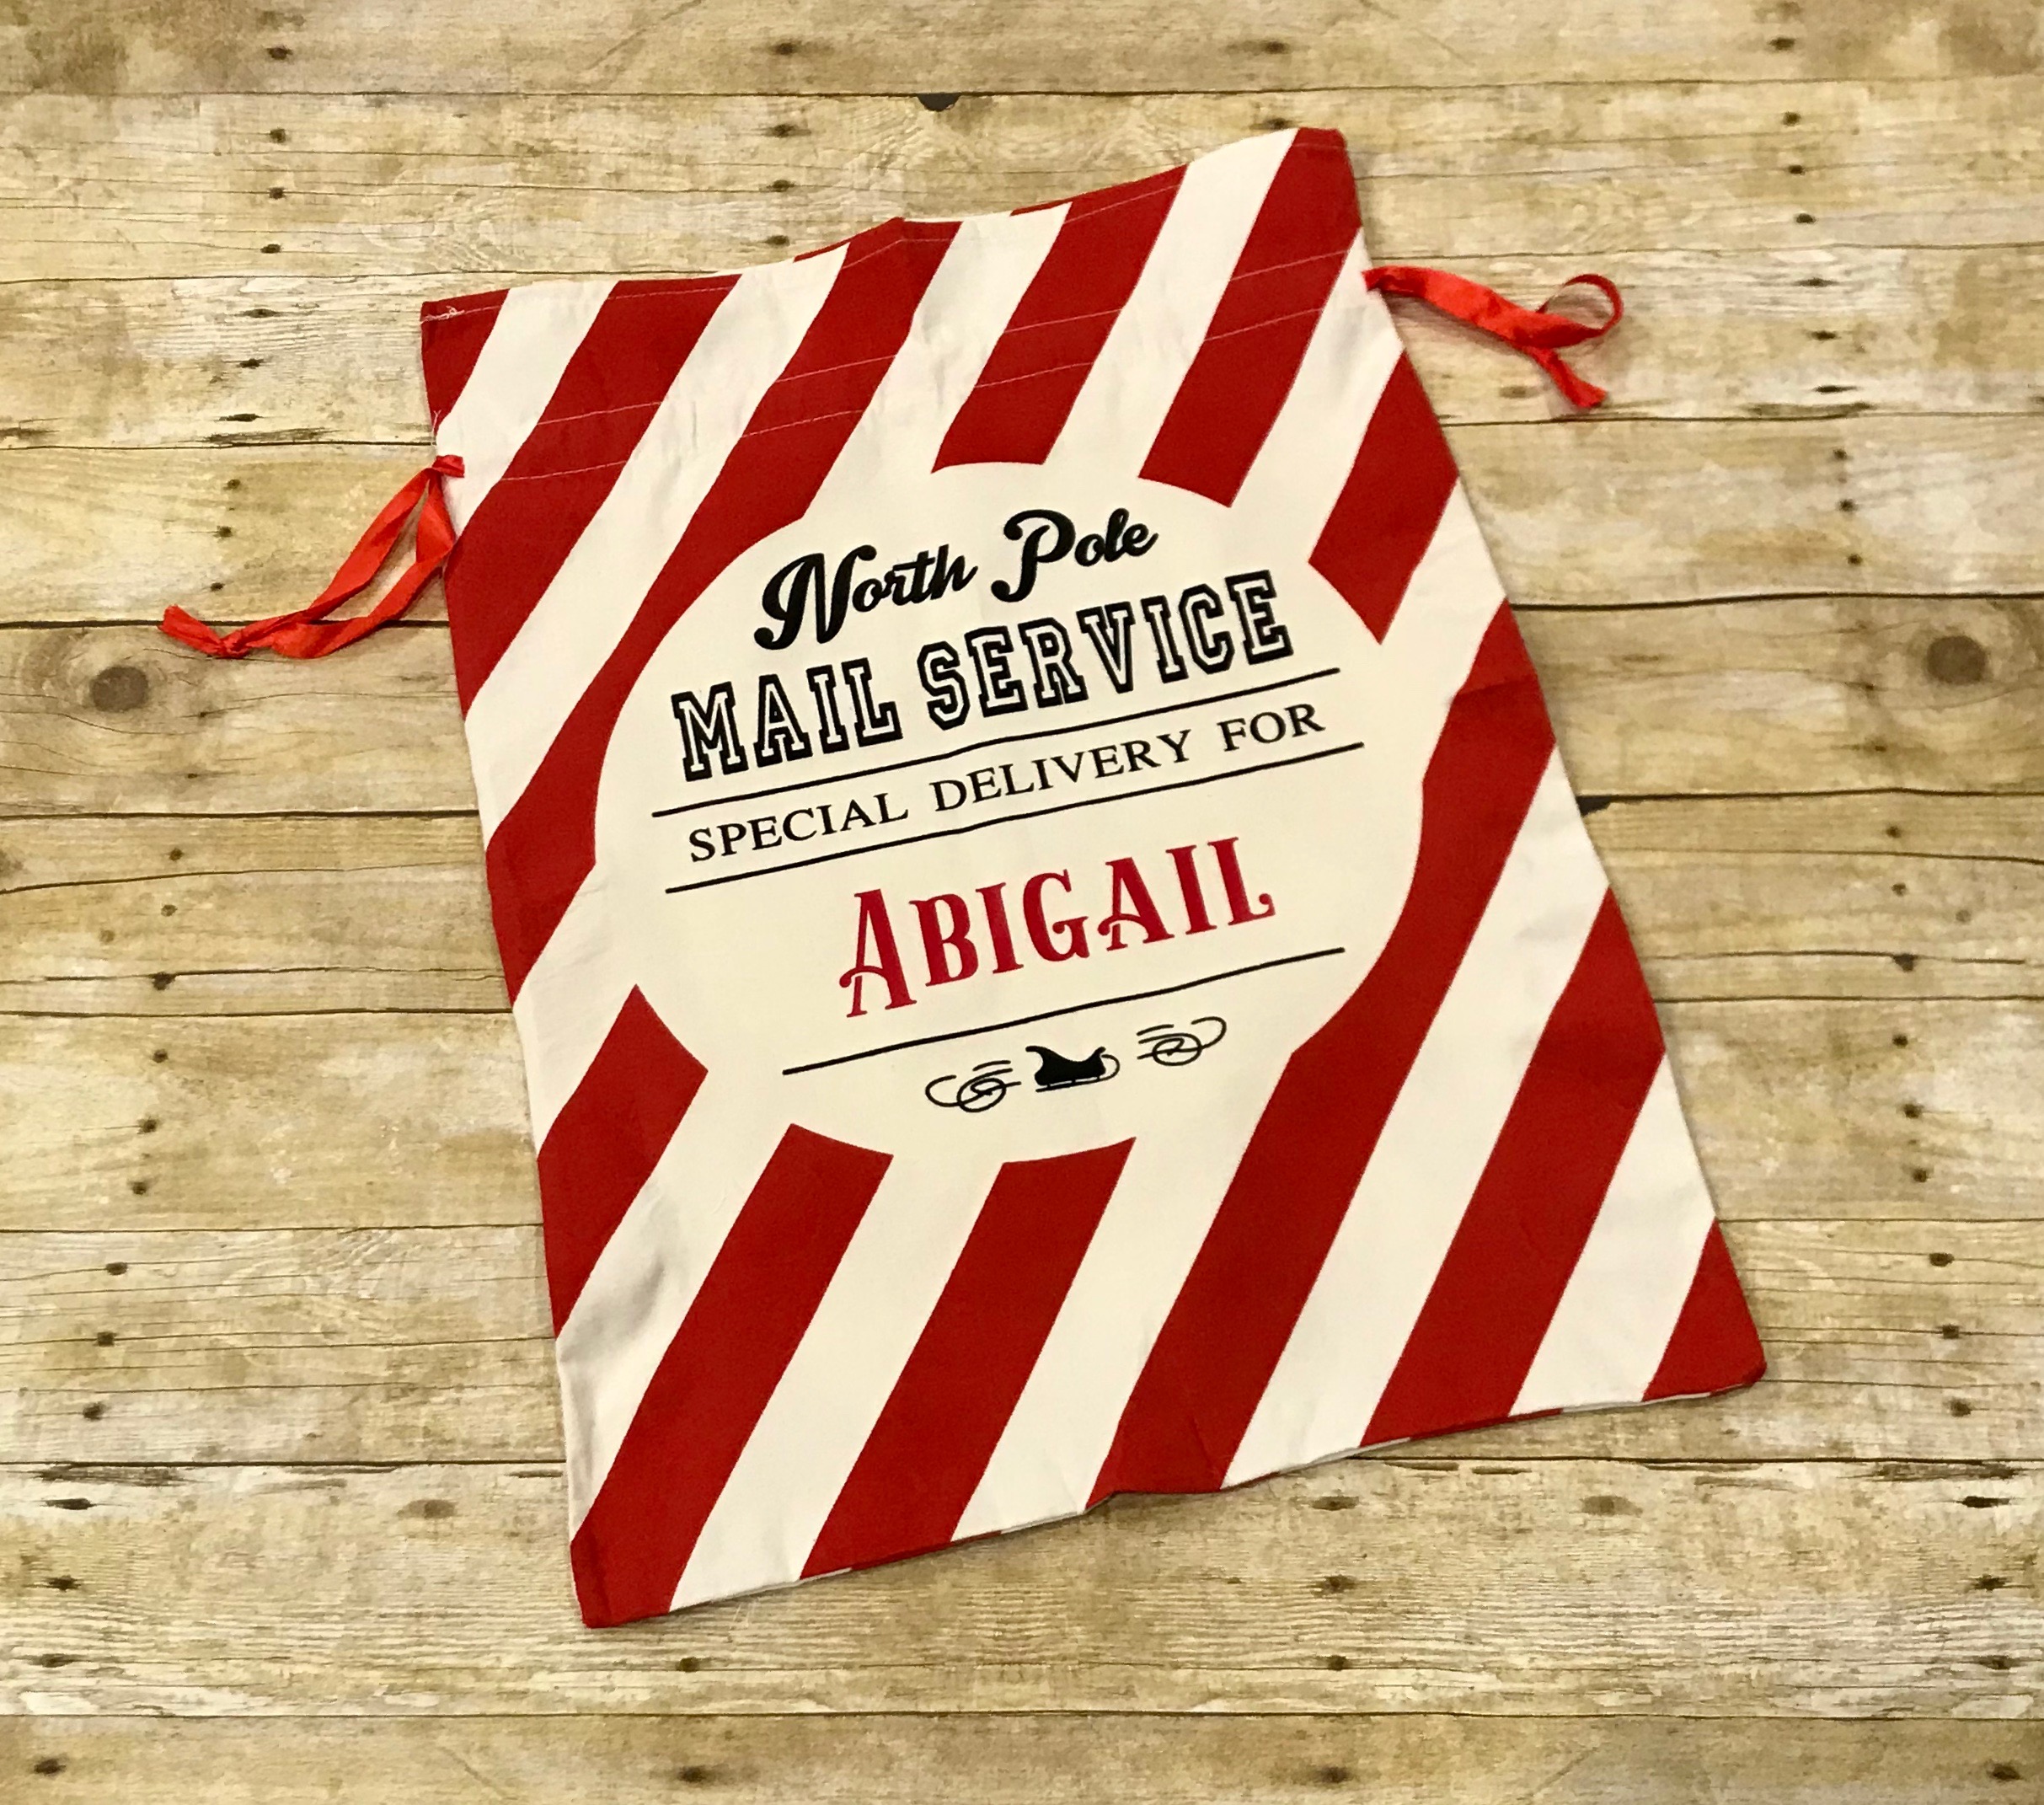
Christmas Bags

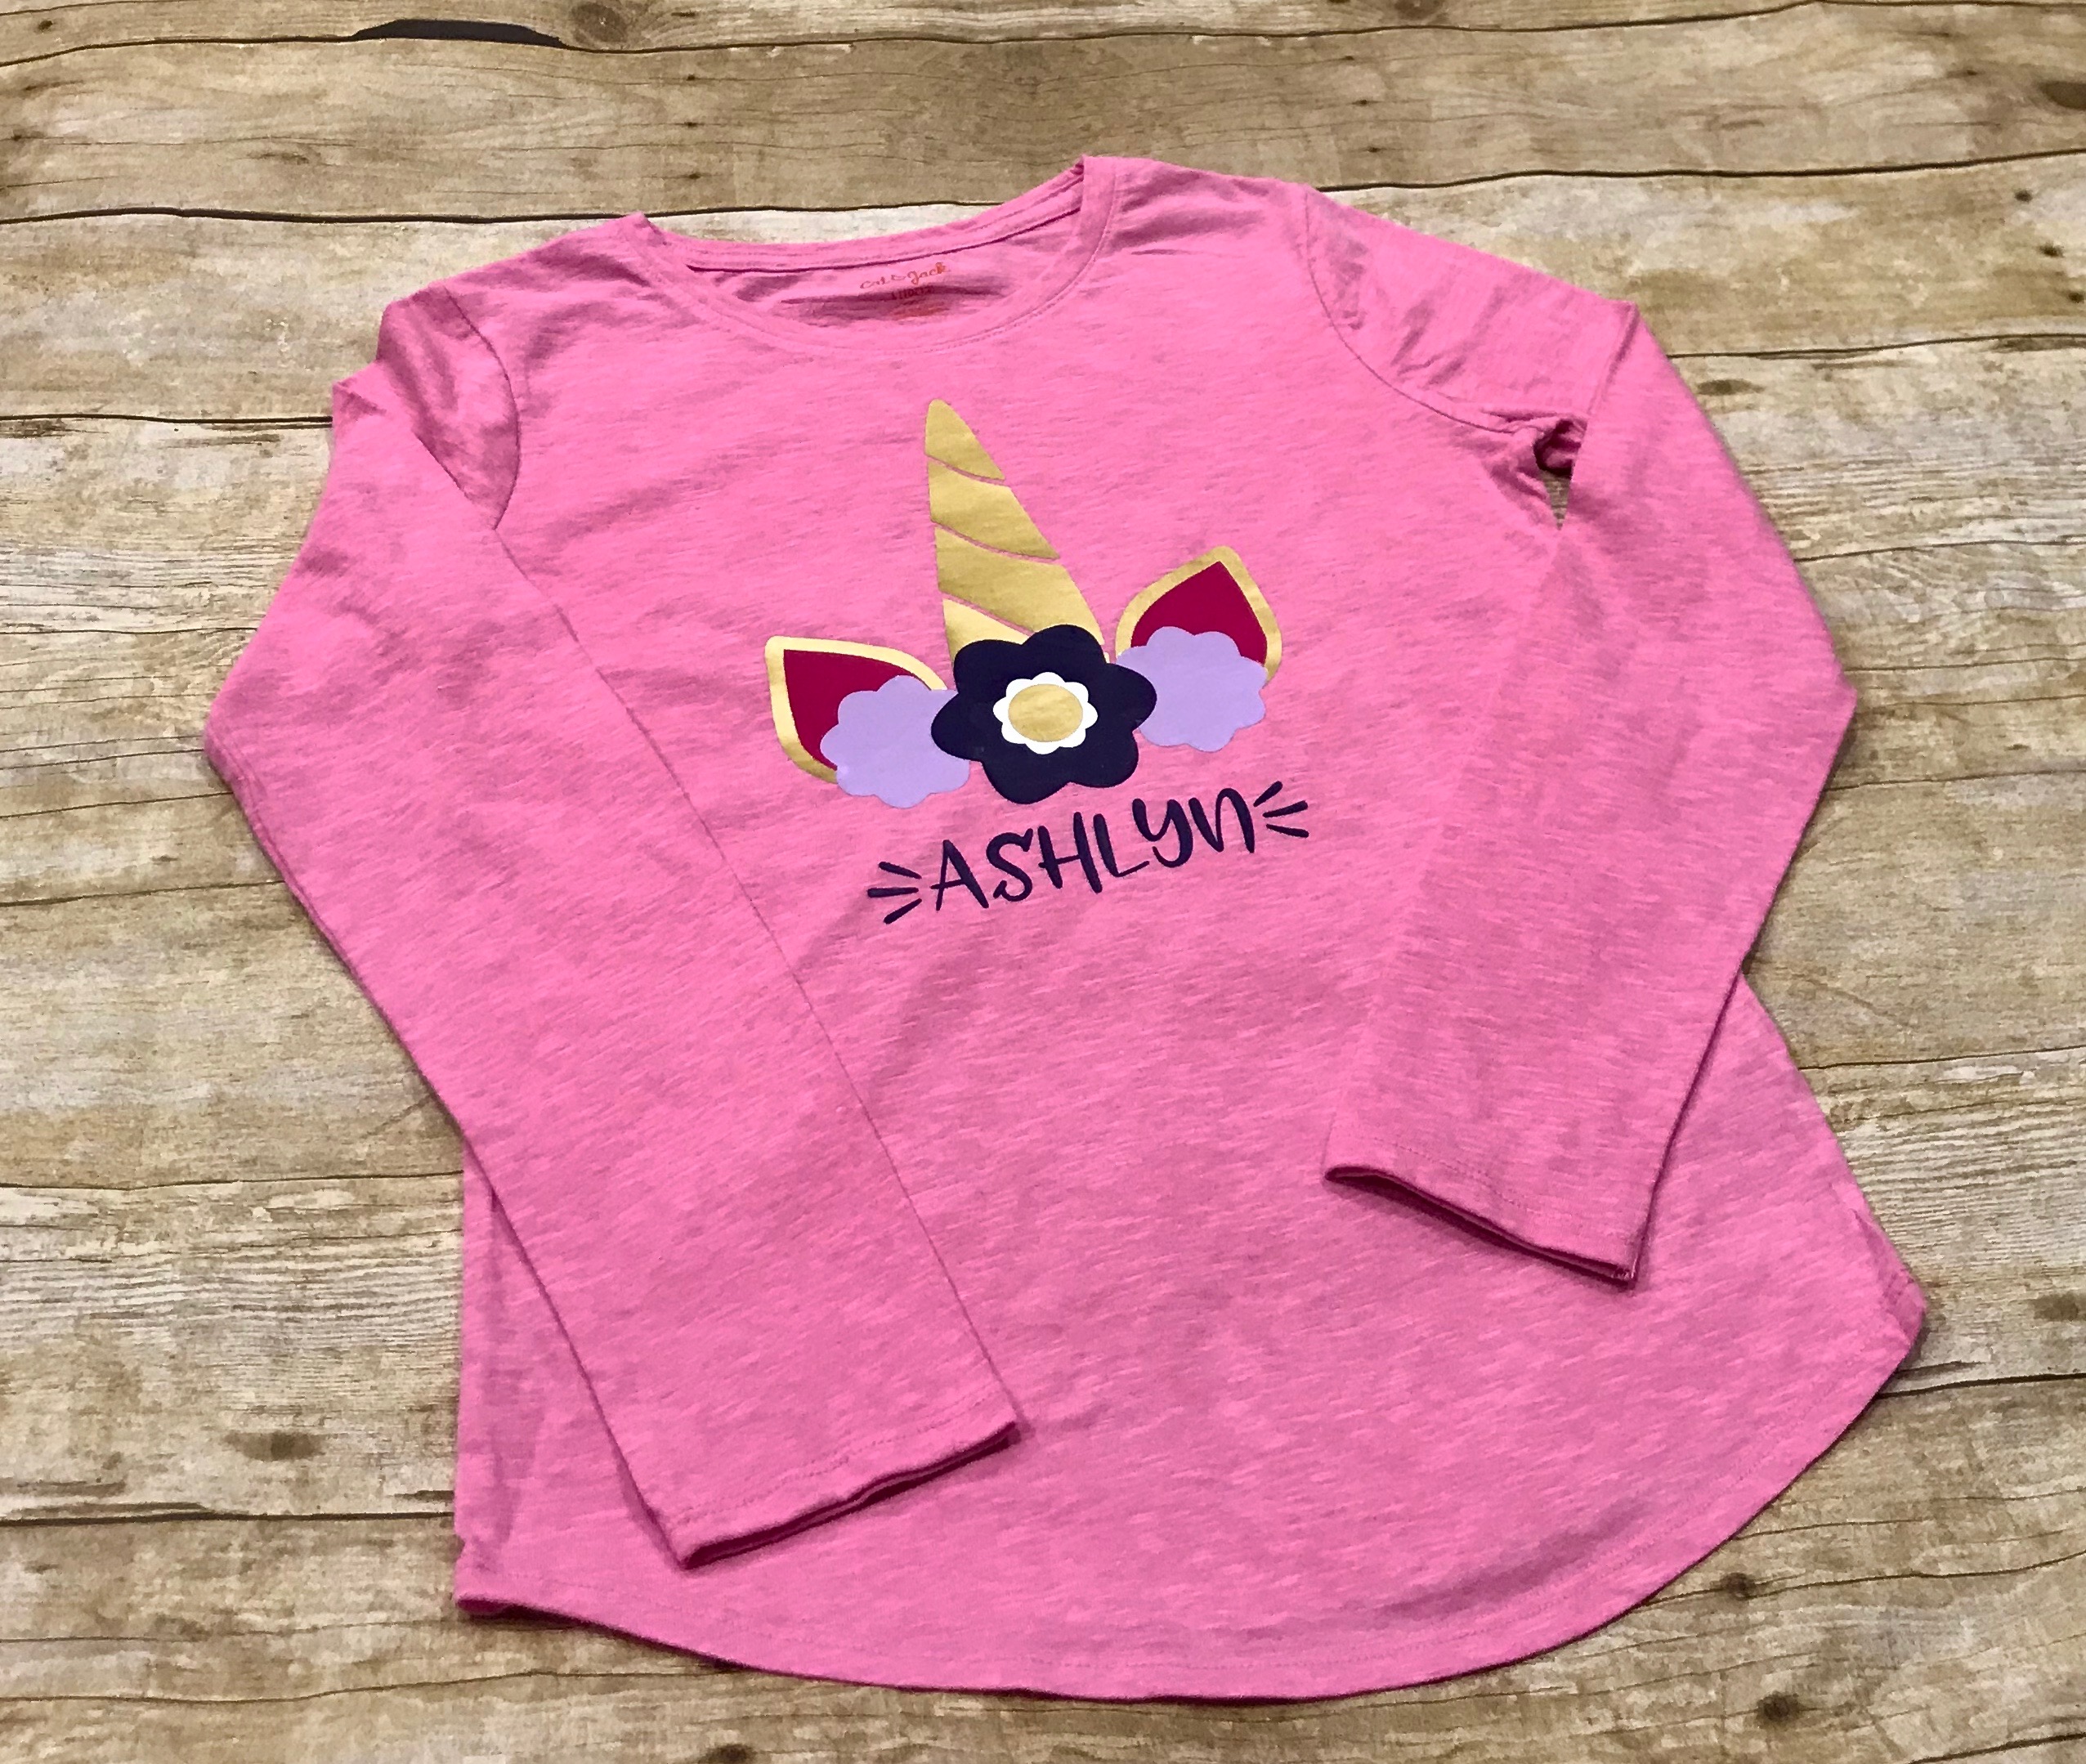
Unicorn Shirt

file available hereUnicorn SVG

font Zooky Squash font link

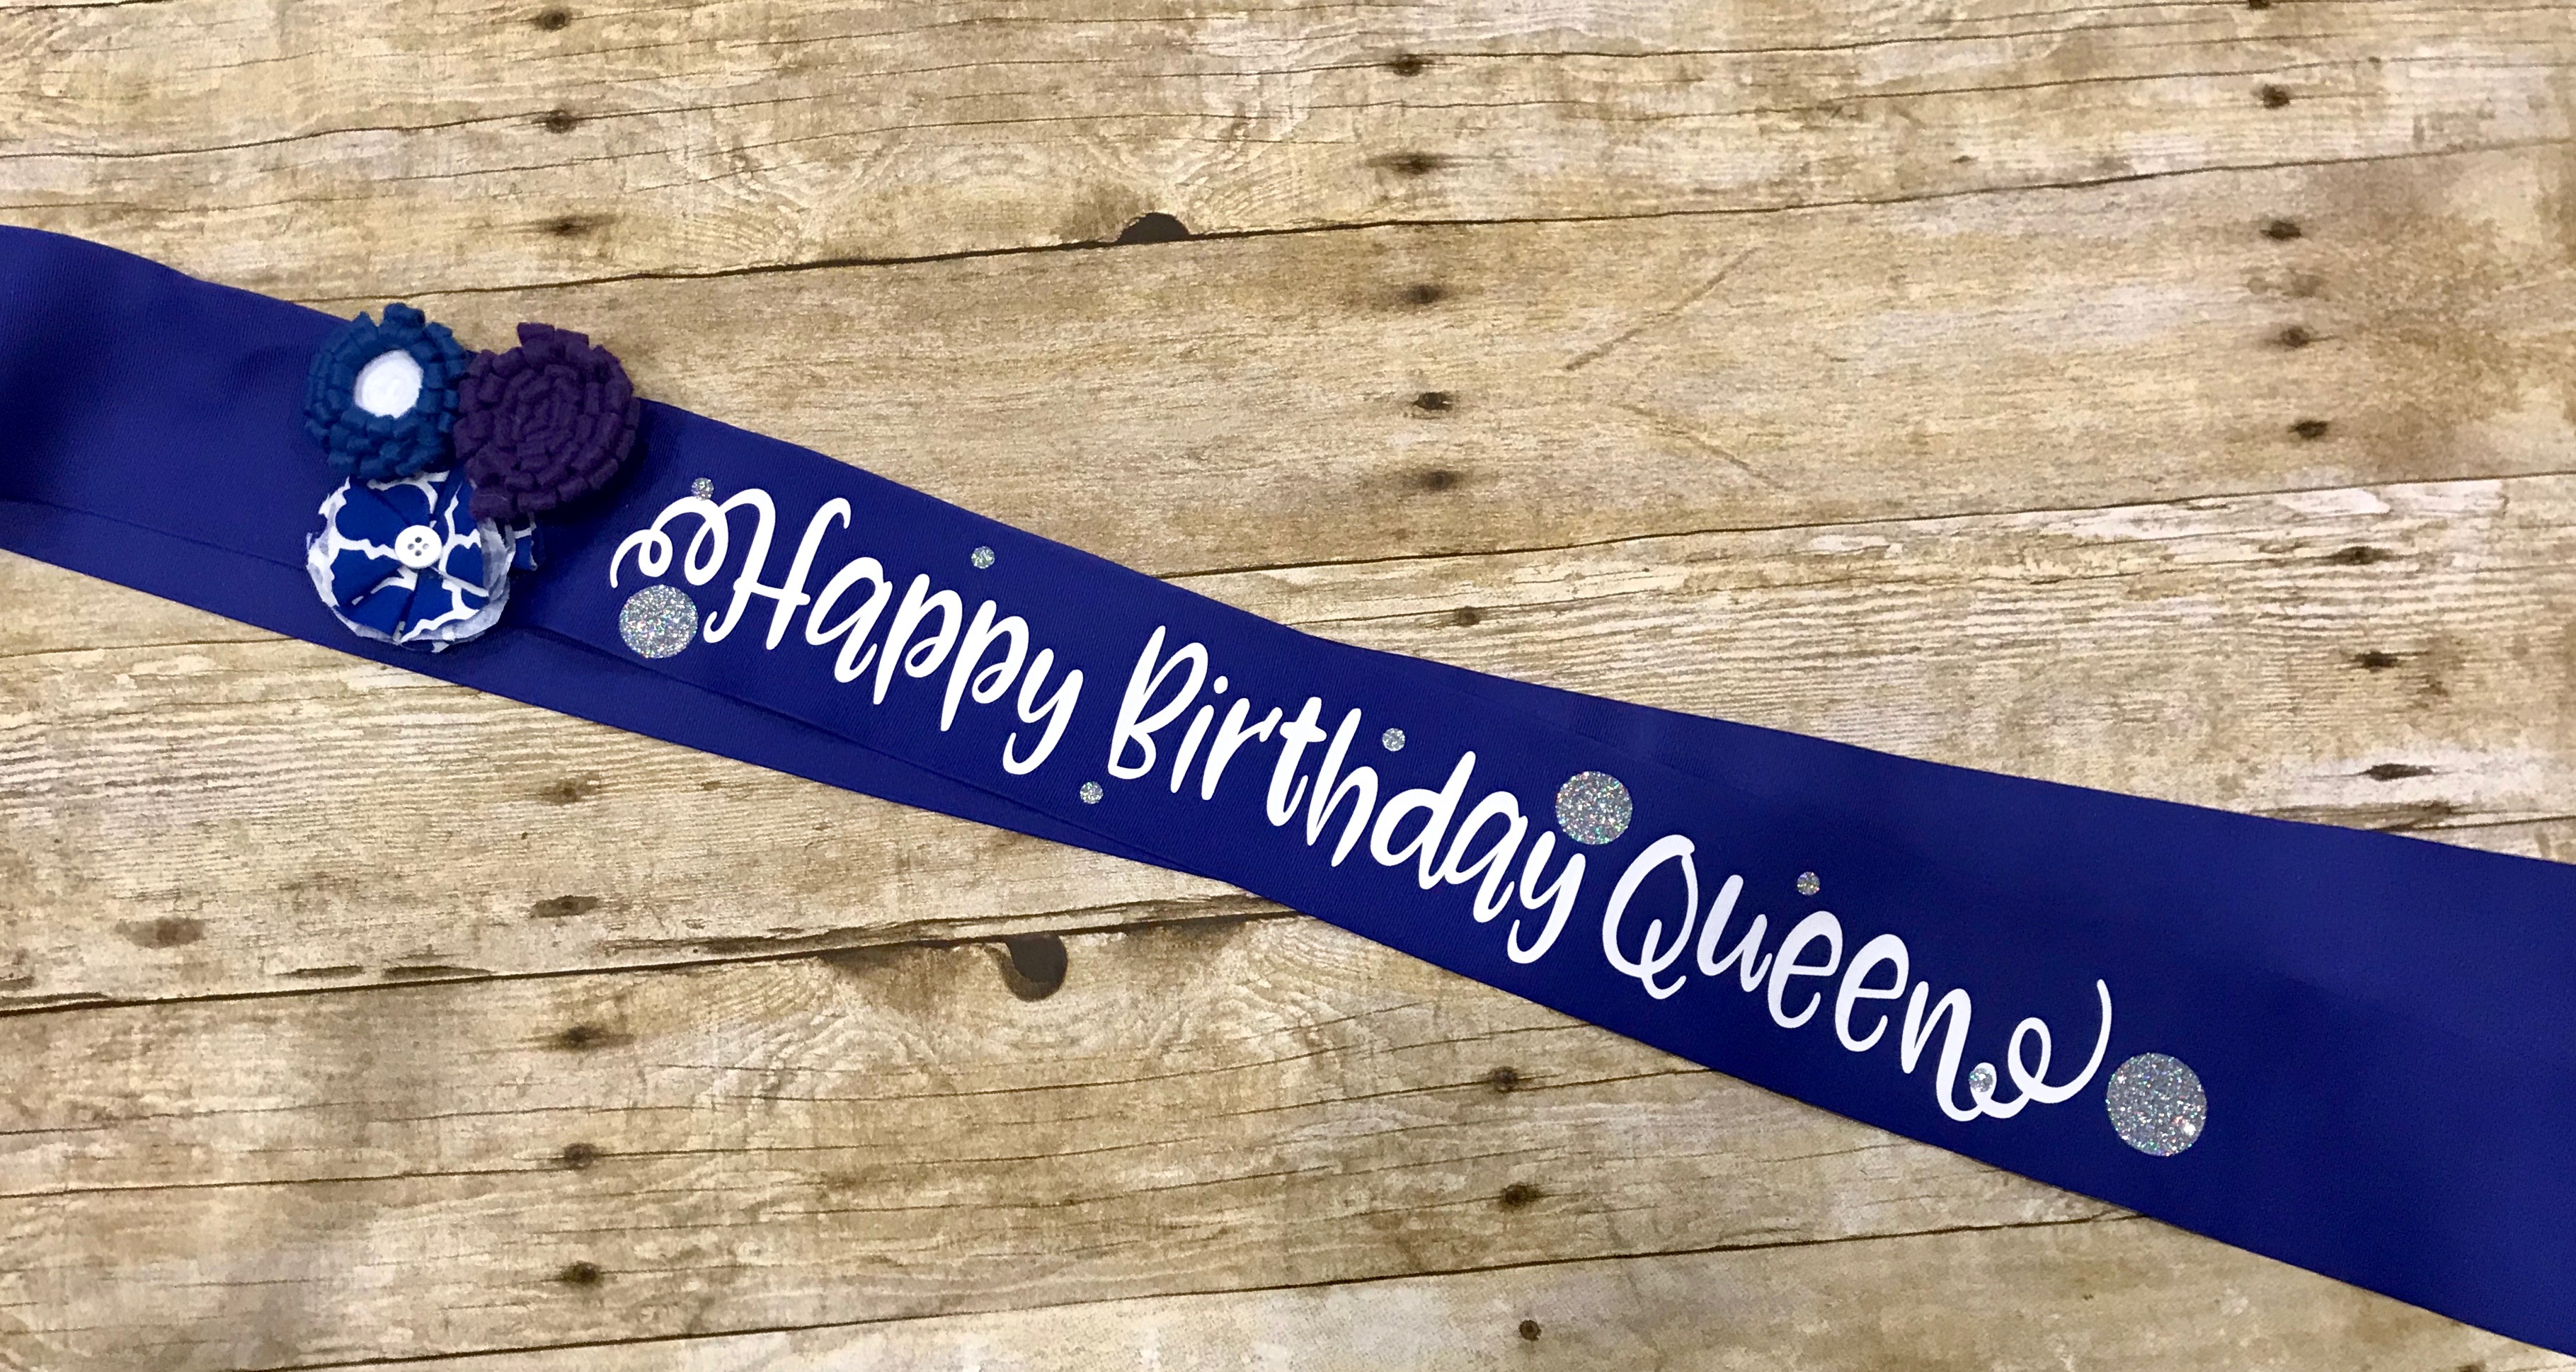
Birthday Sash

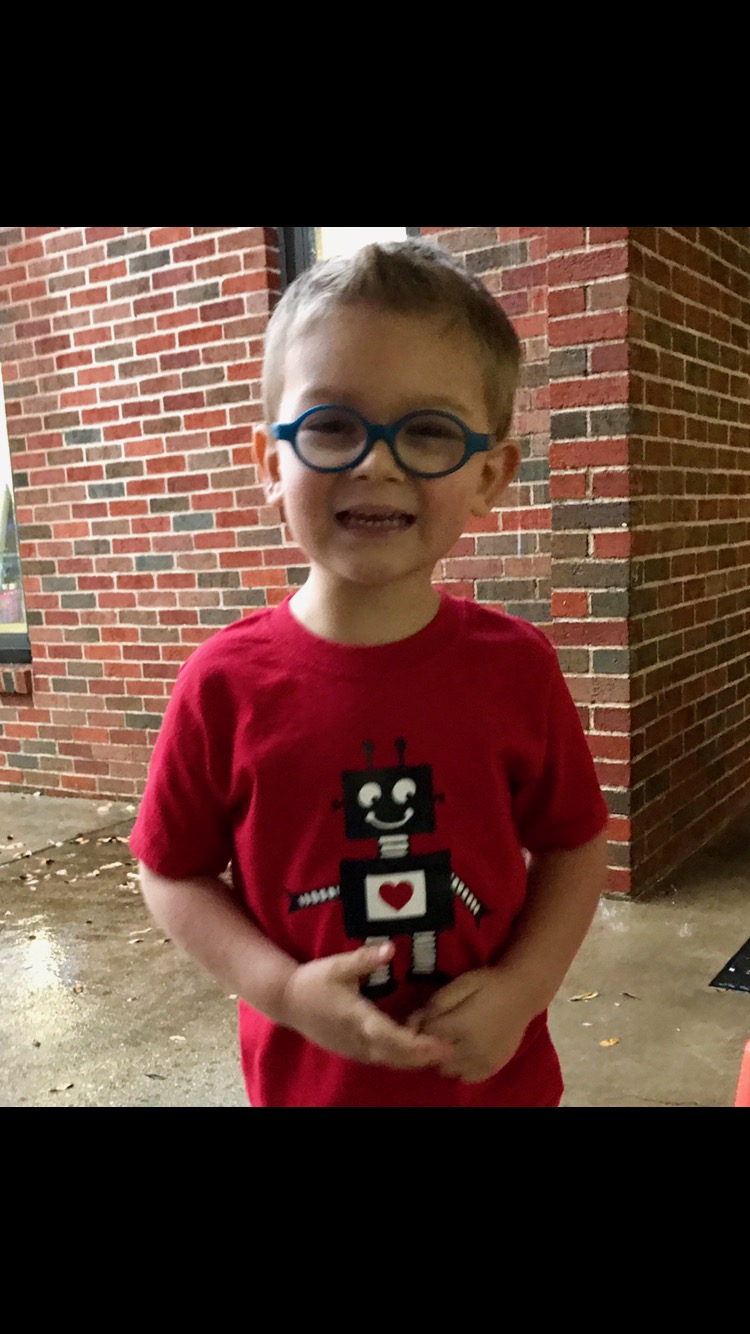
Robot Valentine Shirt


Happy Crafting,

You might also like https://whimsywillowcreations.com/my-favorite-commercial-use-fonts-some-are-free/


Disclaimer: Some of the links in this blog post pay small commissions for me referring you, which in turn allows me to buy more crafting supplies so I can show you more of what to do! Thanks for your support of this blog, and my crafting addiction!

SaveSave

SaveSave

Toddler Science Experiments

Awesome Toddler Science Kit and Lab Coat

Does your kid love Science or playing Dr? Mine does, so if you’re looking for an awesome toddler science gift keep reading!

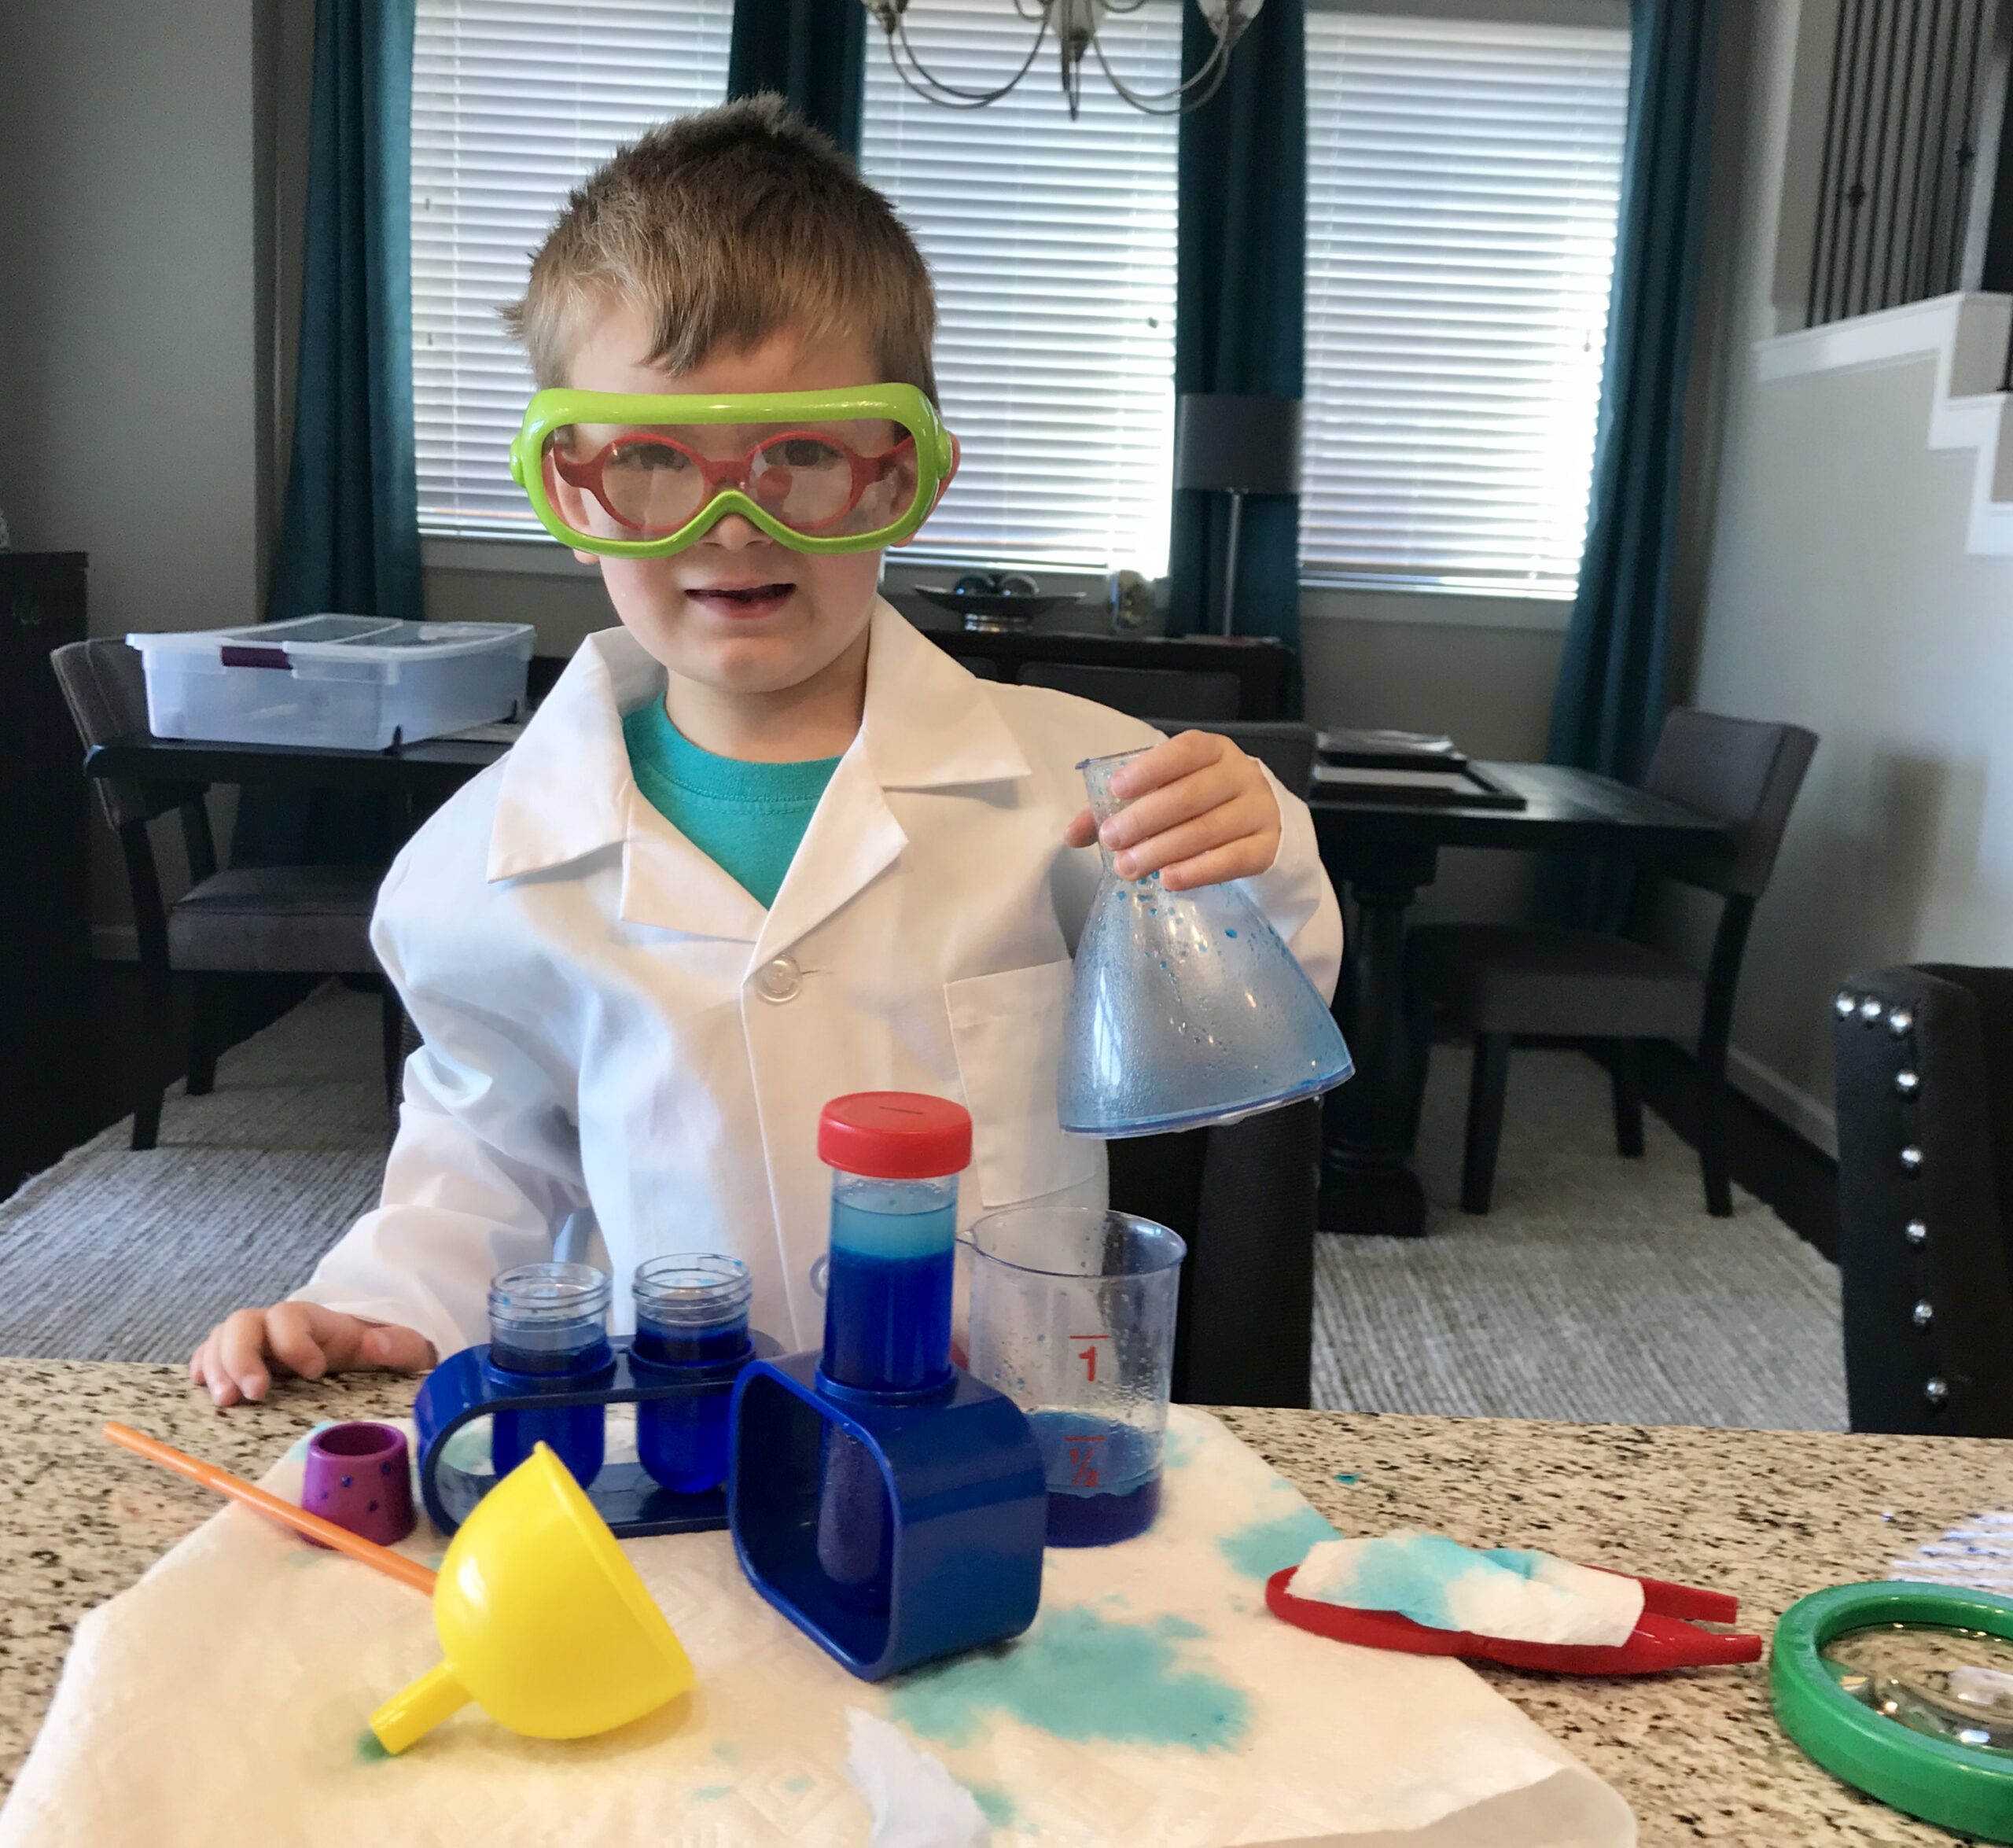
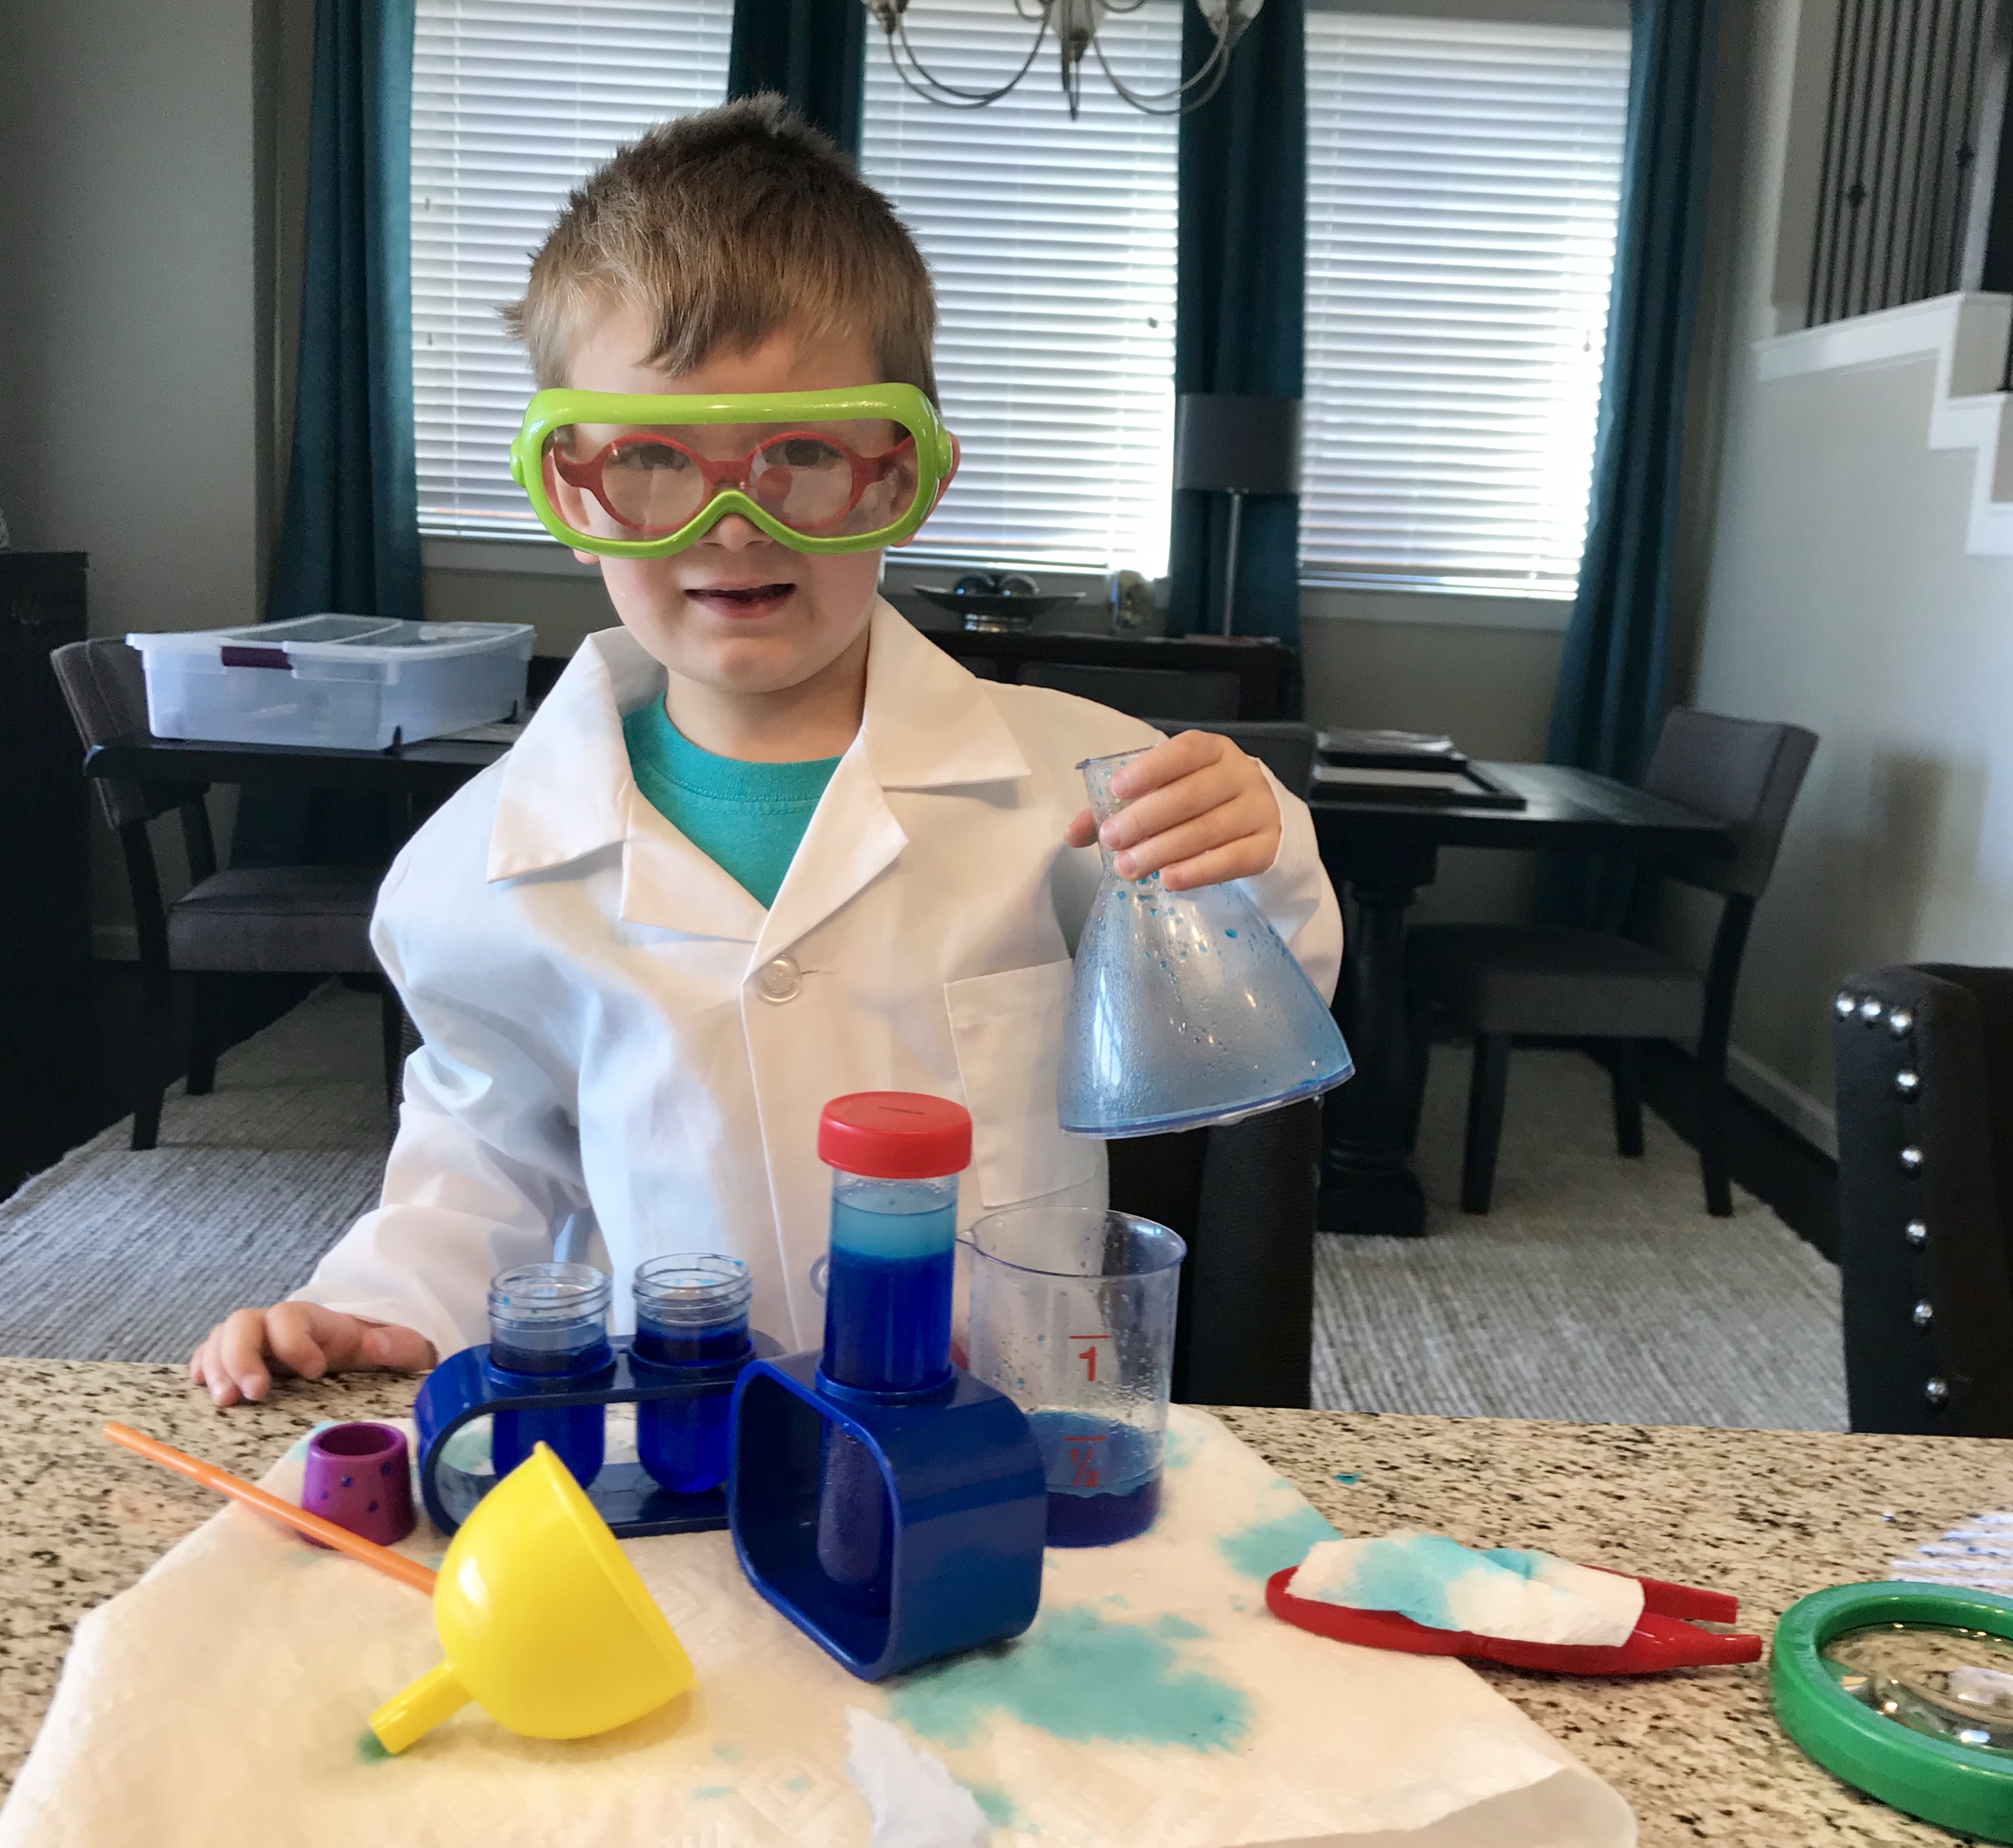
We got this awesome lab coat and science kit for Birthday number 5, and so far he is loving it!

Why is the Toddler Science Kit awesome?

  1. It holds his attention My son is always running around wanting to play some new adventure game, and for a year he introduced himself as “Bennett, Prince of the Pirates”. I love watching his imagination take off, and I love when I find something that holds his attention for more than 3 minutes that doesn’t involve tv! You may be hesitant to buy things that get messy, I completely understand…I hate slime too, but this Science kit he got for his birthday is so worth it!
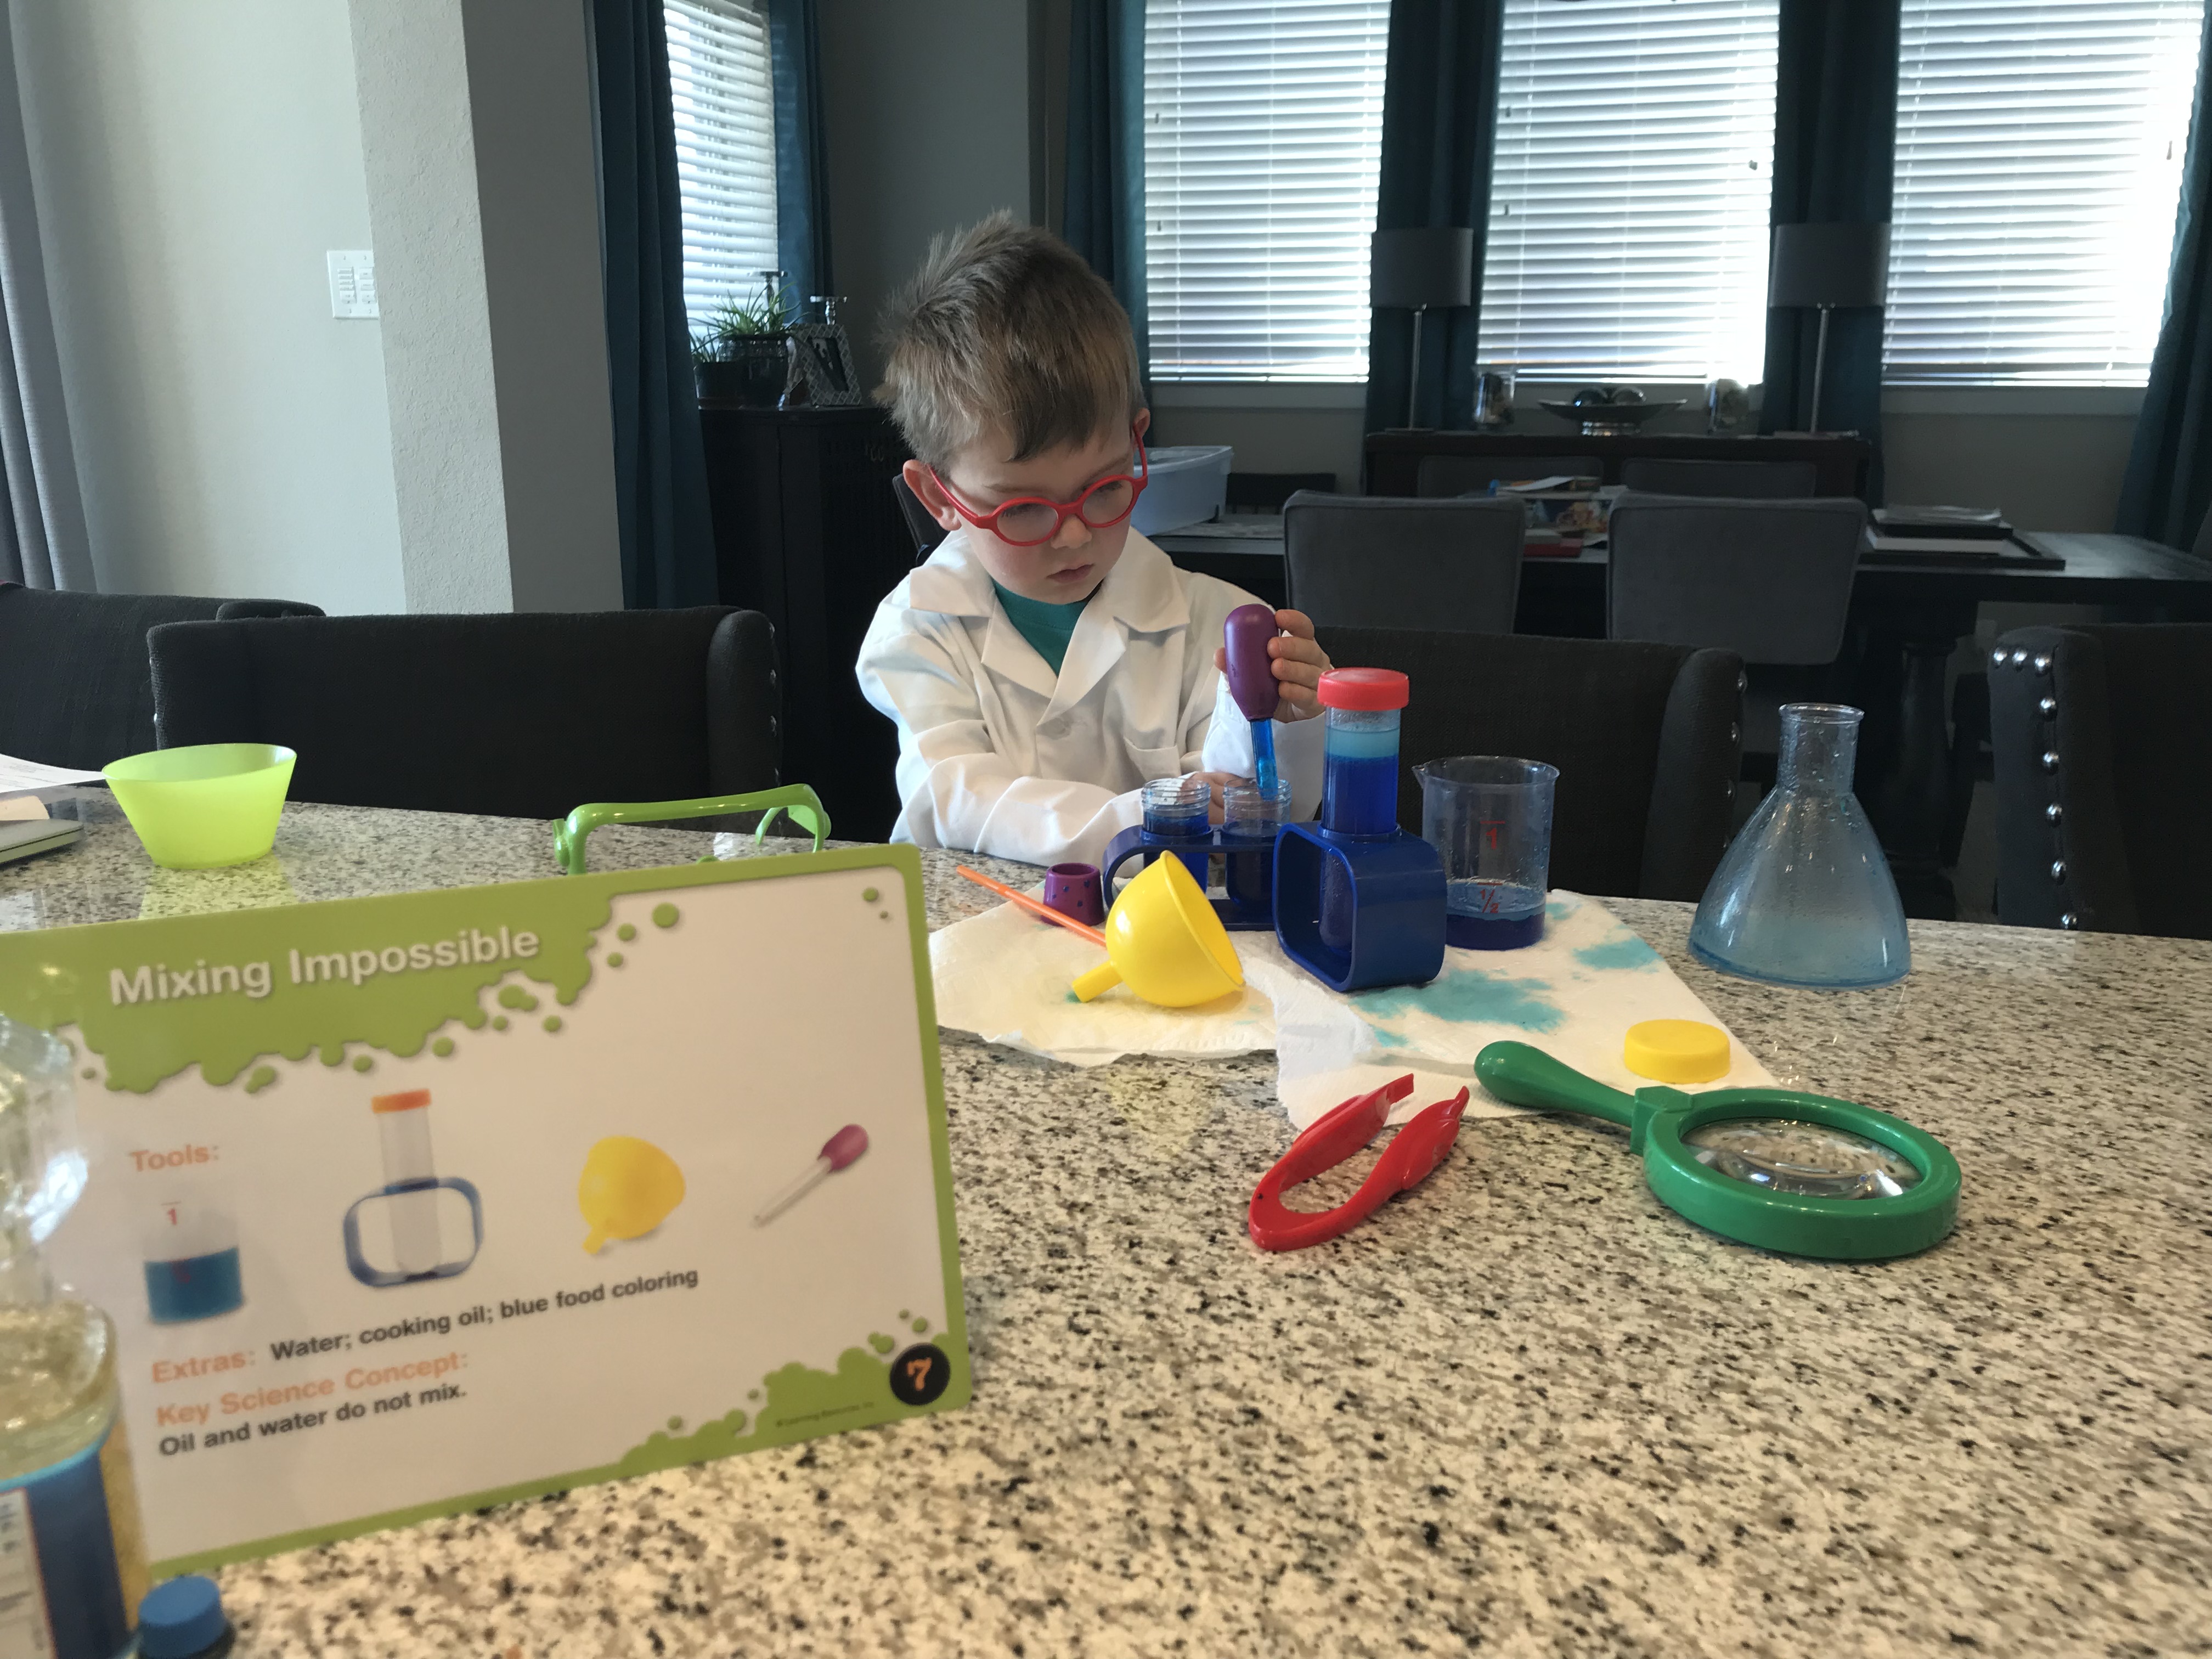
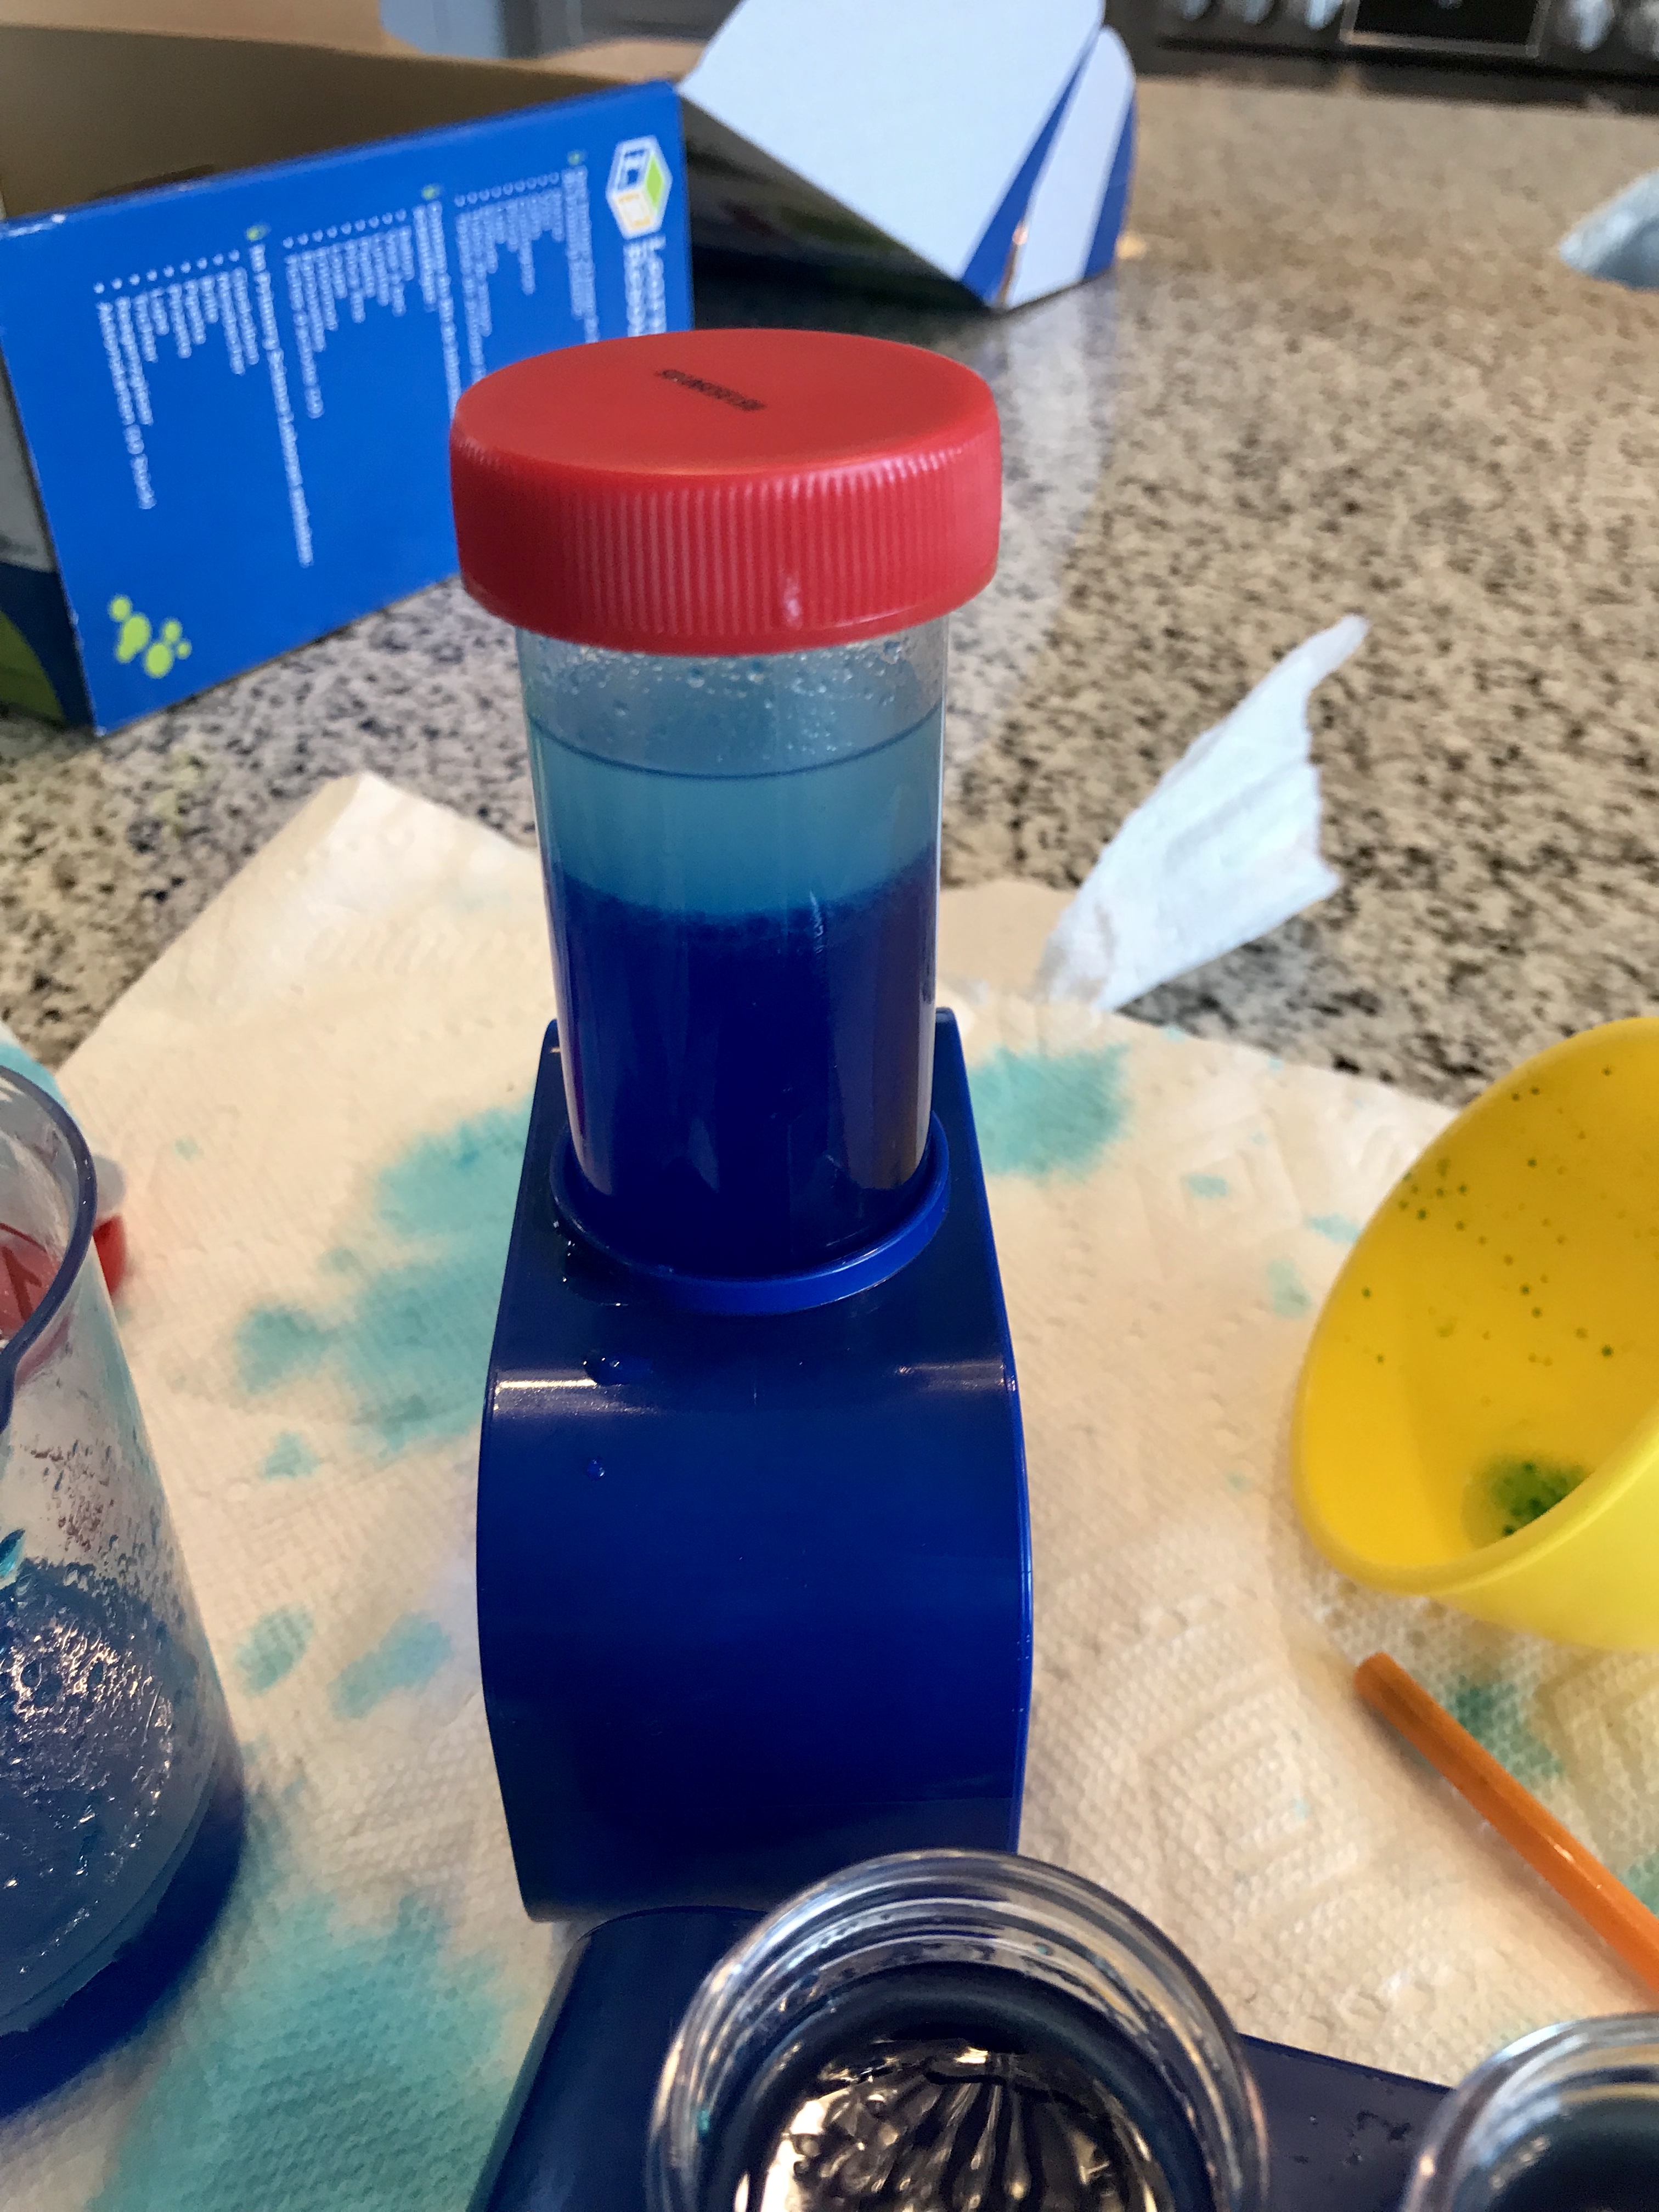
  2. It cleans up easily Everything cleans up super easy with soap and water, and he can even wear the goggles over his glasses which was a problem with other sets! The box came with 10 different Science experiment cards. Each card is laminated to help keep it dry, and you can do them together. Confession, we have only done 2 of the 10 experiments. He just loves pouring the water back and forth, squirting in bubble water, or lemon juice, and switching back and forth from making potions to medicines to plant food as he calls it. It’s great inside or outside, and I could see this even making it’s way into a bubble bath for the really brave parents who don’t fear water soaked bath mats like me!
  3. Inexpensive and Gender Neutral You can find this kit for a great price with free shipping on Amazon with Prime and it’s gender neutral so if you have more than one kid they can both use it!

POURING, SQUIRTING, AND MIXING!

WATER AND OIL DON’T MIX EXPERIMENT

CHECK OUT THOSE EXPANDABLE GOGGLES!

If you’re still not convinced this is the Toddler Science kit for you, then you might just need a craft project to inspire your purchase! Cousin Stacie sent us this for Bennetts Birthday, and added on this adorable lab coat, which I am finally getting around to personalizing! Stay tuned for a tutorial on how I did it, but you could easily add Mad Scientist, Dr. Bennett, or any other personalized medical terminology you saw fit! I could even see some Doc McStuffins fans loving this!

Why is the Toddler Lab Coat awesome

  1. It keeps the mess off of his clothes when he is playing with the science experiment kit
  2. He can also use it to play Dr. Bennett or Veterinarian Bennett when he is tired of playing with the science kit
  3. He can also wear it to preschool on dress up days when they have community member day or for Halloween! That’s 3 awesome fun uses in one coat!
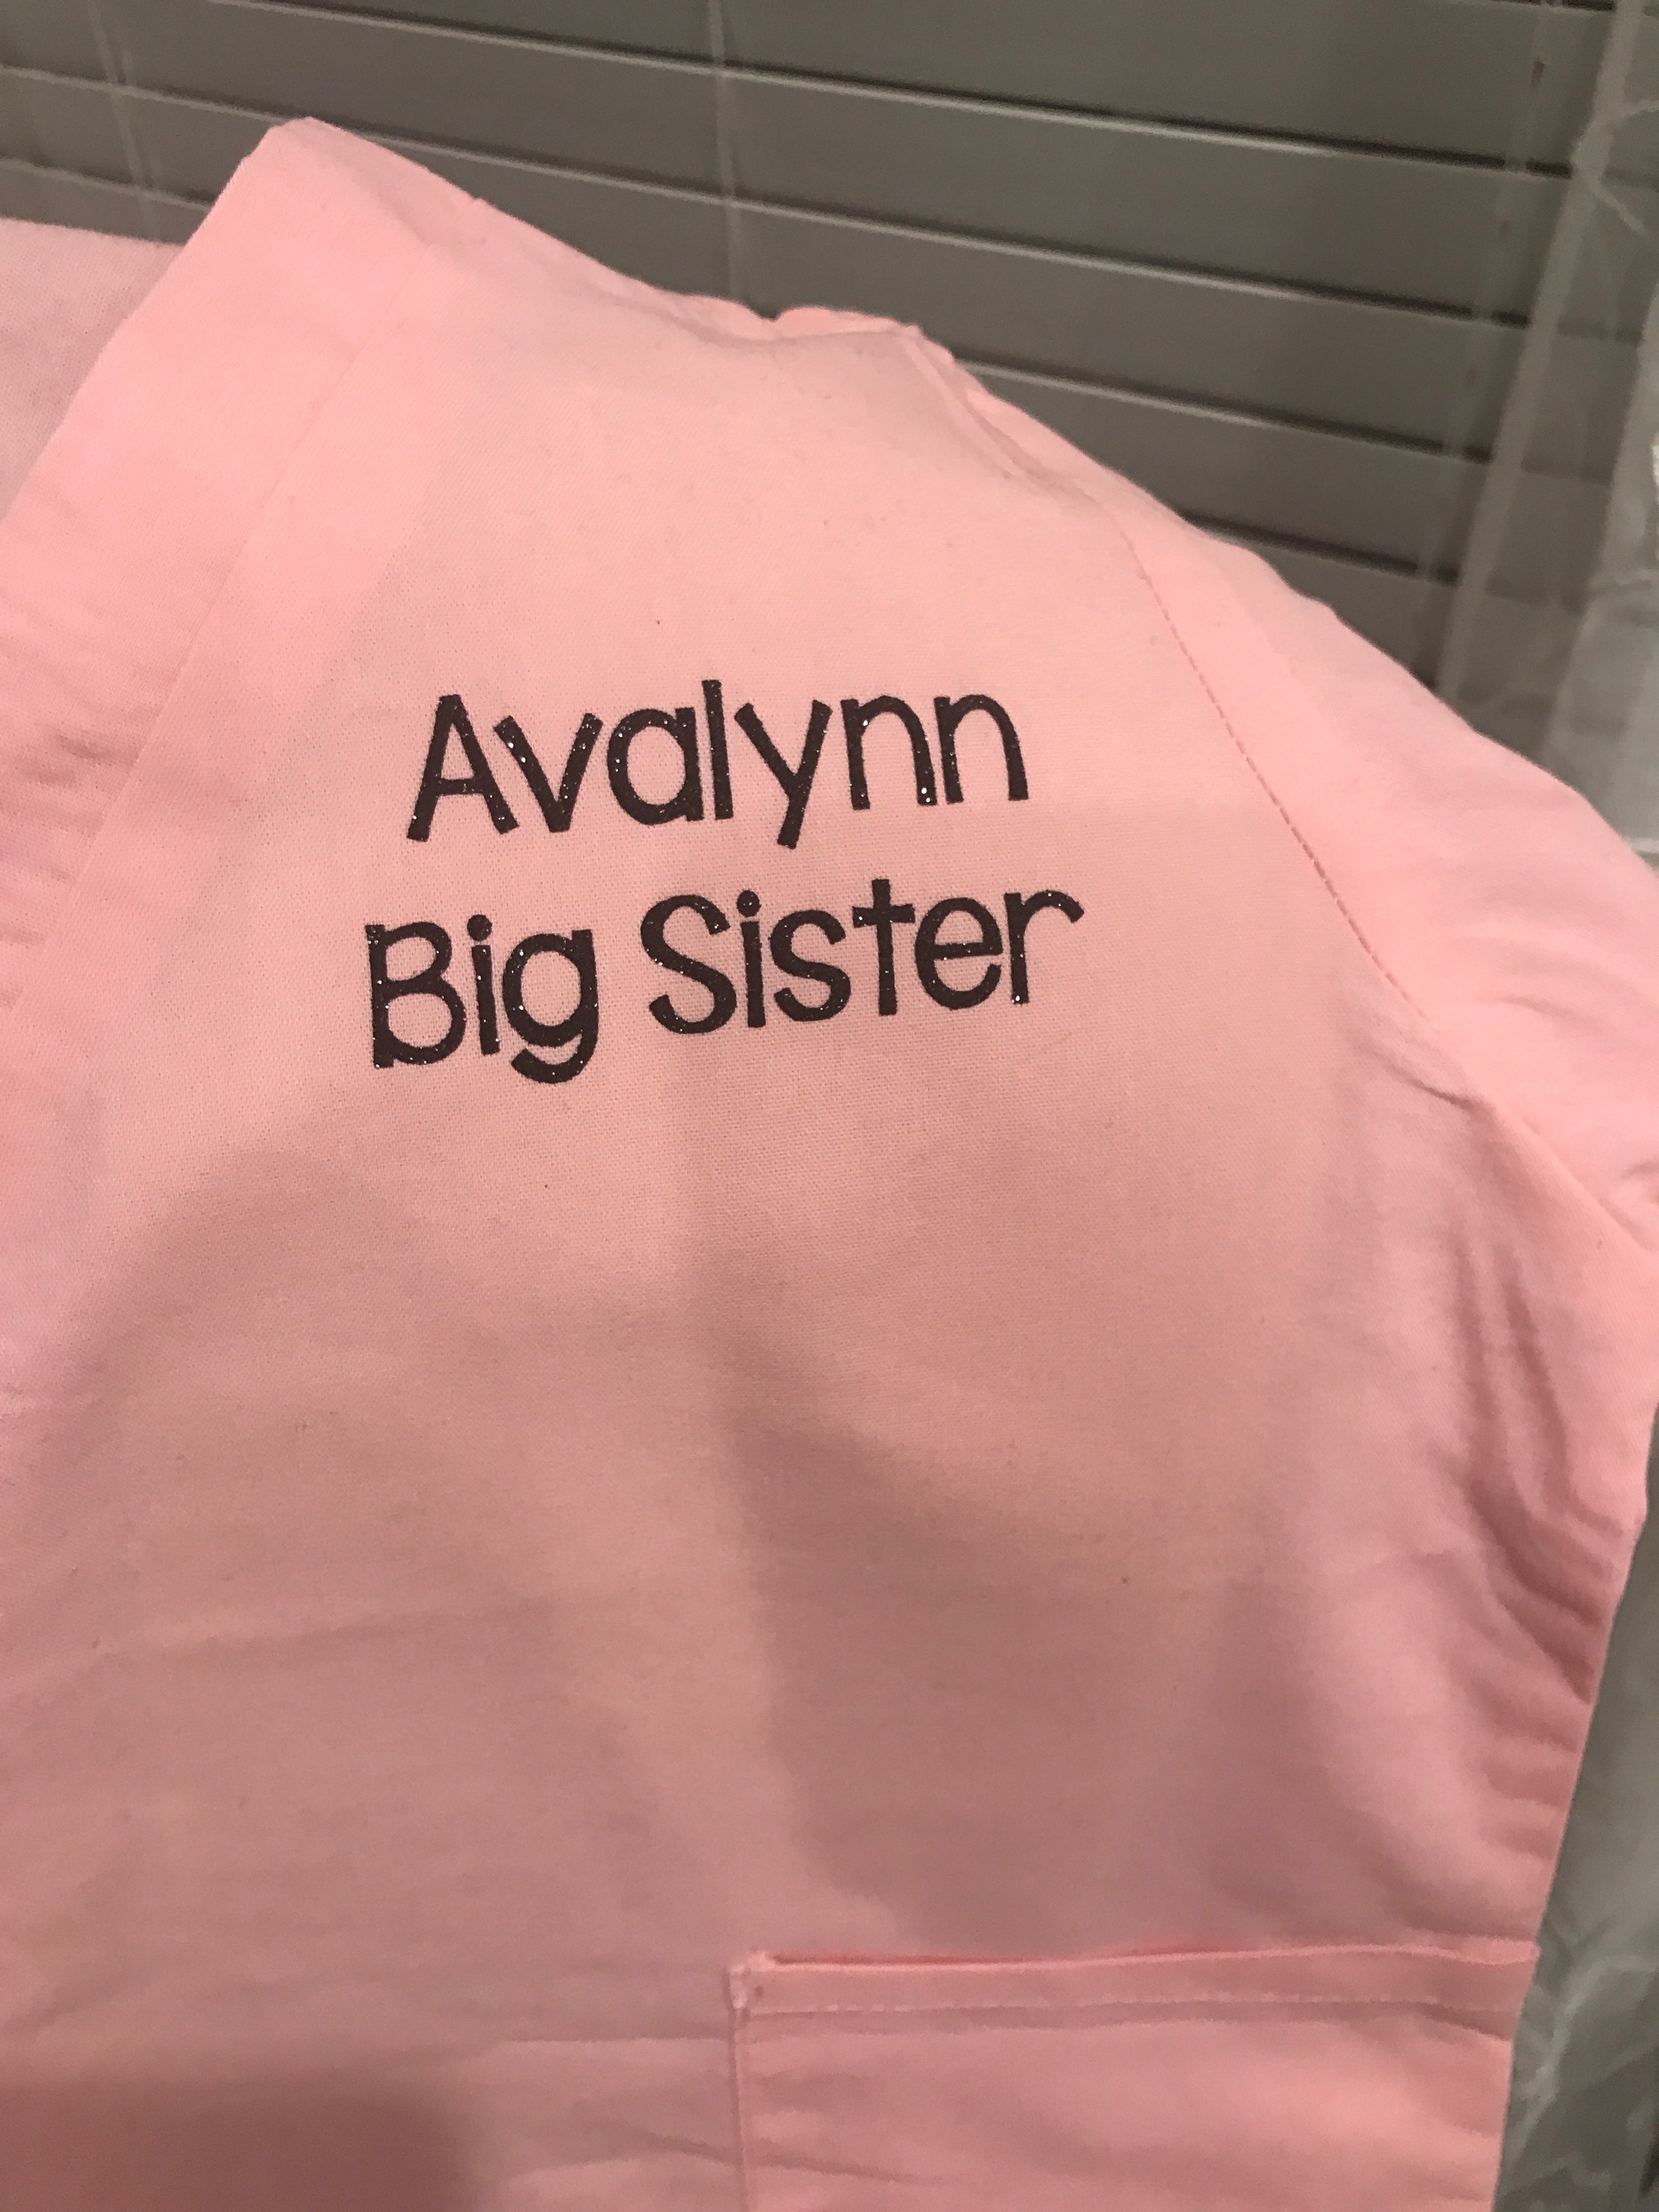
  4. Finally, I can personalize it with a monogram or Dr. Bennett name tag!

This was one of his favorite things he got for his birthday, so if you know a kid that is 3 4 or 5, I am giving you the go ahead to order these both for them! Bennett just turned 5 and she ordered a size 7, It’s a litlte too big, but he can grow into it and roll up the sleeves when needed.

 
Learning Resources Primary Science Lab Activity Set, 12 Pieces


M&M SCRUBS NATURAL UNIFORMS Childrens Lab Coat–Halloween Costumes–Soft Fabric, White, 7

You might also like

He also got this Disgusting Science Kit, which we have had fun with, but I must warn you these activities all require parental involvement. I CAN’T WAIT TO MAKE GREEN SNOT AGAIN!


Scientific Explorer Disgusting Science Kit

And no Science Day would be complete without a book! We love this Author!

Iggy Peck, Architect

Ada Twist, Scientist
Ada Twist’s Big Project Book for Stellar Scientists

Rosie Revere, Engineer

Happy Experimenting,

Related items


Disclaimer: Links in this post pay me a small amount that allow me to keep my website up and running so I can keep sharing awesome things with you!

Replacing dots with shapes on the letter I in Silhouette Studio 4.1

How to design a Custom Decal in Silhouette Studio 4.1

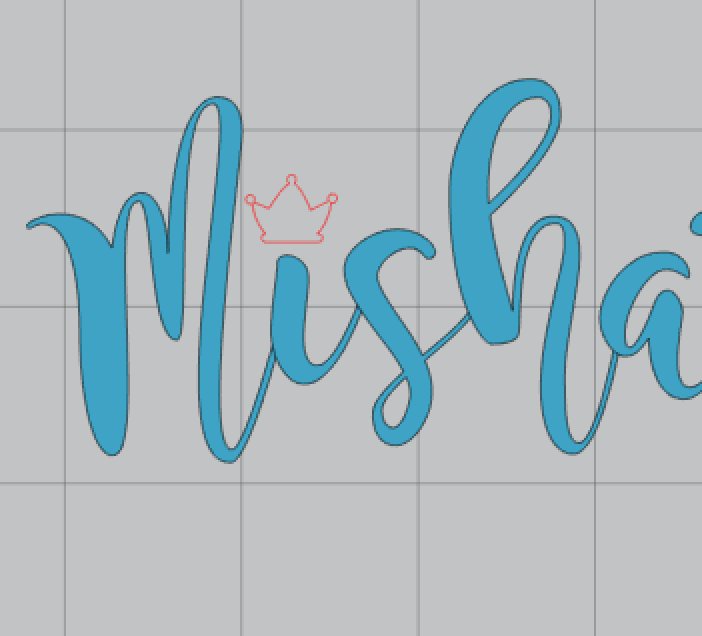
Here’s a quick video using Silhouette Studio 4.1 to replace a dot over the letter i with a crown shape. This is a super fun, cute way to personalize things, and the same process could be used to replace the dot with snowflakes for Christmas, or hearts for Valentine’s Day etc.

If you are making cup decals I highly recommend ordering Oracle 651 and hand washing. I also like to use contact paper to apply the decals so that it is see through, which helps me with placement. If you are using boxy fonts or fonts that aren’t as forgiving with placement on a curved item, check out the Warp tool feature which is now available to users of the Dssigner Edition and Business Edition versions of the Silhouette Studio software. It adjusts the letters for you to help keep them level as they curve around the item you are personalizing. It also works on shapes too!

If you have never placed a decal on an item check out my blog post on how to install a decal to a glass. This can be tricky at first, so practicing a few times might help you learn how to install it just right! The same process can be used on ornaments and vases.

Here are some links to where I order some of my supplies from amazon. I love the free shipping with prime. Everything ships fast and I get great products with great prices and can see the reviews from others before I buy. If you aren’t buying from amazon, you should check them out as soon as possible!


Here are the supplies I would use for this project:

Silhouette Cameo 3

Transfer tape to move the decal from the paper backing to the cup

Oracle 651 Vinyl in Black. The color I use the most, so I buy it in rolls

Assorted vinyl pack lets you see lots of colors!

Wine glasses to personalize. You can also find them cheaper at Dollar Stores or Target, but this is convenient and they have great reviews right now.


Happy Crafting,