Halloween Boo Bag Germs are Scary DIY Craft

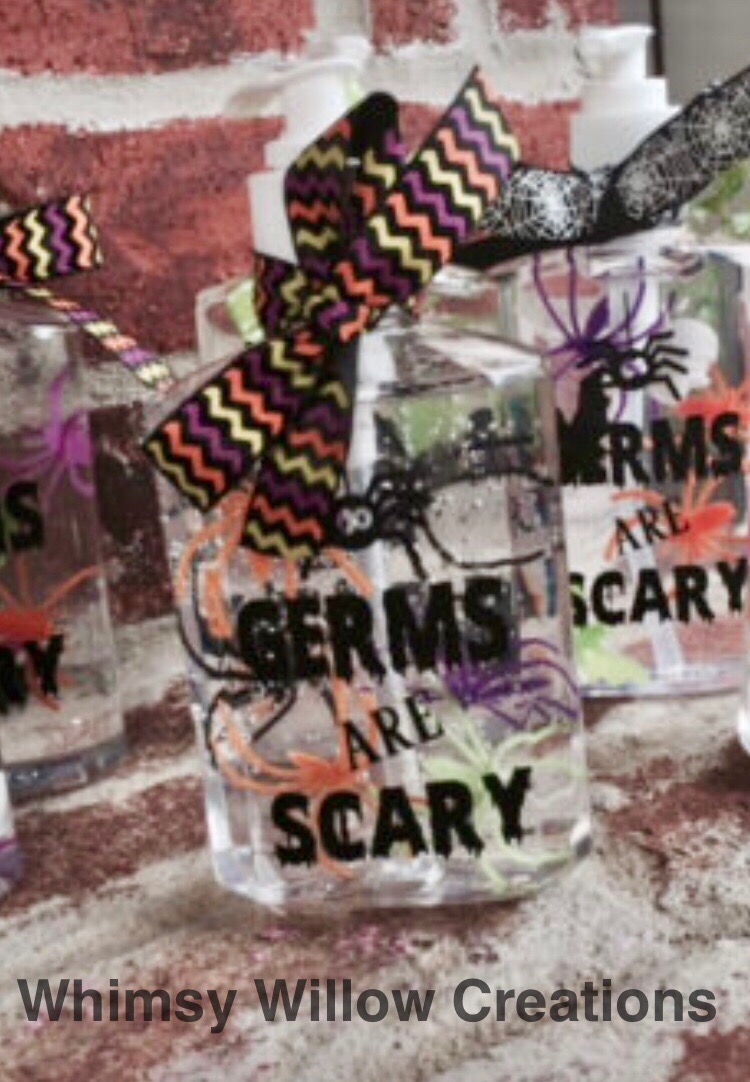
Here’s a quick Halloween DIY craft that will make everyone happy. Using Oracle 651 vinyl decals cut with a Silhouette Cameo 3, I cleaned up some hand sanitizer bottles, added some fun spiders, bats, and skulls, and created a super cute craft just in time for flu season! Here’s a link to my youtube video where I show you step by step how to make them, and links below to the supplies! Have fun and don’t forget to share your pics with me on my Facebook page https://www.facebook.com/WhimsyWillowCreations/


Supplies


Tie them off with a matching ribbon, and you are ready to share a spooky fun surprise! I usually buy my ribbon from Hobby Lobby on the weeks they have it 50% off in the sewing department, but the seasonal stuff is located at the front of the store if you want spider webs, or bats, or skulls on your ribbon. I like to make everything match.

You can use the same idea to make personalized hand sanitizers for classrooms, businesses, Christmas, Valentines and more! The possibilities are endless!


Happy Crafting!


Disclaimer: Some of the links in this post pay me a small commission, that I will use to pay for my next Disney trip, but they will help you make super cute sanitizers too!

Silhouette Studio Upgrade – Should you buy it?

Should I Buy a Silhouette Studio Upgrade?

Looking for reasons why you should do a Silhouette Studio Upgrade? I did years ago, and am so glad I did!

With this in mind, keep reading, and I’ll share my reasons for upgrading Silhouette Studio, how and where I got my Silhouette Studio Upgrade from Basic to Designer and Designer to Business, and finally what you can do after the Silhouette Studio upgrade!

No regrets, you are going to love your Silhouette Studio Upgrade, I promise! Continue reading “Silhouette Studio Upgrade – Should you buy it?”

DIY Glitter Ornaments

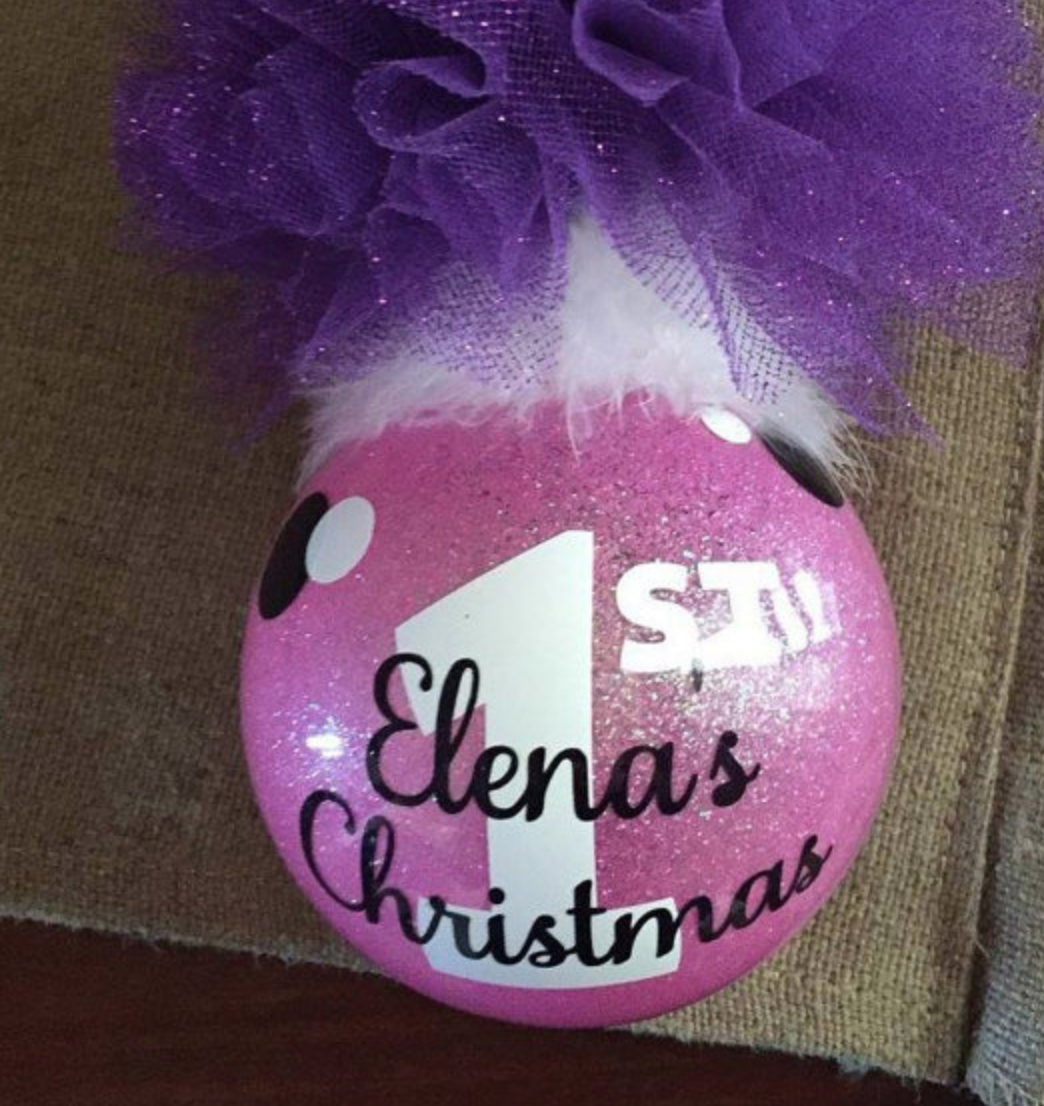
Are you ready for some DIY glitter ornament training? I fell in love with the glitter ornaments I saw popping up about 4 years ago, and I tried it and they have been one of my favorite things to make every year. They hold up great, and can be made in steps if you don’t have a ton of time to sit down from start to finish.

Supplies

Ornaments. I like to use glass ornaments for what I sell in my Etsy shop because they seem more premium, but plastic ones are great too, especially for kids. I buy the blank ornaments from Michaels or Hobby Lobby, but you can find them on Amazon too if you need them to be shipped.


Glitter It is whatI have used the last few years, and all of my ornaments are still beautiful!

Ultra Fine Glitter in your color choice. I buy mine from Hobby Lobby or Michaels, but this kit from Amazon looks amazing! So many colors!!!

Cups to hold ornaments while they dry. I use plastic solo cups

Tiny Funnel to pour in glitter

Vinyl cutting machine or decals to install on ornaments.

Transfer tape to transfer decal to ornament


Step 1: Remove cap from ornament and pour in some Glitter it. Slowly roll the ornament in a circular motion coating the entire durface of the inside of the ornament. Try not to shake it, and when you get to the opening of the ornament, go slow and gently pour the excess back into the glitter it bottle.

Step2:Grab your small funnel and pour in a few tablespoons of glitter. Remove the funnel and cover the opening with your palm and shake it up. Make sure you get the entire thing coated and add more glitter if you need to. and shake again.They should look like this.

Step 3: Pour the excess glitter back into the glitter container and turn the ornament upside down and place in a cup to dry. I like to leave mine overnight.

Step 4: Carefully put the top back on so you don’t scratch the inside.


Step 5:Add Vinyl decal. I love to use Oracle 631 or 651 with my Silhouette Cameo 3 to make the decals for the ornaments that I sell in my Etsy shop! I have found that using contact brand transfer tape works the best at getting the decal off the paper backing and onto the ornament. It is clear so you can see better to line things up, and it doesn’t leave a residue.

Here are some of my favorites!


If you plan to ship ornaments that you sell, I use this postal scale and these 5×5 boxes and bubble wrap to ship mine! Place some packing paper in the bottom put the ornament wrapped in 2 pieces of bubble wrap, and fill the top in with more paper. seal it up, weigh it and print your label out at home to avoid the lines at the post office. I use this DYMO label printer and it is amazing!

Happy Crafting,

Looking for Crafting fonts to put on your ornaments? Check Out these amazing ones! Just click the photo to see the full alphabet!


Disclaimer: Some links in this post are affiliate links that pay me a small commision if you place an order, which helps me maintain this blog!

Some People Are Worth Melting For

Melt the heart of someone you love with this sweet Olaf inspired glass ornament. Inside the ornament you’ll find a melted snowman snow, coal eyes and buttons, and a bright orange carrot nose! The outside is embellished with the phrase “some people are worth melting for” in silver and a snowflake.

This ornament has been a best seller this year and makes the perfect gift or addition to your own tree… or both!  Disney’s Frozen has captured the imagination of millions around the world.  Make this ornament a part of your holiday tradition today.

See the ornament on Etsy

My first Vinyl Project DIY

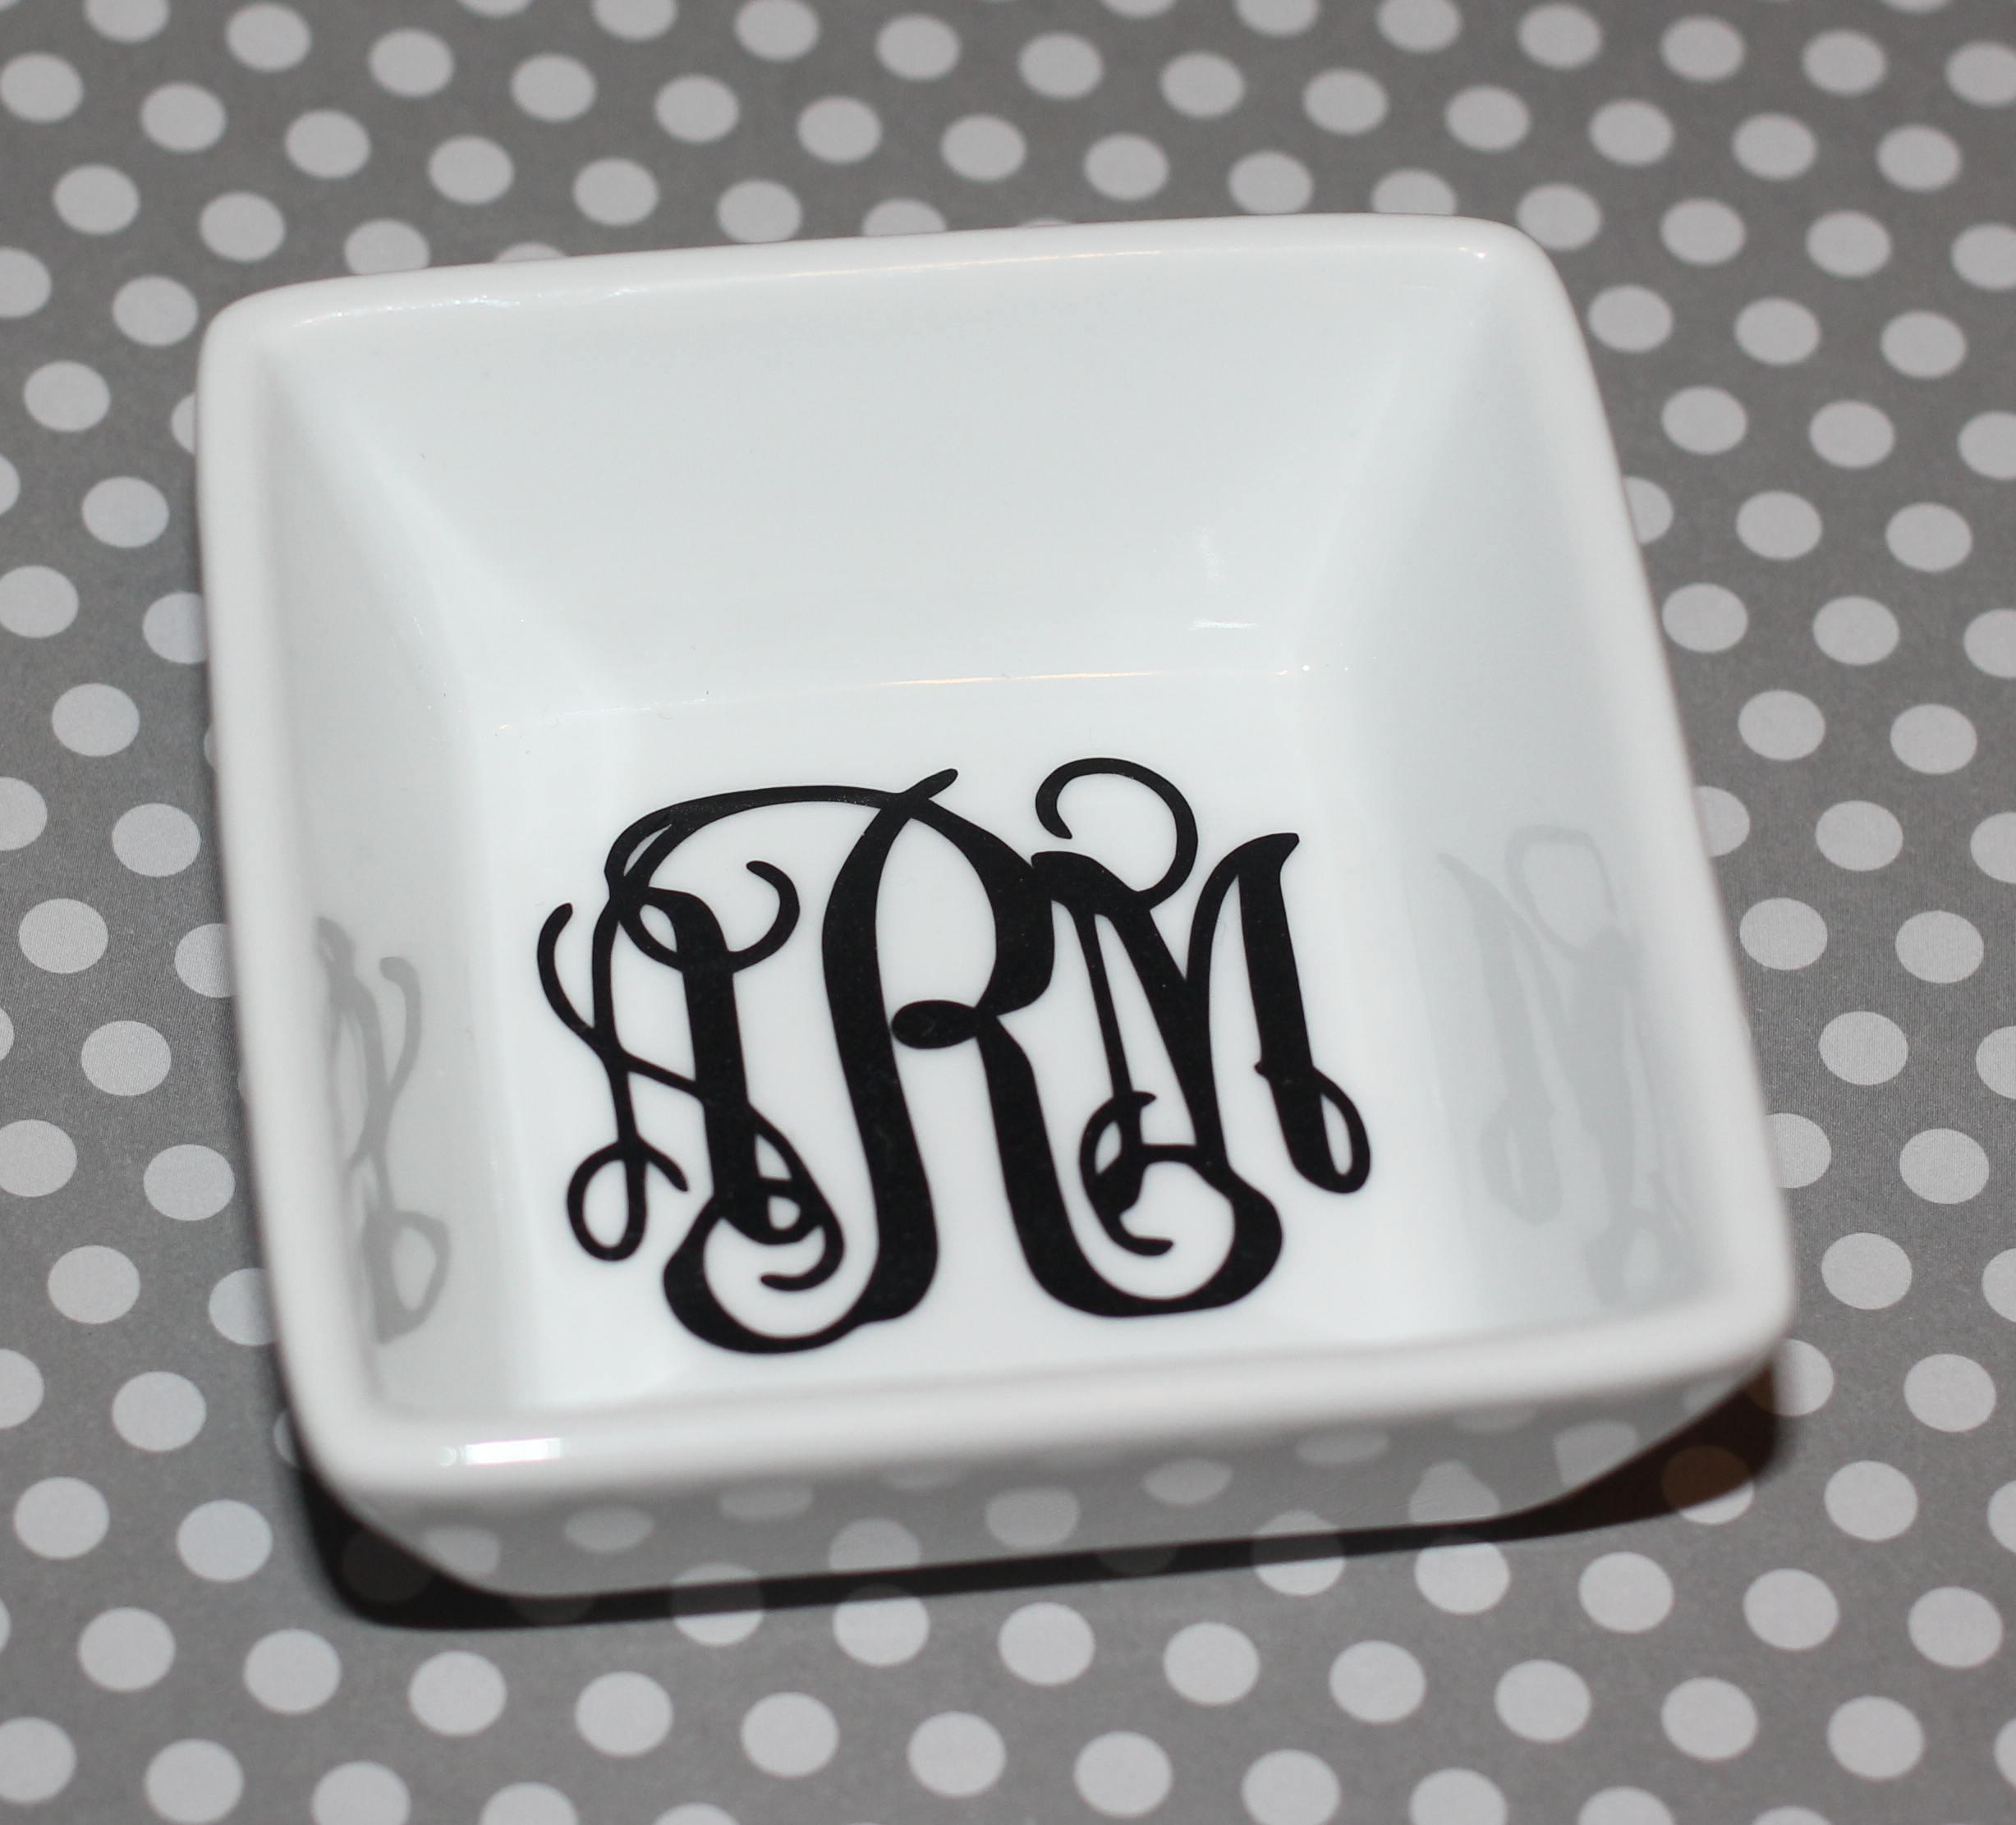
My first Silhouette Cameo Vinyl DIY- a ring dish

I bought a Silhouette Cameo right before my sons first birthday a few months ago, and I have mastered cardstock, and I’m ready for vinyl! I did a ton of research on the different kinds and where to order from, and my shipment finally came in from Expressionsvinyl.com, I am loving all of these colors, and I’m so glad I got the swatch so I can see what every color they have looks like.

Supplies

  • Vinyl Oracle 651 (Update, I buy my vinyl from CSDSvinyl.com now. They have buyonegetone free every Thursday if you place your order online, and frequent discounts in the Facebook group.

  • Ring Dish I bought a dipping sauce bowl from Pier 1 for $1.50, and it was perfect! https://www.pier1.com/luminous-porcelain-square-white-dip-bowl/3049334.html#internal-search-product&autocplt=dip

  • Transfer tape This contact paper is clear so you can see when placing things!


  • dry erase marker to help draw alignment marks, you can just eyeball it too!
  • alcohol(the medical kind) I used this to wipe down my dish with a cotton ball to make sure it was clean and free of any tiny particles
  • Dental pick for weeding the vinyl. I got a set from Harbor Freight and they are awesome! I also use my Xacto blade sometimes.
  • Kitchen Spatula to rub the vinyl onto transfer tape


First thing you want to do is clean the dish and set it aside. While it’s drying, import your image into Silhouette Studio from the MonogramIt App. To create the monogram open the app and click the little plus sign in the top right corner.  On the bottom select the tiny icon on the far right that looks like a keyboard. Type your letters out in the order you want them to appear and click apply in the top right. Now select the tiny circle monogram icon to the left of the keyboard icon to open up all of the monogram options. Pick the one you like and make sure you change the color to black so it will be easy to trace. Once you have made your final choice click save in the top right. Your photo will automatically be saved to your camera roll.  You can email it to yourself or text it if you have imessage on a Mac computer, so that you can save the picture to your computer and open it in Silhouette studio. This process took me about 2 minutes,

Step 1. Open or Install Pink Monogram It App below

Step 2 Select Keyboard on Bottom right and type out your letters, Click Apply when Done

Step 3 Select the Circle Monogram Icon to the left of the Keyboard and change the color to black and pick the monogram style you want. Once you’re happy click save in the top right


Step 4 Go to photos and email the photo to yourself and open it in Silhouette Studio

This is what your image should look like.


Step 5 Tracing Open Silhouette Studio and open your file. Zoom in a little bit by using the zoom in icon located at the top middle menu(it looks like a magnifying glass with a plus sign in it. Zooming in will help you get a better trace. On the far right menu select the trace icon(4 icons down) and select the “select trace area” option. This allows you to draw a box around the monogram. I like to increase the threshold until the lines look smoother, usually around 88.

Once you’re happy with the way the monogram is filled in, select the trace option and move the original design away to reveal your cut lines outline.It looks a little messy, so I like to fill it in red to see what it will really look like. Note(you may need to do an offset with the swirl monogram to thicken the lines. I also like to use the point editor to remove some of the tiny cut out spots that won’t cut well, like inside the bottom sides of the S. Draw a box around the monogram and click the Send icon in the top right! you’re almost ready to cut! Make sure you have the autoblade selected and select the type of vinyl you are cutting from the drop down. Load the mat into the machine and cut. The hard part is over. Make sure you have resized your image to fill the space on your dish and Send.


Step 6 weed and Transfer Unload the mat and weed out the negative spaces to reveal your monogram. Place the contact paper over it and smooth over it with the spatula until you can lift it up off the paper backing. At this point you can eyeball it, or draw a dot on the ring dish and on the contact paper in the center top of the monogram to line it up. Smooth it down in the center first and then press out to the sides, Slowly peel back the contact paper and give yourself a high five!


I have made several of these! They make great gifts, and they were one of the first things I listed in my Etsy shop a few years back!https://www.etsy.com/listing/213042365/ring-dishes?utm_medium=SellerListingTools&utm_campaign=Share&utm_source=Raw&share_time=1509787983000&utm_term=so.slt


I hope this helped you out! Please feel free to leave any questions below!


#CraftHappy

Kathy


Newbie tip: if you need some awesome fonts to craft with check out


Disclosure: This post contains some affiliate links of products I use and love! I’d never recommend anything else!