How to install vinyl decals to wine glasses

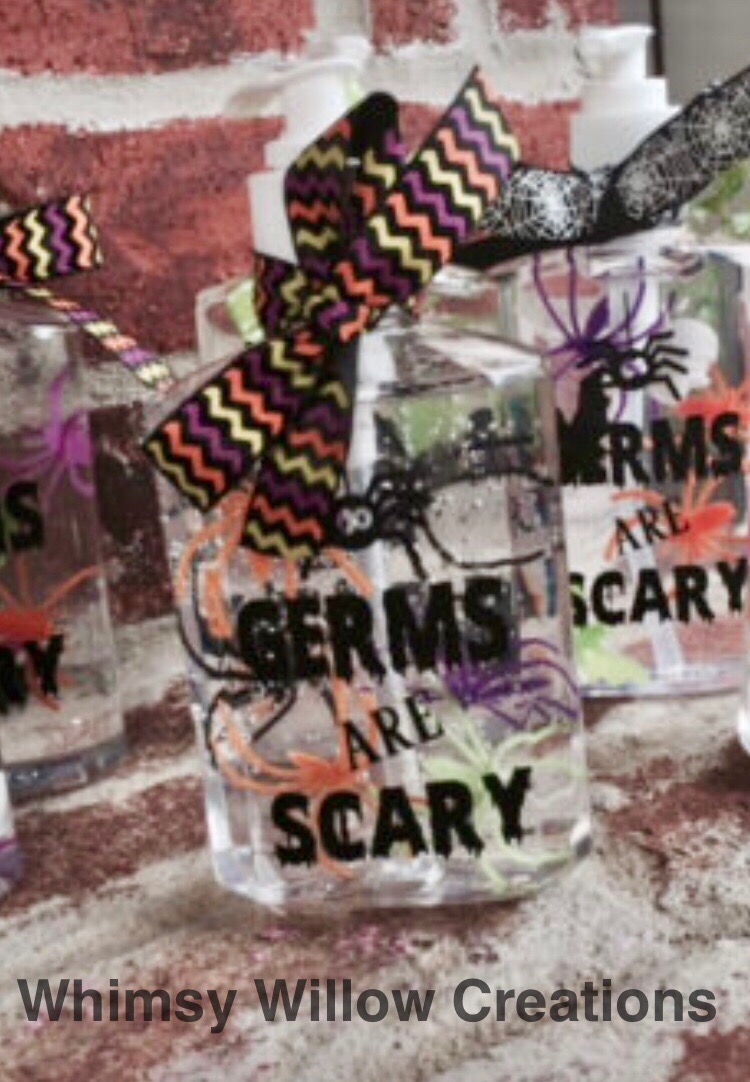
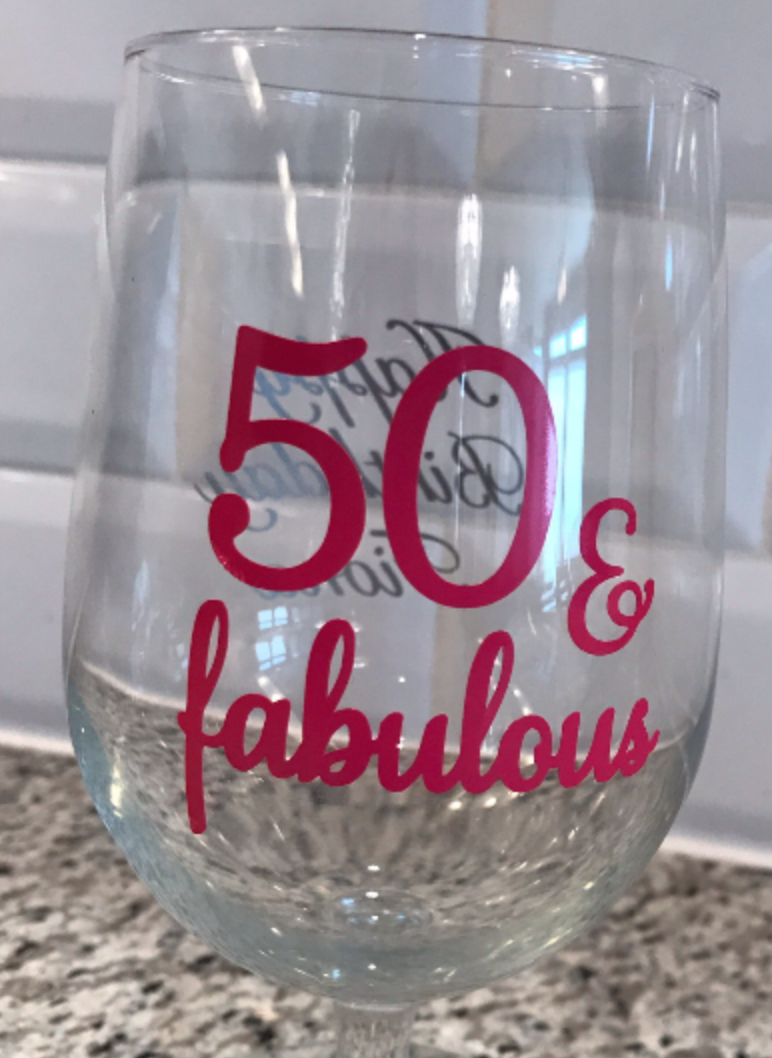
Here’s a quick video on how to install vinyl decals to wine glasses for a 50 & Fabulous party surprise, but the tutorial applies to all decal application.


First stop, you need wine glasses. If you don’t have time to go buy some, these have great reviews on amazon, and ship free with prime!

Next up you need rubbing alcohol and cotton balls or a paper towel to clean the glasses before you apply the decal! I also recommend you clean the glasses before you apply the decals so they are clean when you are ready to party….Nobody wants to drink from a dirty glass!

After they are clean and dry grab your decal and transfer tape. I used oracle 651 to create my decal, and you can purchase the exact one in the video here, https://www.etsy.com/WhimsyWillowCreation/listing/514537915/50-and-fabulous-decals-for-wine-glasses?utm_source=Copy&utm_medium=ListingManager&utm_campaign=Share&utm_term=so.lmsm&share_time=1509918532107

or make your own with the font downloaded from here. Samantha Script Font

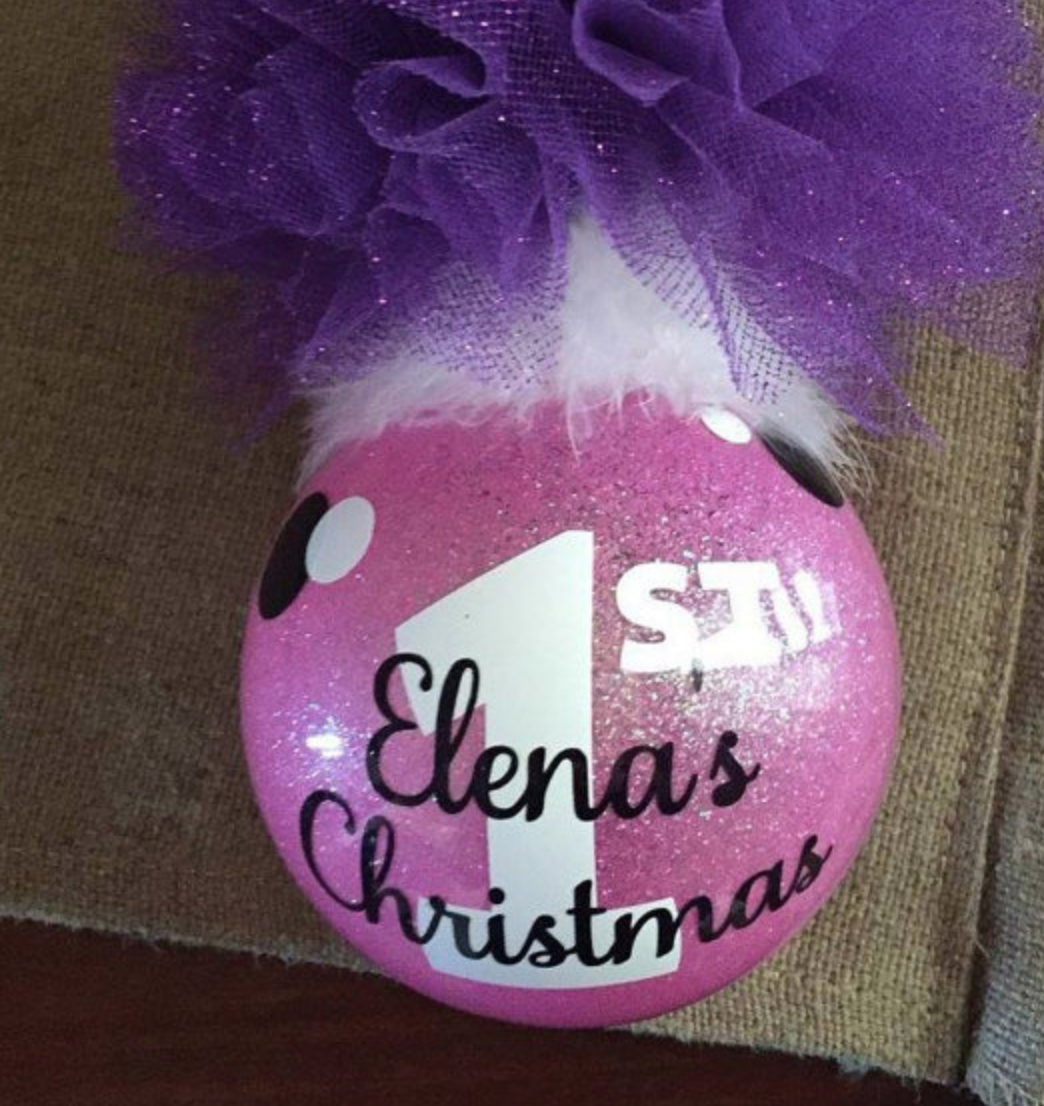
I use that font on Christmas ornaments, wedding stuff, and shirts. It is very pretty and comes with lots of variations to each letter so you can make lots of stuff! To get the decal on the glass I use contact paper. . I love contact paper for this application because it is transparent, and just sticky enough to pick up the decal, but it doesn’t leave a residue when you peel it away. Make sure you buy the stuff with the blue grid line backing like this one. The new one they came out with doesn’t work as well! I’m also including an affiliate link for the vinyl I use in case you want to make your own!


That’s it. That’s everything you need to make the magic happen! Open a bottle of wine or two, invite your best friends over, and knock out a set for the Birthday girl in no time!


Craft Happy,


Disclaimer I The links in this post pay me a small commission which I will be using to pay for my next Disney trip! #Disney2018

Halloween Boo Bag Germs are Scary DIY Craft

Here’s a quick Halloween DIY craft that will make everyone happy. Using Oracle 651 vinyl decals cut with a Silhouette Cameo 3, I cleaned up some hand sanitizer bottles, added some fun spiders, bats, and skulls, and created a super cute craft just in time for flu season! Here’s a link to my youtube video where I show you step by step how to make them, and links below to the supplies! Have fun and don’t forget to share your pics with me on my Facebook page https://www.facebook.com/WhimsyWillowCreations/


Supplies


Tie them off with a matching ribbon, and you are ready to share a spooky fun surprise! I usually buy my ribbon from Hobby Lobby on the weeks they have it 50% off in the sewing department, but the seasonal stuff is located at the front of the store if you want spider webs, or bats, or skulls on your ribbon. I like to make everything match.

You can use the same idea to make personalized hand sanitizers for classrooms, businesses, Christmas, Valentines and more! The possibilities are endless!


Happy Crafting!


Disclaimer: Some of the links in this post pay me a small commission, that I will use to pay for my next Disney trip, but they will help you make super cute sanitizers too!

DIY Glitter Ornaments

Are you ready for some DIY glitter ornament training? I fell in love with the glitter ornaments I saw popping up about 4 years ago, and I tried it and they have been one of my favorite things to make every year. They hold up great, and can be made in steps if you don’t have a ton of time to sit down from start to finish.

Supplies

Ornaments. I like to use glass ornaments for what I sell in my Etsy shop because they seem more premium, but plastic ones are great too, especially for kids. I buy the blank ornaments from Michaels or Hobby Lobby, but you can find them on Amazon too if you need them to be shipped.


Glitter It is whatI have used the last few years, and all of my ornaments are still beautiful!

Ultra Fine Glitter in your color choice. I buy mine from Hobby Lobby or Michaels, but this kit from Amazon looks amazing! So many colors!!!

Cups to hold ornaments while they dry. I use plastic solo cups

Tiny Funnel to pour in glitter

Vinyl cutting machine or decals to install on ornaments.

Transfer tape to transfer decal to ornament


Step 1: Remove cap from ornament and pour in some Glitter it. Slowly roll the ornament in a circular motion coating the entire durface of the inside of the ornament. Try not to shake it, and when you get to the opening of the ornament, go slow and gently pour the excess back into the glitter it bottle.

Step2:Grab your small funnel and pour in a few tablespoons of glitter. Remove the funnel and cover the opening with your palm and shake it up. Make sure you get the entire thing coated and add more glitter if you need to. and shake again.They should look like this.

Step 3: Pour the excess glitter back into the glitter container and turn the ornament upside down and place in a cup to dry. I like to leave mine overnight.

Step 4: Carefully put the top back on so you don’t scratch the inside.


Step 5:Add Vinyl decal. I love to use Oracle 631 or 651 with my Silhouette Cameo 3 to make the decals for the ornaments that I sell in my Etsy shop! I have found that using contact brand transfer tape works the best at getting the decal off the paper backing and onto the ornament. It is clear so you can see better to line things up, and it doesn’t leave a residue.

Here are some of my favorites!


If you plan to ship ornaments that you sell, I use this postal scale and these 5×5 boxes and bubble wrap to ship mine! Place some packing paper in the bottom put the ornament wrapped in 2 pieces of bubble wrap, and fill the top in with more paper. seal it up, weigh it and print your label out at home to avoid the lines at the post office. I use this DYMO label printer and it is amazing!

Happy Crafting,

Looking for Crafting fonts to put on your ornaments? Check Out these amazing ones! Just click the photo to see the full alphabet!


Disclaimer: Some links in this post are affiliate links that pay me a small commision if you place an order, which helps me maintain this blog!